How to Restore and Repair a 192s Necklace: Expert Guide
Learn how to clean, restring, and repair a 192s necklace. Expert troubleshooting for verdigris, broken clasps, and fragile vintage beads.

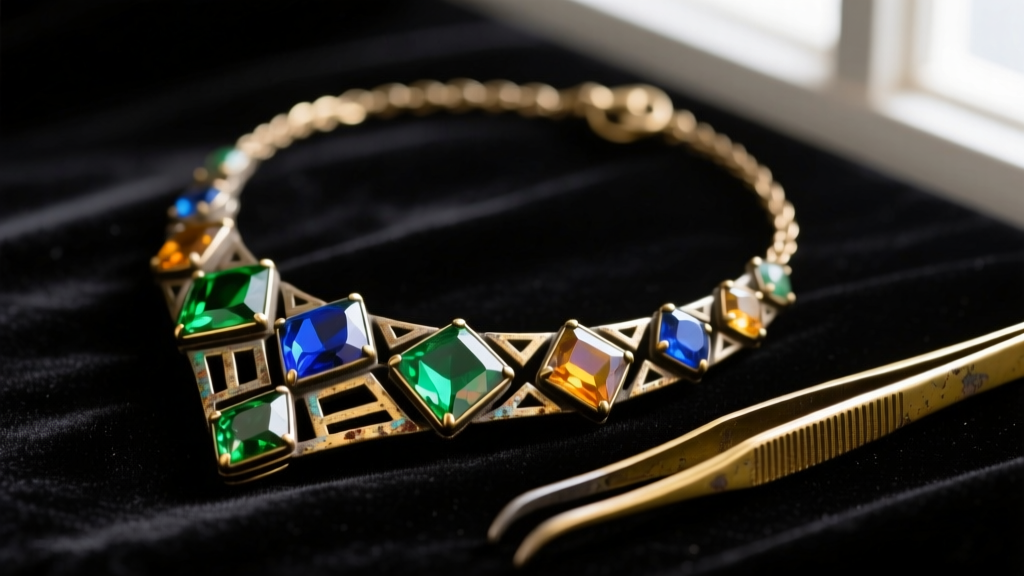
The allure of the Roaring Twenties is undeniable, and the jewelry from this era remains highly coveted by collectors and vintage enthusiasts. When collectors search for a 192s necklace, they are typically referring to the iconic Art Deco and flapper-era pieces produced in the 1920s. However, owning a century-old piece of wearable art comes with significant maintenance challenges. From degrading base metals to fragile early plastics, troubleshooting a vintage 192s necklace requires a deep understanding of historical jewelry materials and conservation-grade repair techniques.
In this comprehensive guide, we will walk through the most common structural and cosmetic failures found in 1920s necklaces and provide actionable, expert-level solutions to restore them safely.
The Unique Material Challenges of 1920s Jewelry
Unlike modern fine jewelry crafted from solid 14k or 18k gold and platinum, the vast majority of 1920s fashion jewelry was made from 'pot metal' (a variable alloy of zinc, lead, tin, and copper) or white metal, often plated with thin layers of silver, rhodium, or gold. According to the Victoria and Albert Museum's conservation guidelines, these base metals are highly susceptible to environmental degradation. Furthermore, the beads used in these necklaces—such as early celluloid, Bakelite, and glass paste—react poorly to modern ultrasonic cleaners and harsh chemical dips.
As of 2026, the original silk threads used to string these pieces are well past their structural lifespan, making sudden breakage a primary concern for anyone wearing a vintage 192s necklace.
Diagnosing Common 192s Necklace Failures
Before attempting any repair, you must accurately diagnose the failure mode. Applying modern jewelry repair logic to antique pieces can result in irreversible damage.
Verdigris and Pot Metal Degradation
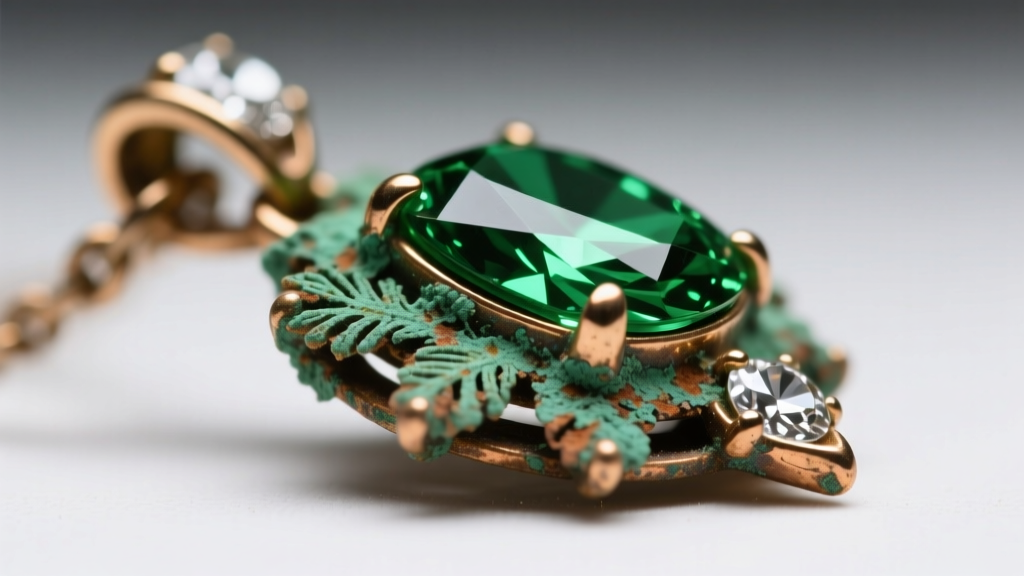
Verdigris is the green, crusty copper acetate buildup that frequently appears on the clasps, jump rings, and prongs of vintage necklaces. It occurs when the copper in the base metal alloy reacts with moisture, oxygen, and acidic skin oils. If left untreated, verdigris will eat through the metal entirely, causing prongs to snap and rhinestones to fall out.
Failing Spring-Ring Clasps and Solder Joints
The spring-ring clasp was the standard for 1920s necklaces. Over 100 years, the internal steel spring inevitably rusts or loses its tension, and the tiny solder joint holding the ring together often fractures. A common mistake is attempting to solder a broken pot-metal clasp; the high heat of a jeweler's torch will instantly melt the zinc-heavy base metal, destroying the piece.
Step-by-Step Troubleshooting and Restoration
Safe Verdigris Removal (Without Stripping Foil)
The biggest risk when cleaning a 192s necklace is destroying the silver or gold foil backing behind glass rhinestones. Never submerge rhinestone jewelry in water or liquid cleaners.
- Dry Mechanical Removal: Use a wooden toothpick or a soft fiberglass scratch pen to gently dislodge dry, crusty verdigris from around the prongs. Avoid steel needles, which will scratch the soft pot metal.
- Targeted Solvent Application: For stubborn buildup, dip a cotton swab in a tiny amount of isopropyl alcohol (90% or higher). Swab only the metal, avoiding the stones. The alcohol evaporates quickly, minimizing moisture exposure to the foil backing.
- Sealing the Metal: Once clean, apply a micro-thin layer of Renaissance Wax using a soft microfiber cloth. This museum-grade wax creates a barrier against oxygen and moisture, halting further corrosion.
Restringing Silk and Early Plastics
If your 192s necklace features graduated glass beads, faux pearls, or early plastics, the original cotton or silk thread has likely rotted. Restringing requires specific materials to prevent future breakage.
- Thread Selection: Use Griffin 100% natural silk cord (Size F or G for standard beads) or a modern nylon-polyester blend like Beader's Secret, which resists stretching and moisture.
- Knotting Technique: Early 1920s beads often have sharp, unpolished drill holes that act like tiny saws on silk thread. You must use a French wire (bullion) at the clasp ends and tie individual overhand knots between every bead to prevent total loss if the strand snaps.
- Celluloid and Bakelite Care: Before restringing, test your plastics. Bakelite will turn a cotton swab yellow when rubbed with Simichrome polish, while celluloid emits a camphor smell when warmed. Never use acetone or alcohol on celluloid, as it will melt the surface.
Upgrading the Clasp Safely
Instead of trying to repair a century-old, failing spring ring, replace it with a modern, high-quality clasp while preserving the original aesthetic. The Gemological Institute of America (GIA) recommends using findings that match the metal color and weight of the original piece.
- Remove the old clasp using two pairs of flat-nose pliers. Twist the jump ring open laterally; never pull it apart, as this will snap the brittle antique metal.
- Attach a new 5mm or 6mm 925 sterling silver spring ring or a small, lightweight lobster clasp.
- Use 20-gauge or 22-gauge half-hard sterling silver jump rings to connect the new clasp. Ensure the jump rings are soldered closed or tightly twisted to prevent the heavy glass beads from pulling them open over time.
Material Identification and Cleaning Matrix
Proper troubleshooting relies on accurate material identification. Use the table below to determine the safest cleaning and handling method for the specific components of your 192s necklace.
| Material | Common 1920s Uses | Identification Method | Safe Cleaning Protocol | Strict Prohibitions |
|---|---|---|---|---|
| Bakelite | Carved beads, pendants | Simichrome polish test (yellow residue) | Mild soap, soft cloth, mineral oil polish | Ultrasonic cleaners, alcohol, heat |
| Celluloid | Faux tortoiseshell, ivory | Camphor scent when gently warmed | Dry microfiber cloth only | All liquids, chemicals, friction |
| Glass Paste | Rhinestones, cabochons | High refractive index, molded facets | Dry soft brush, wooden toothpicks | Water, ammonia, ultrasonic baths |
| Pot Metal | Clasps, settings, chains | Heavy weight, gray base under plating | Renaissance Wax, dry fiberglass pen | Soldering torches, liquid dips |
| Marcasite | Pave accents, geometric borders | Metallic gray, pyrite inlays | Soft dry brush, avoid dislodging stones | Water (causes rust in the setting glue) |
When to Call a Professional Conservator
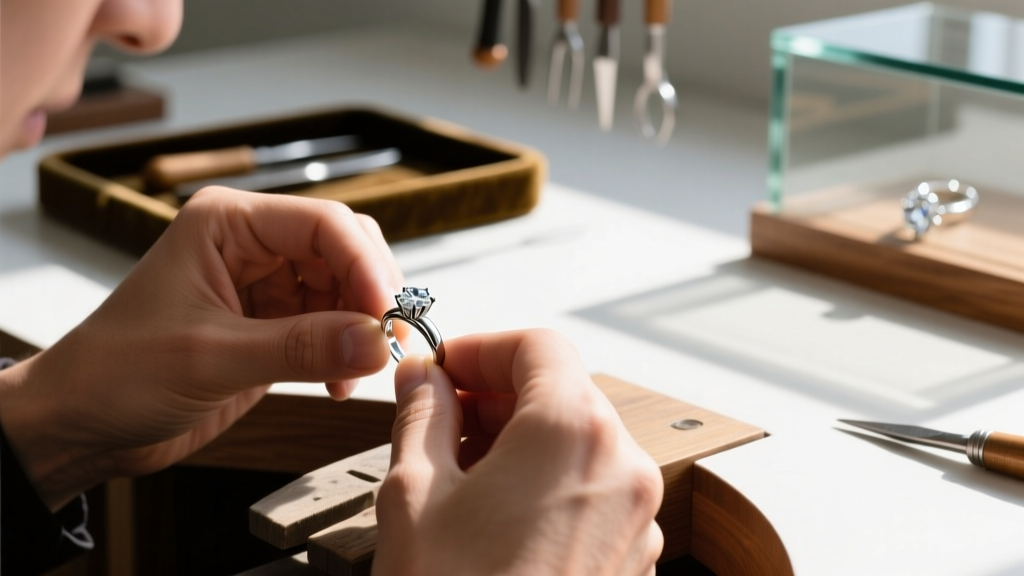
While routine maintenance, restringing, and clasp replacements can be handled by an informed collector, certain issues require a professional jewelry conservator. If your 192s necklace features severe 'pot metal disease' (where the metal is actively cracking and expanding, pushing stones out of their settings), DIY repairs will fail. This phenomenon, known as zinc pest, is irreversible and requires professional stabilization using specialized epoxy resins and custom-fabricated internal armatures.
Additionally, if the piece features rare, signed Art Deco components from houses like Chanel, Schiaparelli, or Miriam Haskell, improper cleaning can slash the collector value by thousands of dollars. In these cases, consult a certified antique jewelry appraiser before attempting any troubleshooting.
Conclusion
Troubleshooting and repairing a 192s necklace is a rewarding exercise in historical preservation. By understanding the specific metallurgical and chemical vulnerabilities of 1920s materials, you can safely remove verdigris, upgrade failing clasps, and restring fragile beads without compromising the piece's antique integrity. Always prioritize gentle, dry mechanical cleaning over harsh chemicals, and remember that preserving the original patina of the metal is often more desirable than attempting to make a century-old piece look brand new.


