How to Fix, Clean, and Restring a Flower Bead Necklace
Learn how to troubleshoot, clean, and restring a flower bead necklace. Expert fixes for cracked beads, broken clasps, and frayed stringing materials.

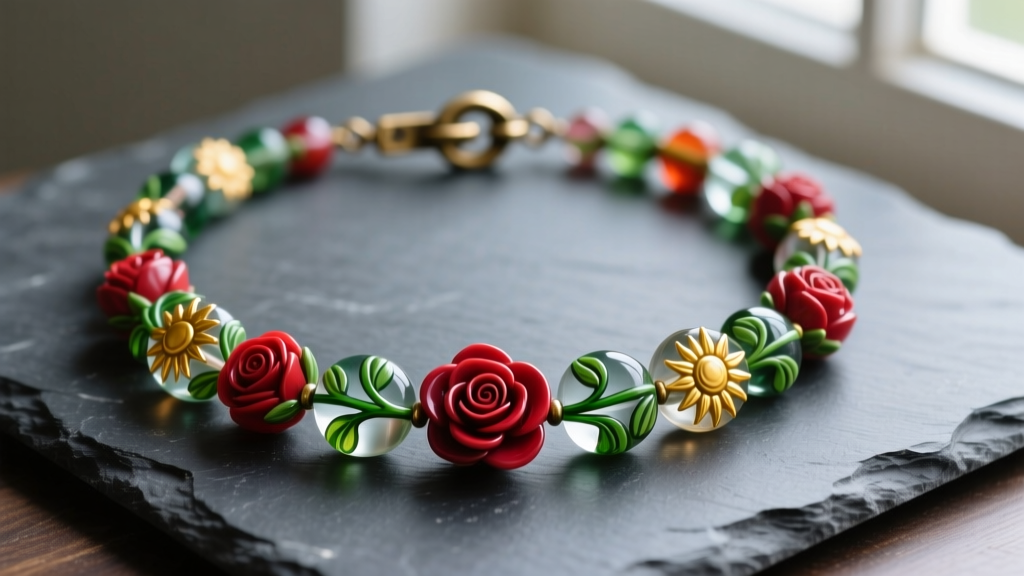
A beautifully crafted flower bead necklace is a staple of botanical jewelry design, but the intricate shapes and delicate finishes of floral beads present unique structural and maintenance challenges. Whether you are dealing with a vintage hand-painted glass piece, a modern polymer clay floral strand, or a Lucite daisy chain, the mechanics of keeping these necklaces intact require specialized knowledge. In this comprehensive troubleshooting guide, we will diagnose common failure points, outline exact restringing protocols, and detail safe cleaning methods to restore your favorite floral necklaces to their original glory.
Diagnosing Common Flower Bead Necklace Failures
Before attempting any repairs, it is crucial to identify the exact point of failure. Floral beads, due to their irregular shapes and protruding petals, are highly susceptible to specific types of wear and tear.
- Bead-on-Bead Friction: Unlike round beads, flower beads often have uneven edges. When strung tightly without spacers, the petals can grind against one another, chipping painted finishes or cracking delicate glass edges.
- Core Fraying at the Clasp: The sharp inner edges of metal jump rings and clasps act like micro-shears. If a silk or nylon thread is tied directly to the clasp without a protective guard, it will inevitably snap at the connection point.
- Resin and Polymer Yellowing: White or pastel acrylic and polymer clay flower beads are prone to UV degradation. Over time, exposure to sunlight causes a chemical reaction that turns the beads yellow or brittle.
- Paint Stripping and Clouding: Hand-painted floral details are often sealed with a weak topcoat. Using commercial jewelry dips or ultrasonic cleaners will strip the paint or cause glass with internal fractures to cloud permanently.
The Restringing Protocol: Choosing the Right Core Material
The most common mistake in jewelry repair is using a one-size-fits-all stringing material. The hole size of your flower beads and the weight of the necklace dictate the core material you must use. According to the Fire Mountain Gems Encyclopedia of Jewelry Making, matching the tensile strength of your thread to the bead's weight is critical for longevity.
| Stringing Material | Best For | Hole Size Required | Tensile Strength | Finishing Method |
|---|---|---|---|---|
| Griffin Natural Silk (Size F) | Vintage glass, lightweight pearls | 0.6mm - 0.8mm | Low (requires knotting) | Knots sealed with GS Hypo Cement |
| Power Pro Braided Line (10lb) | Irregular resin flowers, Lucite | 0.8mm - 1.0mm | High (flexible) | Surgeon's knots or micro crimps |
| Soft Flex Wire (.015") | Heavy ceramic or stone florals | 1.2mm+ | Very High (rigid) | 1x1mm micro crimp tubes |
Expert Tip: If your flower beads have large holes (1.5mm+) but you are using a thin wire, the beads will wobble and look misaligned. Always use size 15/0 seed beads or small metallic spacers inside the flower bead hole to center the wire and provide structural stability.
Step-by-Step Restringing Guide for Delicate Floral Beads
When restringing a flower bead necklace, the goal is to maximize drape while minimizing stress on the bead holes. Follow this professional bench protocol:
1. Prep the Workstation and Materials
Use a bead board with a velvet lining to prevent the floral beads from rolling off. Cut your stringing material 12 inches longer than your desired finished length to allow ample room for finishing the clasp ends.
2. Implement Friction Buffers
If you are working with hand-painted glass flowers, never let the beads touch directly. Thread a tiny 1mm metal spacer or a soft silicone bead bumper between each floral bead. This absorbs the kinetic shock when the necklace is worn and prevents the petals from chipping.
3. Secure the Clasp with French Wire
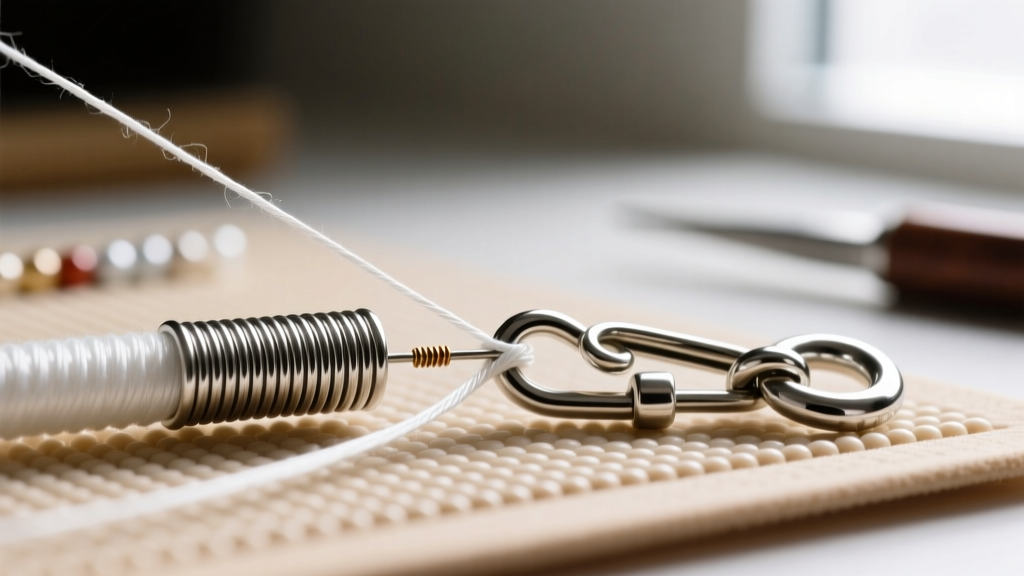
Never tie silk or nylon directly to a metal jump ring. Instead, thread a 1-inch piece of French wire (bullion) onto your stringing material. Pass the thread through the clasp ring, then back through the French wire and the first few flower beads. The French wire acts as a flexible metal shield, preventing the metal clasp from sawing through your thread.
4. Seal and Finish
If using silk, tie a half-hitch knot, apply a micro-drop of GS Hypo Cement (recommended for delicate gem and bead care), and let it cure for 2 hours before trimming the tail. If using beading wire, use a 1x1mm micro crimp tube and flatten it with chain-nose pliers, then fold a crimp cover over it to mimic a seamless metal bead.
Cleaning Painted and Resin Flower Beads Without Ruining the Finish
Cleaning a flower bead necklace requires a gentle, non-abrasive approach. The intricate crevices of the petals trap skin oils, lotion, and dust, but aggressive cleaning will destroy the piece.
What to Avoid at All Costs
Never place a painted or resin flower bead necklace in an ultrasonic cleaner. The high-frequency vibrations will shatter vintage glass with micro-fractures and strip the painted enamel right off the surface. Similarly, avoid commercial silver dips or ammonia-based cleaners, which will cause Lucite and acrylic beads to craze (develop a network of tiny surface cracks).
The Safe Cleaning Protocol
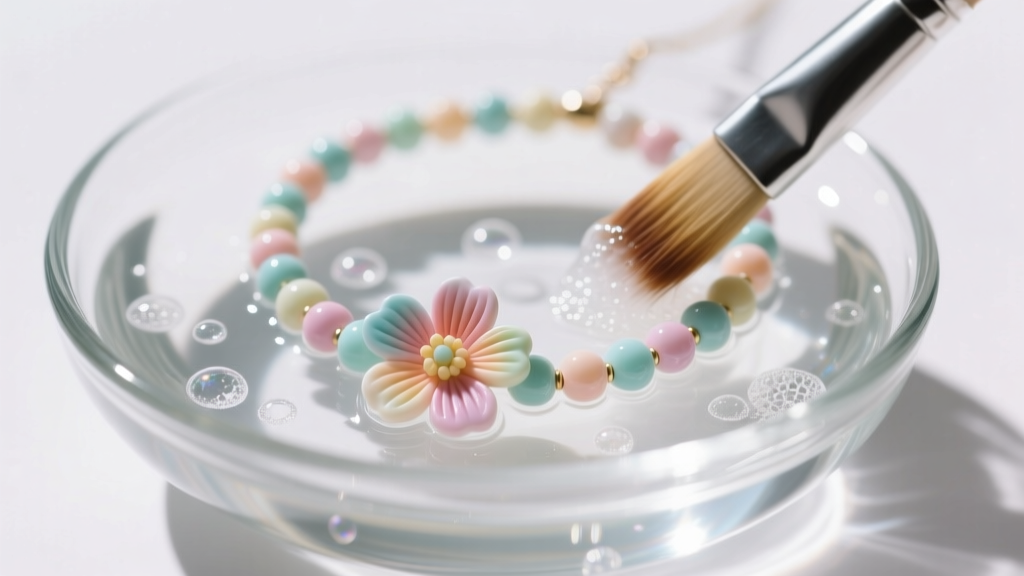
- Mix a solution of lukewarm distilled water and a single drop of pH-neutral dish soap (like Dawn) in a shallow glass bowl.
- Dip a soft, clean makeup brush (like a blending eyeshadow brush) into the solution.
- Gently brush the crevices of the flower beads, working the suds into the petal details to lift trapped oils.
- Wipe the beads immediately with a damp, lint-free microfiber cloth. Do not let the water air-dry on the beads, as it can leave hard water spots in the floral grooves.
- For stubborn tarnish on the metal spacer beads between the flowers, use a dry polishing cloth treated with a mild jeweler's rouge, carefully avoiding the adjacent painted beads.
Dealing with Resin Yellowing and Clouding
If your white or pastel acrylic flower beads have developed a yellow tint due to UV exposure, the damage is often permanent within the plastic matrix. However, surface-level clouding caused by lotion buildup can be reversed. Apply a tiny amount of Novus 2 Plastic Polish to a cotton swab and gently buff the surface of the resin flowers. This removes the oxidized top layer and restores the original translucency. For vintage Bakelite floral beads, use Simichrome polish sparingly, and always test on an inconspicuous area first, as some early plastics are highly reactive to modern chemicals.
Clasp Upgrades and Hardware Troubleshooting
Many older flower bead necklaces were finished with barrel clasps or hook-and-eye closures that are prone to slipping undone. If you are restringing the necklace anyway, upgrade the hardware to improve security.
- For Heavy Glass Florals: Use a sterling silver lobster claw clasp paired with a soldered jump ring. Soldered rings cannot be pried open by the weight of the necklace.
- For Delicate Silk Strands: A magnetic clasp is ideal, but ensure it features an internal safety chain. The magnets can occasionally detach if caught on a sweater, and the safety chain prevents the necklace from falling to the floor.
- Troubleshooting Stuck Barrel Clasps: If you are keeping a vintage barrel clasp that has become stuck due to cross-threading or tarnish buildup, do not use pliers to force it. Soak the clasp (avoiding the beads) in a small cap of white vinegar for 10 minutes to dissolve the tarnish, then rinse and dry thoroughly before attempting to unscrew it.
Preventative Maintenance and Storage
The way you store a flower bead necklace is just as important as how you wear it. Because floral beads have protruding elements, they should never be tossed into a communal jewelry box where heavy metal chains can crush the petals. Store the necklace flat in an acid-free tissue-lined box, or hang it on a padded jewelry stand. If the necklace features silver spacer beads between the flowers, place an anti-tarnish strip (like 3M Silver Protector strips) in the storage box to absorb sulfur compounds from the air, ensuring the metal accents remain bright without requiring frequent polishing that could endanger the delicate floral beads.


