Troubleshooting a Stuck or Tarnished Silver Heart Necklace Locket
Learn how to troubleshoot, clean, and repair a silver heart necklace locket. Fix stuck hinges, remove heavy tarnish, and secure fragile chains.

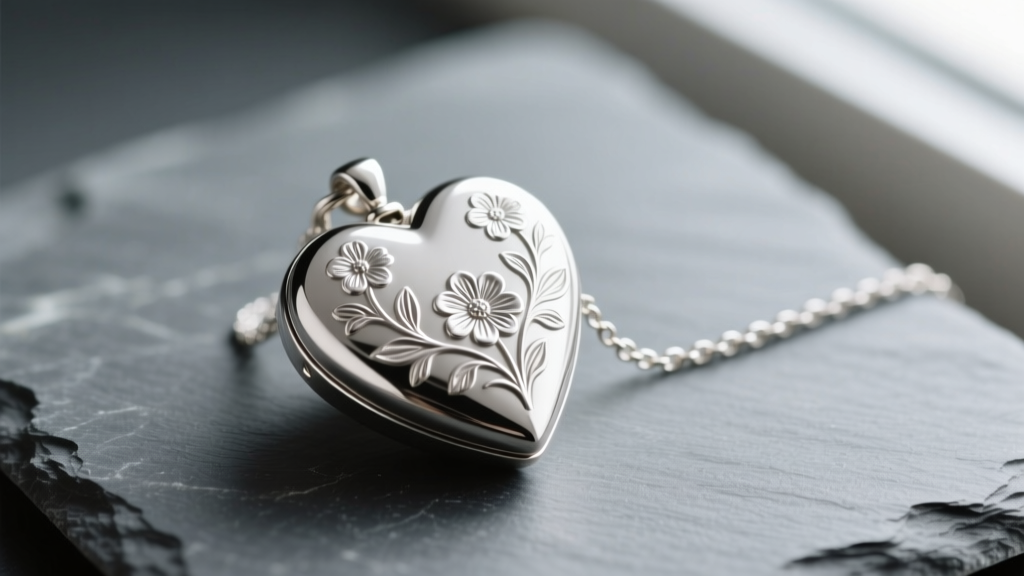
A silver heart necklace locket is more than just a piece of jewelry; it is a mechanical keepsake designed to protect your most cherished memories. However, the very mechanics that allow a locket to open and close, combined with the reactive nature of sterling silver, make these pieces highly susceptible to specific failures. From seized hinge pins to severe silver sulfide tarnish and broken clasp hardware, a malfunctioning locket can quickly turn a beloved heirloom into a frustrating paperweight.
In this comprehensive troubleshooting guide, we bypass generic cleaning advice and dive deep into the metallurgy, micro-mechanics, and archival preservation techniques required to restore your locket to perfect working order.
The Anatomy of a Silver Heart Locket (and Why It Fails)
To effectively troubleshoot your jewelry, you must first understand its construction. A genuine sterling silver locket (stamped 925) is an alloy composed of 92.5% silver and 7.5% copper. The copper provides the necessary tensile strength for the thin metal walls, but it is also the primary culprit behind severe tarnishing. Furthermore, according to the Assay Office, the internal components—specifically the hinge pin and the internal spring mechanism—are rarely made of silver. Silver is too soft and prone to galling (cold welding under friction). Instead, bench jewelers use hardened steel or brass for the hinge pin. This dissimilar metal contact inside a microscopic tube creates a galvanic cell when exposed to moisture, leading to internal corrosion that seizes the hinge long before the exterior shows wear.
Troubleshooting Matrix: Diagnosing Your Locket's Issues
Use the table below to identify the exact failure mode of your silver heart necklace locket and determine the appropriate intervention level.
| Symptom | Root Cause | DIY Fix | Professional Bench Fix |
|---|---|---|---|
| Hinge is stiff or squeaks | Dust accumulation or galvanic corrosion on the brass/steel pin | Micro-drop of synthetic watch oil via 0.5mm needle | Ultrasonic flush and pin replacement |
| Black crust in engravings | Severe silver sulfide ($Ag_2S$) buildup | Electrochemical aluminum foil bath | Professional polishing with rouge |
| Photos slip out or wrinkle | Improper sizing and lack of archival backing | Custom-cut 0.5mm Mylar sleeve with a 1mm lip | Custom bezel adjustment |
| Chain tangles; clasp fails | Undersized spring ring on a micro-chain | Upgrade to a 5mm lobster clasp | Laser soldering a heavy-duty jump ring |
Fixing the Dreaded Stuck Hinge
The most common mechanical failure in a silver heart necklace locket is a seized hinge. Never use WD-40 or standard household lubricants. These products contain volatile solvents that evaporate, leaving behind a sticky residue that attracts microscopic dust and eventually cements the hinge shut.
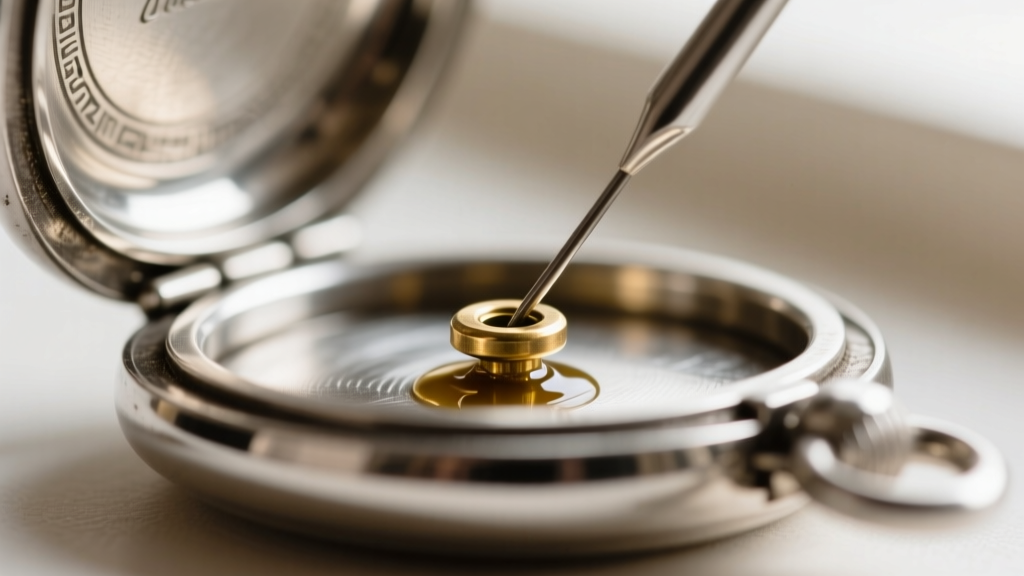
The Watchmaker's Lubrication Method
To properly lubricate the hinge, you need a low-viscosity synthetic oil that will not degrade over time. Moebius 9010 (a standard synthetic watch oil) or a high-grade, non-detergent sewing machine oil is ideal.
- Secure the locket in a soft-jawed vise or hold it firmly with a non-marring silicone pad.
- Using a 0.5mm oiler needle (or the thinnest sewing needle you own), pick up a microscopic droplet of oil.
- Touch the needle to the top seam of the hinge tube. Capillary action will draw the oil down into the tube and around the pin.
- Gently work the locket open and closed 10 to 15 times to distribute the oil and break up micro-corrosion.
- Wipe away any excess oil from the exterior silver with a lint-free microfiber cloth to prevent attracting dirt.
Reversing Severe Silver Sulfide Tarnish Safely
When a silver heart necklace locket is exposed to sulfur in the air, cosmetics, or sweat, it forms silver sulfide—the black, crusty layer that obscures intricate engravings. While many commercial dips promise instant results, they often cause irreversible damage.
Why You Must Avoid Thiourea Dips
Popular liquid tarnish removers rely on thiourea, a toxic chemical that strips tarnish instantly. However, according to Jewelers of America, thiourea etches the silver at a microscopic level, creating micro-pits that actually accelerate future tarnishing. Furthermore, these dips strip the intentional dark patina (antiquing) placed inside engravings by the original artisan, leaving the locket looking flat and cheap.
The Electrochemical Reduction Bath
The safest, most effective way to remove heavy tarnish without removing base metal is through electrochemical reduction. This process reverses the chemical reaction, converting silver sulfide back into pure silver.
- Line a glass or ceramic bowl with aluminum foil, shiny side up.
- Place your locket inside, ensuring it physically touches the aluminum foil.
- Boil water and dissolve 1 tablespoon of baking soda (sodium bicarbonate) per cup of water.
- Pour the solution over the locket. You will immediately see bubbling and smell a faint rotten egg odor (hydrogen sulfide gas escaping).
- Leave it for 3 to 5 minutes, then remove with wooden tongs, rinse in distilled water, and dry immediately with a hair dryer to prevent water spots.
Mastering the Heart-Shaped Photo Insert
Fitting a photograph into a heart-shaped bezel is notoriously frustrating due to the compound curves and the sharp bottom point. Using glue to secure the photo is a catastrophic mistake; adhesive off-gassing will stain the photo, and the glue will permanently ruin the interior silver plating.
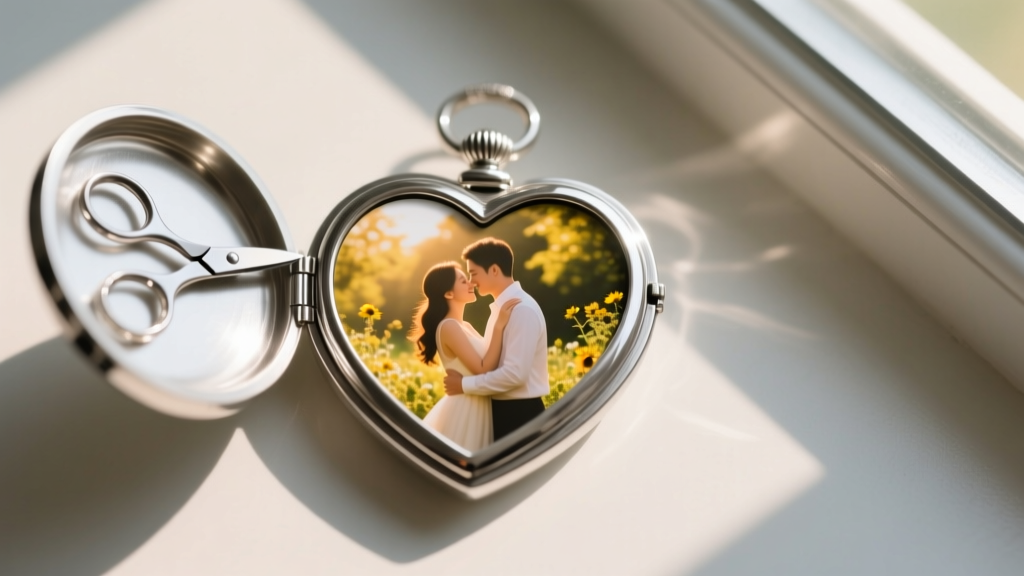
Instead, use the friction-fit archival method. Purchase a sheet of 0.5mm archival polyester (Mylar). Cut your photo slightly larger than the locket's interior cavity. Place the Mylar over the photo and trace the heart shape using a fine-tipped chalk pen. Using curved manicure scissors, cut the photo and Mylar together, leaving exactly a 1mm border outside your traced line. Fold this 1mm lip backward. When you press the photo into the locket, the folded Mylar lip acts as a microscopic spring, wedging against the interior silver walls and holding the photo perfectly flat without a single drop of adhesive.
Upgrading the Chain and Clasp Hardware
A beautiful silver heart necklace locket is frequently paired with a delicate 0.8mm to 1.2mm box or rope chain. The weak point in this assembly is almost always the factory-installed 4mm spring ring clasp. These tiny clasps suffer from spring fatigue and frequently pop open, leading to lost lockets.
The Fix: Visit a local jeweler or use a pair of chain-nose pliers to swap the spring ring for a 5mm or 7mm sterling silver lobster clasp. Lobster clasps feature a heavier internal spring and a more secure locking geometry. Additionally, ensure the jump ring connecting the clasp to the chain is soldered closed or upgraded to a 2mm split ring to prevent the chain from slipping through the gap.
When to Seek Professional Bench Jeweler Help
Expert Insight: If the actual silver tube of the hinge is cracked, or if the hinge pin has sheared off flush with the metal, DIY repairs are impossible. As of 2026, modern bench jewelers increasingly rely on laser welders to repair these micro-fractures. A laser welder can fuse silver in a millimeter-sized area without transferring heat to the rest of the locket, ensuring that any enamel detailing or interior photographs are not melted or scorched during the repair process.
By understanding the specific metallurgical and mechanical vulnerabilities of your jewelry, you can ensure your silver heart necklace locket remains a functional, beautiful heirloom for generations to come. Regular maintenance, proper lubrication, and archival photo mounting are the keys to lifelong preservation.


