How to Clean and Repair a Vintage Bubble Necklace 90s Era
Learn how to clean, repair, and restore a vintage bubble necklace 90s collectors love. Fix yellowed acrylic, frayed cords, and broken clasps.

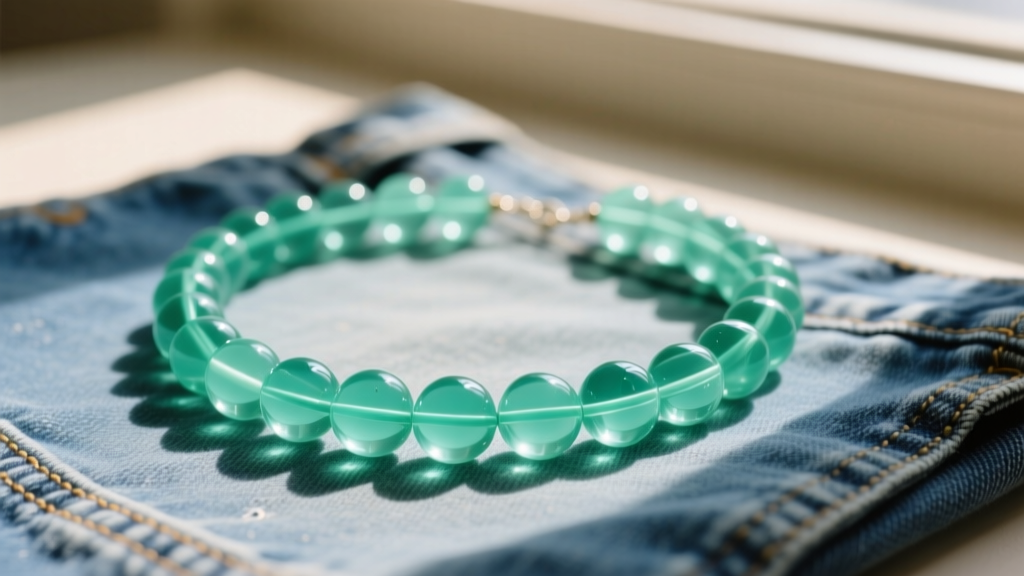
The resurgence of Y2K and late-90s mall culture fashion has pushed vintage accessories back into the spotlight. Among the most coveted pieces is the bubble necklace 90s collectors and nostalgia enthusiasts actively hunt for. Characterized by translucent, oversized acrylic spheres—often in seafoam green, hot pink, or icy blue—these necklaces were staples of brands like Claire's and Limited Too. However, as we navigate the fashion landscape in 2026, these 30-year-old plastic artifacts are presenting unique conservation challenges. Aging polymers, dry-rotted elastic cords, and corroded pot-metal clasps require specialized troubleshooting. This guide provides a professional, step-by-step framework for restoring and repairing your vintage acrylic jewelry.
Diagnosing Polymer Degradation in 90s Acrylics
Before applying any cleaning agents, you must understand the material science of 1990s costume jewelry. Most vintage bubble necklaces were manufactured using injection-molded polymethyl methacrylate (PMMA) or cheaper polystyrene blends. Over three decades, these plastics undergo two primary failure modes: UV-induced yellowing and plasticizer migration. According to the Getty Conservation Institute, early synthetic polymers lack the advanced UV stabilizers found in modern resins, making them highly susceptible to photo-oxidation.
The Retrobright Protocol for Yellowed Bubbles
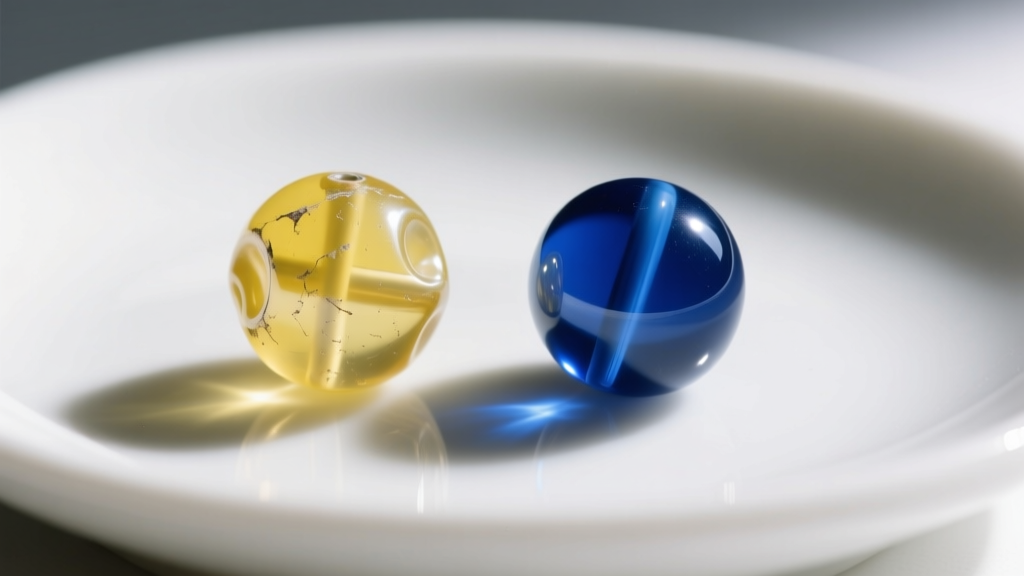
If your translucent blue or clear bubbles have taken on a sickly yellow or brownish tint, this is a chemical reaction within the plastic matrix. You can reverse this using a modified "Retrobright" process, a technique widely used by vintage electronics restorers.
- Materials Needed: 12% Hydrogen Peroxide cream (40-volume hair developer), UV lamp or direct sunlight, plastic wrap, and nitrile gloves.
- Preparation: Remove the beads from the cord entirely. Coat each bead evenly with the 12% H2O2 cream.
- UV Exposure: Wrap the coated beads in clear plastic wrap to prevent the cream from drying out. Place them under a UV lamp or in direct sunlight for 4 to 8 hours. Check every 2 hours to ensure the heat isn't warping the acrylic.
- Neutralization: Rinse thoroughly with distilled water and mild dish soap to halt the oxidation process.
Solving the "Sticky Bead" Syndrome
A frequent complaint among vintage jewelry buyers is a tacky, sticky residue on the surface of the beads. This is not dirt; it is plasticizer leaching. In the 90s, manufacturers added phthalates to make rigid plastics slightly more flexible and impact-resistant. As the polymer chain breaks down, these oily plasticizers migrate to the surface.
Safe Surface Stripping and Polishing
Do not use acetone, nail polish remover, or harsh alcohol-based solvents, as these will instantly melt and cloud 90s acrylics. The Victoria and Albert Museum recommends gentle, non-solvent surfactants for historic plastics.
- Initial Wash: Soak the beads in a solution of lukewarm water and a few drops of pH-neutral dish detergent (like Dawn) for 15 minutes. Gently agitate with a microfiber cloth.
- Deep Cleaning: For stubborn sticky patches, apply a small amount of Novus Plastic Clean & Shine (No. 1). This specialized formula lifts plasticizer residue without damaging the polymer surface.
- Scratch Removal: If the bubbles are clouded with micro-scratches from decades of wear, use Novus Plastic Polish (No. 2) with a clean cotton cloth. Buff in circular motions until the high-gloss 90s finish returns.
Restringing: Upgrading the Structural Core
The original threading materials used in 90s bubble necklaces—usually cheap nylon monofilament or low-grade elastic—are guaranteed to be brittle by 2026. Attempting to wear a vintage piece on its original cord will result in catastrophic snapping and lost beads. Restringing is mandatory for wearable restoration.
Selecting the Right Cord Gauge
The drill holes in vintage acrylic bubbles are typically wide (2.5mm to 3.5mm), but the cord must provide structural integrity without stretching out of shape.
- For Rigid Necklaces: Use 1.0mm braided nylon cord or 0.8mm stainless steel beading wire (49-strand for maximum drape).
- For Stretch Styles: Use 1.0mm polyurethane elastic cord (such as Stretch Magic). Avoid flat elastic ribbons, which degrade and rot from skin oils.
The Surgeon's Knot and Cement Technique
When tying off polyurethane elastic, a standard overhand knot will slip under the weight of heavy acrylic bubbles. Instead, use a surgeon's knot (wrapping the cord through the loop twice before pulling tight). Once the knot is seated, apply a micro-drop of GS Hypo Cement or jeweler's cyanoacrylate adhesive directly to the knot. Allow it to cure for 24 hours before trimming the excess cord and hiding the knot inside the adjacent bead's drill hole.
Hardware Replacement and Clasp Upgrades
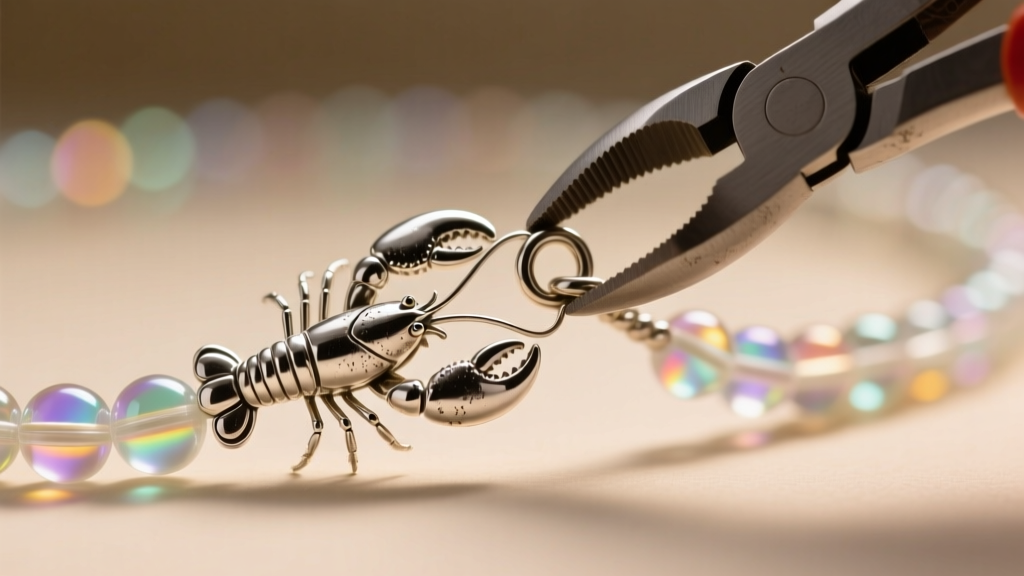
The hardware on 90s costume jewelry was almost exclusively made from "pot metal" (zinc or lead alloys with thin flash plating). Over time, this plating chips, and the base metal corrodes, turning green and snapping under tension. Upgrading the hardware is essential for securing your restored beads.
Transitioning to 316L Surgical Steel
Replace the original lobster claw or spring-ring clasps with 316L surgical stainless steel or sterling silver components. 316L steel is highly resistant to tarnish and skin acids. Use 5mm or 6mm oval jump rings (minimum 20-gauge thickness) to attach the new clasp to the cord ends. Always use two pairs of flat-nose pliers to open jump rings laterally—never pull them apart, which weakens the metal's structural memory.
Troubleshooting Matrix for 90s Bubble Necklaces
Use the following diagnostic table to quickly identify the issue with your vintage piece and apply the correct restoration methodology.
| Symptom | Root Cause | Repair Method | Risk Level |
|---|---|---|---|
| Yellow/Brown Discoloration | UV Photo-oxidation of polymers | 12% H2O2 Retrobright treatment | Medium (Heat warping risk) |
| Sticky/Tacky Surface | Plasticizer (phthalate) leaching | Novus No. 1 wash and microfiber buff | Low |
| Cloudy/Scratched Beads | Abrasion from storage and wear | Novus No. 2 fine scratch polish | Low |
| Frayed/Snapped Cord | Dry rot of 90s nylon/elastic | Restring with 1.0mm polyurethane | Low |
| Green/Corroded Clasp | Oxidation of pot-metal base | Replace with 316L steel hardware | Low |
| Internal Glitter Clumping | Moisture ingress through seams | Irreversible; seal seam with resin | High (Cosmetic damage) |
Long-Term Preservation and Storage
Once you have successfully restored your bubble necklace 90s collectors will envy, proper storage is critical to prevent a recurrence of these issues. Never store acrylic jewelry in direct sunlight or in extreme temperature fluctuations (like a car glovebox or an unconditioned attic). Store the necklace flat in an acid-free tissue-lined jewelry box. Avoid hanging heavy acrylic bubble necklaces on standard hooks, as the sustained gravitational pull will permanently stretch even modern polyurethane cords over time. By understanding the chemical vulnerabilities of 90s plastics and applying modern conservation techniques, you can ensure these nostalgic statement pieces survive for decades to come.


