How to Restore and Repair a Vintage 80s Charm Necklace
Learn how to troubleshoot, clean, and repair a vintage 80s charm necklace. Expert tips on fixing broken chains, clasps, and removing heavy tarnish.

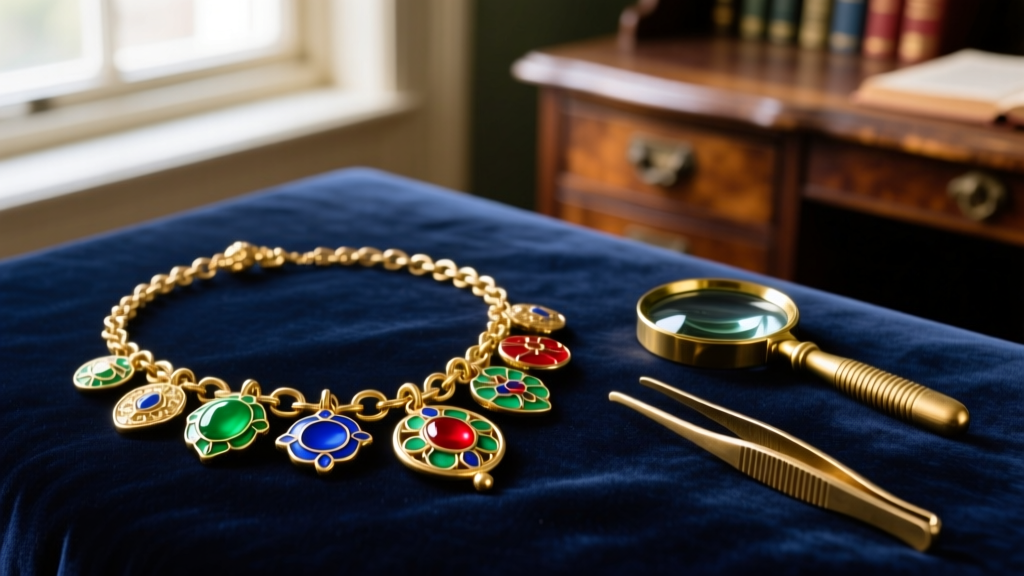
The 2026 Vintage Resurgence: Assessing Your 80s Charm Necklace
The maximalist aesthetic of the 1980s has firmly reclaimed its spot in modern jewelry boxes, making the vintage 80s charm necklace a highly sought-after staple. However, acquiring or unearthing a decades-old piece often reveals a host of structural and cosmetic issues. Unlike contemporary minimalist chains, 80s charm necklaces were frequently layered with heavy, oversized pendants, geometric motifs, and cold-enamel charms that place immense stress on the underlying chain and clasps. Before attempting any restoration, a proper diagnostic assessment is critical to avoid irreversible damage to electroplated finishes or fragile epoxy settings.
Metal Identification and the 'Green Skin' Dilemma
The most common complaint with vintage costume jewelry is the dreaded green oxidation that transfers to the skin. In the 1980s, brands like Monet, Napier, and Trifari produced stunning charm necklaces using base metals—often brass, copper, or pot metal—coated in a thin layer of gold or silver electroplating. When this plating wears thin, the underlying copper reacts with the acids in your sweat, creating copper chloride (the green residue).
Diagnostic Testing Table
| Test Method | Fine Jewelry (14k/Sterling) | 80s Costume (Plated Base Metal) |
|---|---|---|
| Magnet Test | No reaction (precious metals are non-magnetic) | No reaction (brass/copper are non-magnetic) |
| Acid Test Kit | Turns specific colors based on karat/silver content | Turns green or bubbles aggressively on exposed base |
| Visual Inspection | Consistent wear, stamped 925 or 14k | Flaking, brassy undertones at high-friction clasp points |
To troubleshoot the green skin issue without stripping the remaining plating, avoid harsh chemical dips. Instead, apply a micro-crystalline wax, such as Renaissance Wax, to the back of the charms and the interior links of the chain. This creates an invisible, archival-grade barrier against moisture. Never use clear nail polish; it yellows over time, chips into the chain links, and ruins the vintage patina.
Chemical Cleaning vs. Mechanical Polishing
Heavy tarnish on an 80s charm necklace requires a tailored approach based on the metal composition. According to the Jewelers of America, improper cleaning is the leading cause of irreversible damage to vintage pieces.
The Aluminum Foil Bath (Solid Sterling Only)
If your necklace is solid sterling silver (stamped 925), you can reverse silver sulfide tarnish using an ion-exchange reaction. Line a glass bowl with aluminum foil (shiny side up). Add one tablespoon of baking soda and a pinch of salt. Pour boiling water over the mixture and submerge the necklace for exactly 3 to 5 minutes. The tarnish will transfer from the silver to the foil. Rinse thoroughly and buff with a microfiber cloth. Warning: Never use this method on oxidized silver (where blackening is intentional in the crevices) or on pieces with glued-in rhinestones, as the heat and alkalinity will dissolve the adhesive.
Mechanical Cleaning for Plated Costume Pieces
For gold-plated or silver-plated 80s costume necklaces, liquid tarnish removers like Tarn-X will instantly strip the electroplated layer, leaving you with dull, pinkish brass. Instead, use a mechanical approach: a few drops of pH-neutral dish soap in lukewarm water, gently agitated with an extra-soft baby toothbrush. For intricate charm crevices, use a wooden toothpick to dislodge decades of lotion and skin cell buildup without scratching the soft metal.
Structural Chain Repairs: Box, Rope, and Cobra Links
The 1980s favored highly textured chains—specifically box, rope, and cobra (snake) chains. While visually striking, these chains are notoriously difficult to repair when they snap.
Troubleshooting Box Chain Snaps
Box chains are constructed of interlocking folded squares. When a link breaks, traditional heat soldering often fuses the adjacent links together, rendering the chain stiff and prone to re-snapping. The professional workaround is a mechanical micro-jump ring repair. Using flush cutters, trim the damaged link. Open a 2.5mm or 3.0mm jump ring (matching the metal tone and gauge, typically 20-gauge or 22-gauge) using two pairs of chain-nose pliers, twisting laterally rather than pulling apart. Thread the jump ring through the intact box links and twist it closed. This preserves the chain's fluid drape.
Fixing Cobra (Snake) Chain Kinks
Cobra chains are essentially a continuous tube of tightly wound metal. They are highly susceptible to kinking, which causes the internal structure to collapse and snap. If your 80s cobra chain has a kink, do not pull it. Lay the necklace flat on a steel bench block. Using a polished rawhide mallet, gently tap the kinked area. The rawhide will coax the metal back into alignment without marring the smooth exterior finish. If the chain has already snapped at the kink, it must be repaired with a specialized end-cap and jump ring, as the tubular links cannot be soldered cleanly.
Clasp Failures and Upgrades
The original clasps on 80s charm necklaces are usually 5mm or 6mm spring rings. Over forty years, the internal tension springs dry out, corrode, or snap, causing the clasp to fail unexpectedly. Given the heavy weight of 80s charms, a failed clasp often results in a lost necklace.
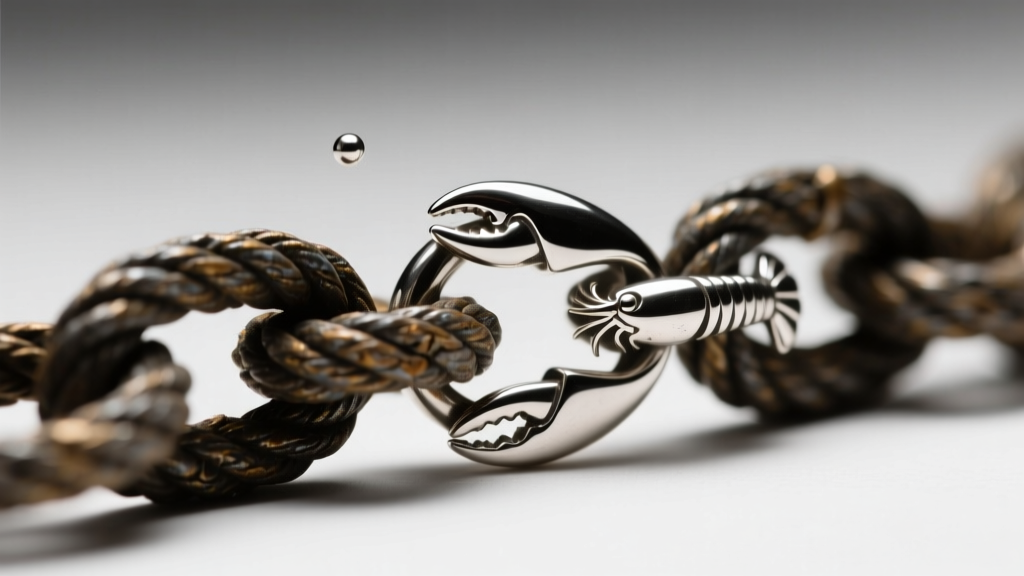
The Upgrade Protocol: Replace the failing spring ring with a 7mm or 9mm lobster clasp. Lobster clasps feature a heavier, more reliable internal spring mechanism and a wider gate, making them easier to operate while supporting the weight of multiple charms. When sourcing a replacement, ensure the lobster clasp is stamped with the appropriate metal mark (e.g., 925 for sterling) to maintain the piece's integrity. Use a 4mm split ring or a securely closed 4mm jump ring to attach the new clasp to the chain's end tag, ensuring the connection point can handle the tensile stress of the charms.
Reattaching Charms and Epoxy Restoration
Many 80s charms feature 'cold enamel'—a pigmented epoxy resin poured into metal cavities to create vibrant, opaque colors. Over time, temperature fluctuations and UV exposure cause this epoxy to shrink, crack, and fall out entirely.
Restoring Missing Enamel
Do not attempt to solder a charm that has lost its enamel; the heat will melt the surrounding resin and scorch the metal. To restore the charm: 1. Clean the empty metal cavity with 99% isopropyl alcohol to remove all oils and old adhesive. 2. Mix a two-part jeweler's epoxy (such as Devcon 5-Minute Epoxy). 3. If the original color was vibrant, tint the clear epoxy with a pinch of cosmetic-grade mica powder before application. 4. Use a fine needle or toothpick to carefully drop the epoxy into the cavity, ensuring it sits just below the metal lip to prevent chipping. 5. Let it cure on a flat surface for a full 24 hours before handling.
Reattaching Loose Charms Without Soldering
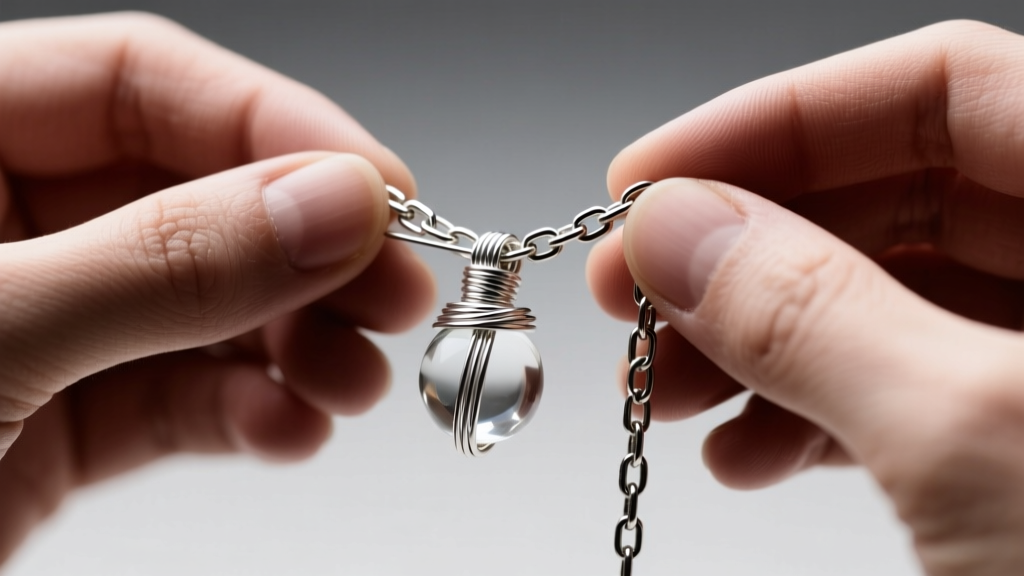
If a charm's soldered bail (the loop connecting it to the chain) has broken off, heat soldering is risky on plated pieces. Instead, utilize a wire-wrapping technique. Using 20-gauge or 22-gauge wire that matches the necklace's metal tone, create a custom wrapped bail. Thread the wire through the charm's hole, wrap it tightly around a 2mm steel mandrel to form a loop, and secure the tail by wrapping it flush against the base. This provides a secure, heat-free connection that honors the Gemological Institute of America's guidelines for preserving the structural integrity of mixed-material vintage jewelry.
Preventative Maintenance for Decades-Old Jewelry
Once your 80s charm necklace is restored, proper storage is vital to prevent future troubleshooting. Never store vintage charm necklaces in a tangled pile; the heavy charms will act as abrasive hammers against the softer chain links, causing micro-fractures. Store the necklace flat in an anti-tarnish flannel pouch, or hang it from a padded jewelry stand. Include a silica gel packet and a 3M anti-tarnish strip in the storage drawer to neutralize ambient sulfur and humidity. By treating these maximalist masterpieces with horological precision, you ensure they remain wearable, structurally sound, and visually striking for decades to come.


