How to Restore, Clean, and Re-String a Vintage Wooden Necklace
Learn how to safely clean, restore, and re-string a vintage wooden necklace. Step-by-step guide to preserving patina and selecting the right cord.

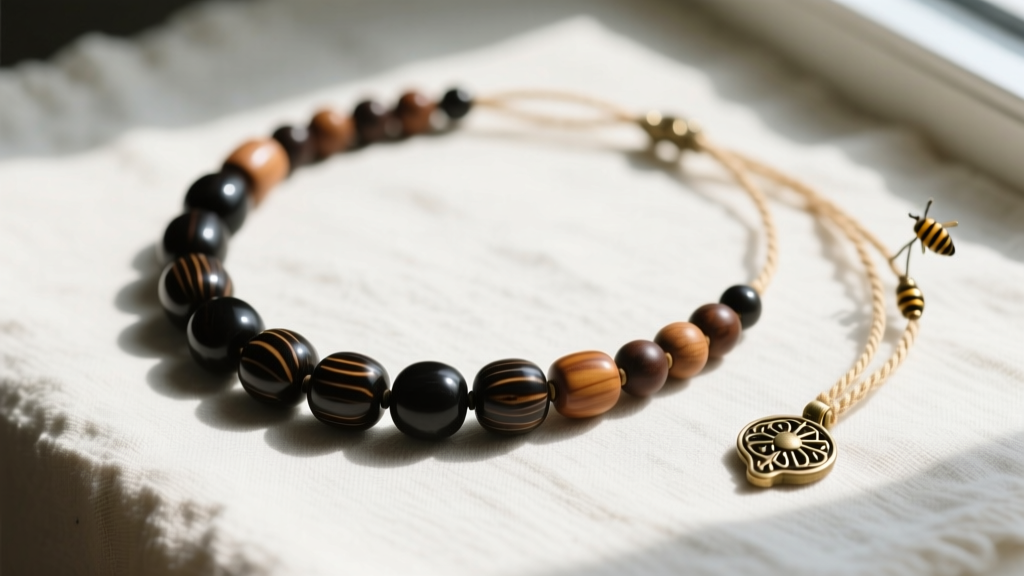
The Unique Challenge of Vintage Wooden Jewelry
Unlike metals or gemstones, wood is a hygroscopic, organic material that continues to react to its environment long after it has been carved and polished. A vintage wooden necklace—whether it features 1920s Art Deco ebony beads, 1950s imported sandalwood, or 1970s hand-carved olive wood—requires a highly specific conservation approach. Water, commercial jewelry dips, and standard polishing cloths can permanently raise the grain, strip the historical patina, or cause micro-fractures.
This step-by-step guide provides professional conservation techniques to clean, rehydrate, and safely re-string your vintage wooden beads without compromising their structural integrity or historical value.
Step 1: Assessing Wood Species and Vulnerability
Before applying any cleaner or wax, you must identify the wood species. Different woods have varying densities (measured on the Janka hardness scale) and natural oil contents, which dictate how they respond to cleaning agents. According to the American Institute for Conservation, understanding the cellular structure of the wood is the first rule of preventive care.
| Wood Species | Janka Hardness | Era Popularity | Primary Vulnerability |
|---|---|---|---|
| Ebony | 3,220 lbf | 1920s-1930s | Brittle; prone to cracking if humidity drops below 35%. |
| Olive Wood | 2,710 lbf | 1970s Boho | Naturally oily; prone to sticky residue buildup and dust trapping. |
| Sandalwood | 1,200 lbf | 1950s-1960s | Porous; loses aromatic oils if cleaned with alcohol or solvents. |
| Mahogany | 900 lbf | 1940s Carved | Softer grain; easily scratched by abrasive polishing cloths. |
Step 2: The Dry-Cleaning Protocol (No Water!)
Never submerge vintage wood in water. Moisture causes the wood fibers to swell, which can lead to warping and the flaking of any original lacquer or dye. Instead, rely on mechanical dry-cleaning methods.
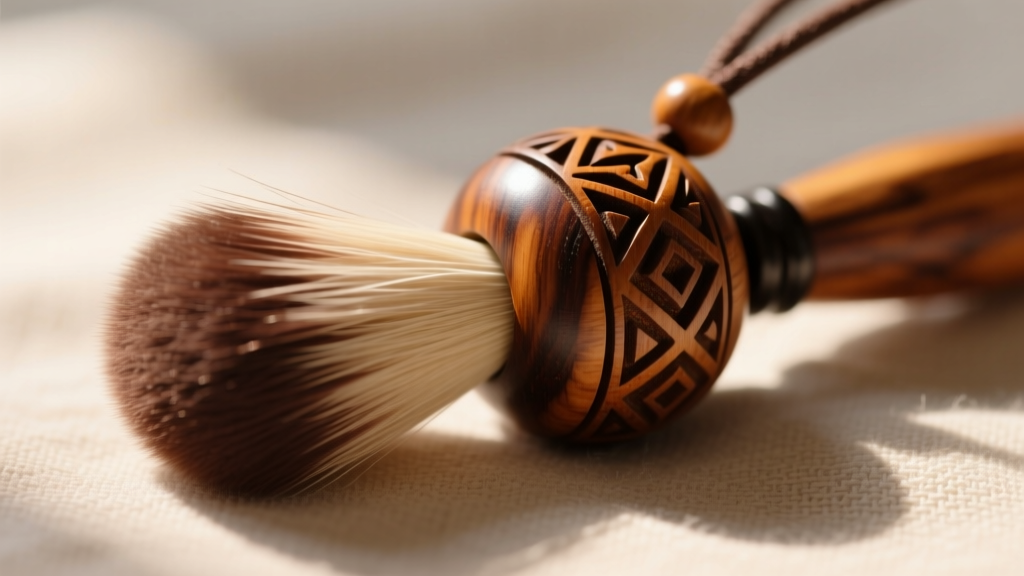
Tools Required:
- Soft goat-hair makeup brushes (for intricate carvings and drill holes)
- Wooden toothpicks or bamboo skewers (for compacted grime)
- Microfiber cloth (lint-free)
- Odorless mineral spirits (only for severe, hardened grime)
Execution Steps:
- Dust Removal: Use the goat-hair brush to gently sweep out the bead holes and carved grooves. Goat hair is soft enough not to scratch mahogany or sandalwood but stiff enough to dislodge decades of dead skin and dust.
- Grime Extraction: If the beads have a sticky, oxidized buildup (common with olive wood), use a wooden toothpick to gently scrape the surface. Wood will not scratch wood.
- Solvent Wipe (If Necessary): For heavily soiled beads, lightly dampen a corner of a microfiber cloth with odorless mineral spirits. Wipe the bead quickly and immediately buff dry. Never let the solvent pool in the drill holes.
Step 3: Rehydrating and Polishing the Patina
A common mistake in restoring a vintage wooden necklace is applying household oils like olive oil, coconut oil, or linseed oil. These oils eventually oxidize, turn rancid, and create a sticky, dark sludge that attracts dirt and ruins the bead's scent and finish.
Expert Tip: Always use a microcrystalline wax, such as Renaissance Wax, for vintage organics. Originally developed by the British Museum, it provides a stable, non-yellowing barrier that locks in moisture without altering the wood's natural color.
Application: Apply a microscopic amount of microcrystalline wax to a soft cotton cloth. Rub it into the wood in circular motions. Let it haze for 10 minutes, then buff vigorously with a clean, dry section of the cloth. This restores the deep, rich luster of vintage ebony and rosewood without clogging the pores.
Step 4: Selecting the Correct Cord Gauge
Vintage wooden beads are notoriously heavy, and their drill holes are often rough because they were hand-drilled or made with early, imprecise machinery. A standard silk thread will fray and snap within months. You must match the cord material to the bead weight and hole diameter.
| Cord Material | Diameter / Gauge | Best Use Case | Stretch Factor |
|---|---|---|---|
| S-Lon Nylon (Tex 210) | 0.90mm | Heavy ebony or large carved mahogany beads. | Zero stretch; highly abrasion-resistant. |
| Griffin Silk (Size F) | 0.80mm | Lightweight sandalwood or small rondelle beads. | Low stretch; requires knotting between every bead. |
| Waxed Cotton Cord | 1.50mm - 2.00mm | Rustic, large-hole 1970s artisan beads. | Minimal; wax coating protects against friction. |
Preparing the Drill Holes
Before stringing, inspect the inside of the bead holes. If you feel rough burrs, use a bead reamer or a piece of flexible diamond-coated wire to gently smooth the interior. Failing to do this will cause the rough wood to act like a saw blade, cutting through your nylon or silk cord over time.
Step 5: Re-Stringing and Knotting Techniques
When re-stringing a vintage wooden necklace, knotting between the beads is non-negotiable. Knots prevent the heavy beads from grinding against each other (which damages the patina) and ensure that if the cord breaks, you only lose one bead rather than the entire strand.
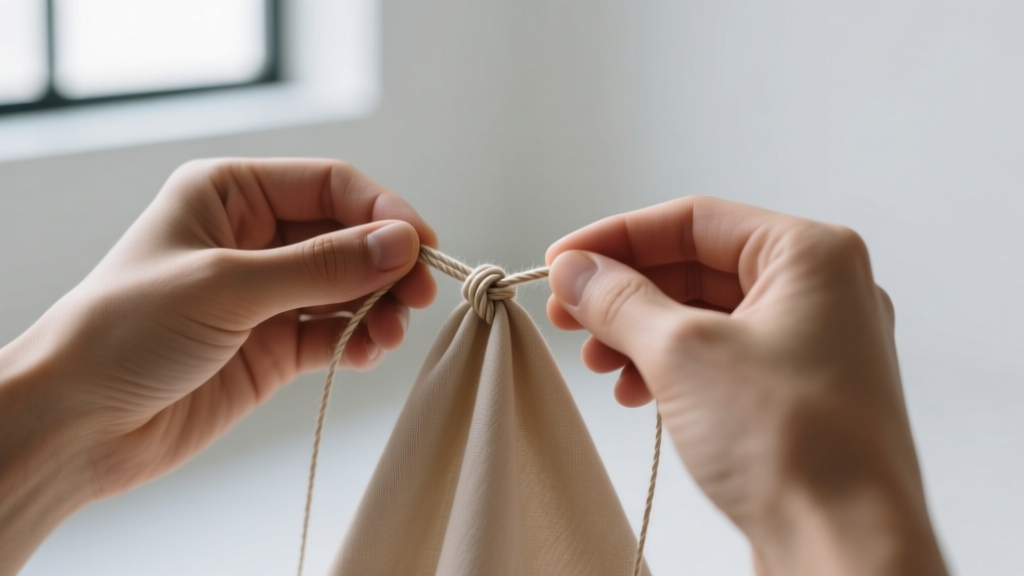
The Double Surgeon's Knot
For heavy wooden beads, a standard overhand knot is insufficient as it can slip under the weight of the wood. Use a double surgeon's knot:
- Pass the cord through the next bead, leaving a small gap for the knot.
- Cross the right cord over the left, then wrap it around twice instead of once.
- Pull the cords tight, ensuring the knot seats snugly against the bead.
- Apply a microscopic drop of flexible jewelry adhesive (like GS Hypo Cement) to the knot to lock it in place. Avoid super glue, which dries brittle and can crack the wood if it seeps into the grain.
Protecting the Clasp
Never tie nylon or silk directly to a metal clasp; the metal will eventually slice the cord. Use French wire (gimp) or wire guardians to create a protective loop at the ends of the necklace. This adds a professional, high-end finish and extends the life of the stringing material by years.
Long-Term Storage and Maintenance
To preserve your restored vintage wooden necklace, store it flat in a breathable cotton pouch. Avoid airtight plastic bags, which can trap moisture and encourage mold growth on organic materials. Maintain a stable environment with a relative humidity (RH) between 40% and 50%. As noted by the Getty Conservation Institute, rapid fluctuations in humidity are the primary cause of structural failure in antique organic artifacts. By following these precise conservation and stringing methods, your vintage wooden necklace will remain structurally sound and visually stunning for generations to come.


