How to Clean and Restore Your Chain Necklace Silver
Learn how to safely clean, untangle, and restore your tarnished chain necklace silver at home using expert-approved, non-abrasive methods.

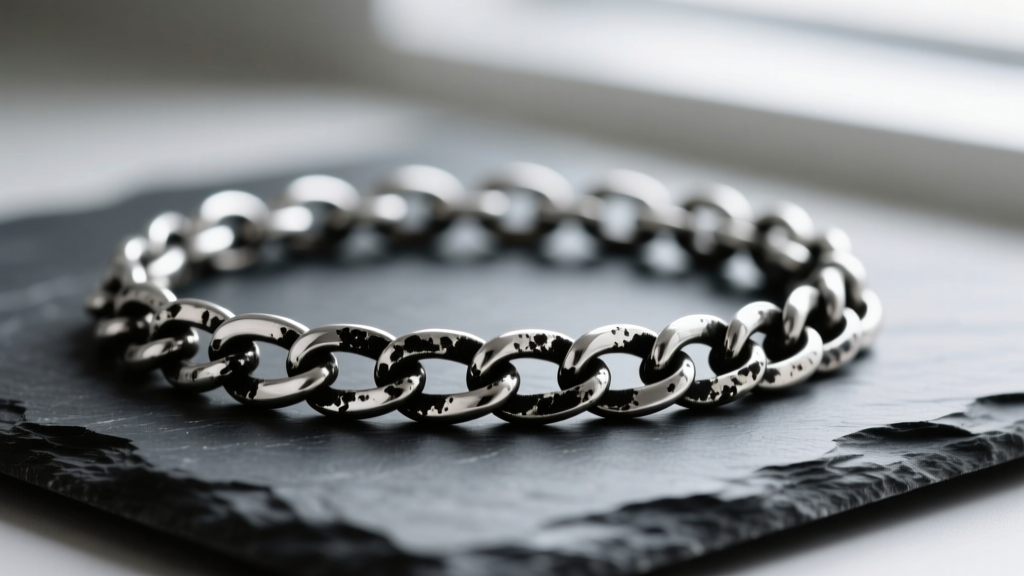
Silver jewelry is a timeless staple, but its brilliant luster inevitably fades when exposed to the elements. If your favorite chain necklace silver has lost its shine and developed a dull, yellowish, or blackened patina, you are dealing with silver sulfide. While commercial dips promise instant results, they often strip away microscopic layers of metal and leave a chalky residue. In this comprehensive guide, we will walk you through the exact, non-abrasive methods used by professional jewelers to safely clean, untangle, and restore your silver chains to their original mirror finish.
The Science of Silver Tarnish: Why Your Jewelry Turns Black
Tarnish is not dirt; it is a chemical reaction. Pure silver does not tarnish easily, but it is too soft for jewelry making. Therefore, most silver necklaces are alloyed with copper to create Sterling Silver (.925). When the copper in your necklace reacts with hydrogen sulfide and moisture in the air, it forms silver sulfide (Ag2S), the black compound you see on your jewelry. Factors like high humidity, sulfur-rich environments, and even the natural pH and acidity of your skin can accelerate this process. Understanding this electrochemical bond is the first step to reversing it without damaging the metal.
Identifying Your Silver Grade Before Cleaning
Before applying any cleaning solution, you must identify the grade of your silver. The cleaning tolerance varies drastically between fine silver and heavily oxidized sterling pieces. According to the London Assay Office, hallmarks are your best indicator of metal purity.
| Silver Grade | Marking | Composition | Cleaning Tolerance & Notes |
|---|---|---|---|
| Fine Silver | .999 | 99.9% Silver | Highly resistant to tarnish. Clean only with mild soap. Avoid harsh chemicals. |
| Sterling Silver | .925 | 92.5% Silver, 7.5% Copper | Standard for chains. Tolerates electrochemical baths and polishing cloths well. |
| Coin Silver | .900 | 90% Silver, 10% Copper | Vintage pieces. Prone to heavy tarnish. Requires gentle, gradual polishing. |
| Silver-Plated | EPNS / SP | Base metal with thin silver coat | Extremely delicate. Never use abrasive pastes or prolonged soaking. |
How to Safely Untangle a Delicate Silver Chain Before Cleaning
Never submerge a tangled necklace. The electrochemical bath and subsequent polishing will only tighten the knots, potentially snapping the delicate soldered links. To safely detangle your chain necklace silver, lay it flat on a hard, smooth surface like a glass table. Apply a single drop of baby oil or mineral oil directly to the knot. Using two fine sewing needles, gently work the needles into the center of the knot to loosen the tension. Pull the links outward from the center, not inward. The oil reduces friction between the metal links, allowing them to slide apart without stressing the jump rings or clasp mechanisms.
Step-by-Step: The Aluminum Foil & Baking Soda Bath
This method relies on a galvanic (electrochemical) reaction to reverse the silver sulfide back into pure silver, transferring the sulfur to the aluminum foil. It is highly effective for reaching the microscopic crevices inside complex weaves like rope, Figaro, or Singapore chains where polishing cloths cannot reach.
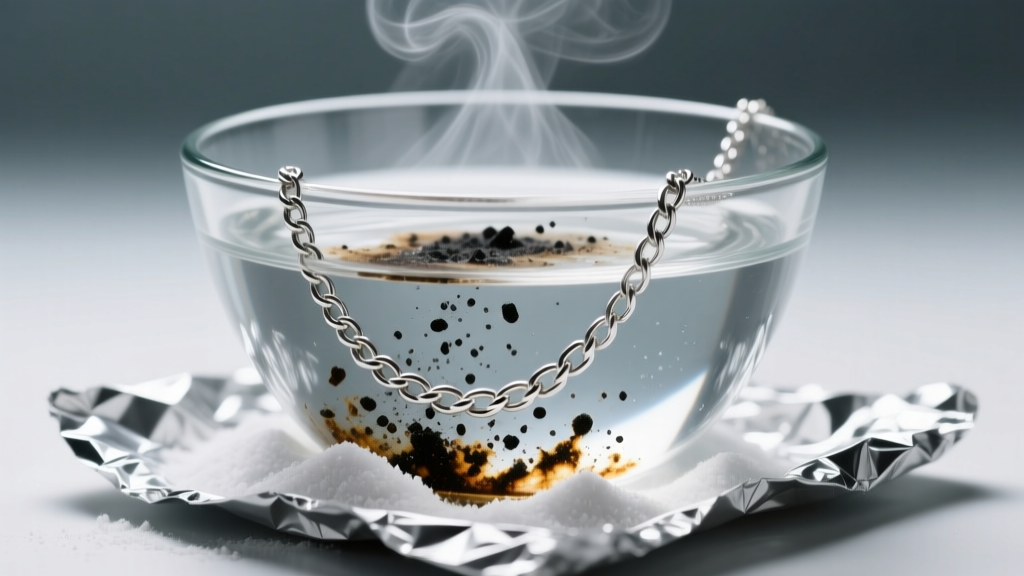
Step 1: Prep the Solution
Line a glass or ceramic bowl (never use metal, as it will interfere with the reaction) with aluminum foil, shiny side up. Add 1 tablespoon of baking soda and 1 tablespoon of non-iodized salt. Pour 1 cup of boiling water over the mixture and stir gently until the powders dissolve. You will notice immediate fizzing.
Step 2: The Electrochemical Reaction
Drop your chain into the solution. Crucially, the silver must physically touch the aluminum foil to complete the circuit. You will smell a distinct "rotten egg" odor (sulfur gas) as the tarnish leaves the necklace and bonds with the foil. Leave it submerged for 2 to 5 minutes. Do not exceed 10 minutes, especially if the chain has a delicate clasp spring.
Step 3: Rinsing and Drying
Using plastic tongs, remove the necklace. Rinse it thoroughly under warm, running water to wash away any residual baking soda, which can cause pitting if left to dry. Pat dry with a lint-free microfiber cloth. Avoid paper towels, as their wood fibers can cause micro-scratches on the silver surface.
How to Polish Intricate Links Without Snagging
While the baking soda bath removes black oxidation, it leaves the silver with a matte, chalky white finish. To restore the mirror shine, you must polish the metal. The Gemological Institute of America (GIA) recommends using specialized, non-abrasive treated cloths rather than liquid pastes.
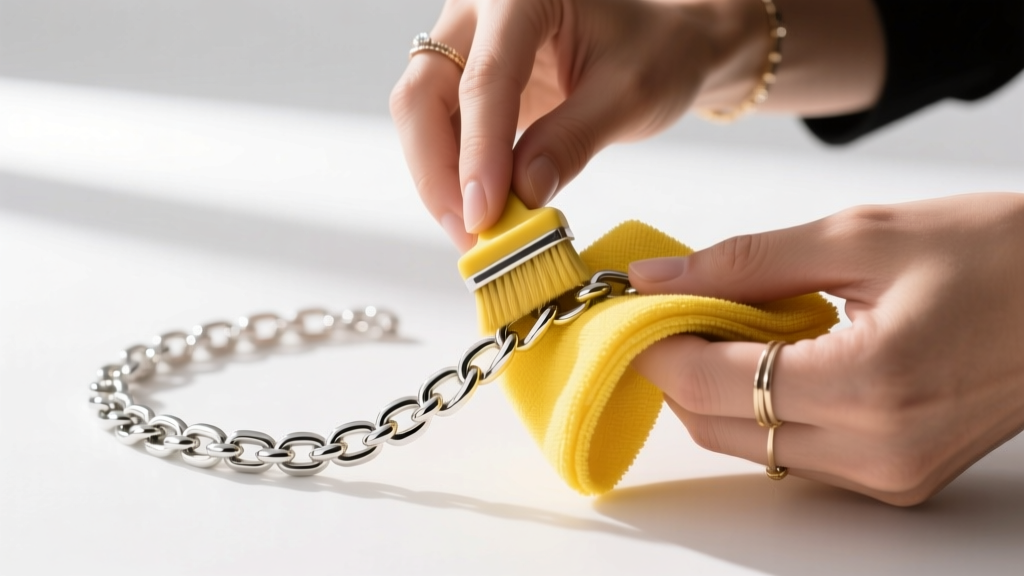
For cable and curb chains, use the "pull-through" method. Fold a jeweler's polishing cloth (such as a Sunshine cloth) over your index finger. Pinch the chain through the cloth and slowly pull it from end to end. This applies even pressure to the exterior of the links without risking structural stress.
For rope and twisted chains, the crevices are too deep for a cloth. Instead, take a soft-bristled baby toothbrush, apply a tiny drop of mild dish soap, and gently brush along the grooves of the links. Rinse and dry immediately. Never use a hard-bristled brush, as it will leave permanent directional scratches on the silver.
What to Avoid: Common Mistakes That Ruin Silver
- Toothpaste: A pervasive internet myth. Toothpaste contains silica and calcium carbonate, which have a Mohs hardness of 3 to 5. Silver is only 2.5 to 3 on the Mohs scale. Toothpaste will permanently scratch your silver.
- Ultrasonic Cleaners: While great for diamonds, the high-frequency vibrations can easily snap the soldered joints on delicate silver chains or shatter tension-set gemstones.
- Commercial Silver Dips: Thiourea-based dips strip tarnish instantly but also strip the top layer of silver, leaving a porous surface that will actually tarnish much faster in the future.
Long-Term Storage Solutions to Prevent Tarnish
Prevention is far easier than restoration. Once your silver jewelry is pristine, proper storage is essential to halt the oxidation process.
- Anti-Tarnish Strips: Place a 3M anti-tarnish strip inside your jewelry box. These strips absorb airborne sulfur compounds before they can reach your silver.
- Pacific Silver Cloth: Store your necklaces in pouches made of Pacific cloth, which is embedded with microscopic silver particles that act as a sacrificial anode, tarnishing themselves to protect your jewelry.
- Silica Gel Packets: Moisture is a catalyst for tarnish. Toss a few silica gel packets into your airtight jewelry storage bins to maintain a low-humidity environment.
- Hang or Lay Flat: Never toss silver chains into a pile. Friction causes micro-scratches. Hang them on a velvet-lined stand or lay them flat in individual compartments.
By following these precise, science-backed methods, you can maintain the brilliant luster of your silver chains for decades, ensuring they remain a staple in your jewelry collection without the need for expensive professional cleanings.


