How to Restore a Vintage J Crew Necklace: Repair Guide
Learn how to clean, repair, and restore a vintage J Crew necklace. Expert troubleshooting for tarnished brass, missing stones, and broken clasps.

The Allure and Agony of Vintage J.Crew Jewelry
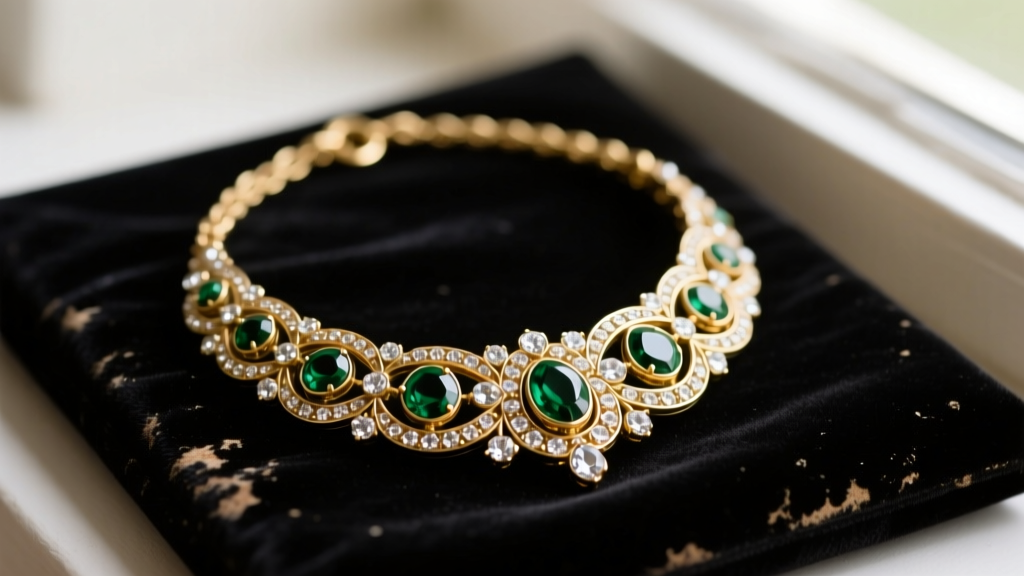
For many collectors and style enthusiasts, the golden era of J.Crew jewelry—spanning roughly from 2008 to 2015 under the creative direction of Jenna Lyons—represents the pinnacle of accessible statement fashion. A vintage J Crew necklace from this period often features heavy brass castings, intricate glass crystal pavé, and bold, opaque enamel work. However, because these pieces were manufactured as high-end fashion jewelry rather than fine jewelry, they are highly susceptible to specific failure modes over time. Plating wears away, epoxy yellows, and delicate jump rings snap under the weight of heavy brass pendants.
If you have acquired a vintage J Crew necklace that looks worse for wear, do not despair. With the right troubleshooting techniques, specific material knowledge, and a few specialized tools, you can restore these iconic pieces to their former glory. This guide dives deep into the metallurgy, adhesive chemistry, and structural repair tactics required to salvage vintage fashion jewelry.
Authenticating and Assessing the Damage
Before beginning any restoration, verify the piece's authenticity and assess the structural integrity. Authentic vintage J.Crew necklaces from the statement era typically feature a distinct 'J.CREW' stamp on the back of the lobster clasp or on a small metal tag near the extension chain. The base metal is almost exclusively lead-free brass or a zinc-alloy blend, electroplated with a thin layer of gold-tone or silver-tone finish.
Inspect the necklace under a bright LED light. Look for three primary issues: base metal oxidation (green or black crust near the clasps), missing pavé stones, and micro-fractures in the enamel. Understanding the exact nature of the damage will dictate whether you need a simple surface cleaning or a full structural rebuild.
Troubleshooting Plating Failure and 'Green Skin'
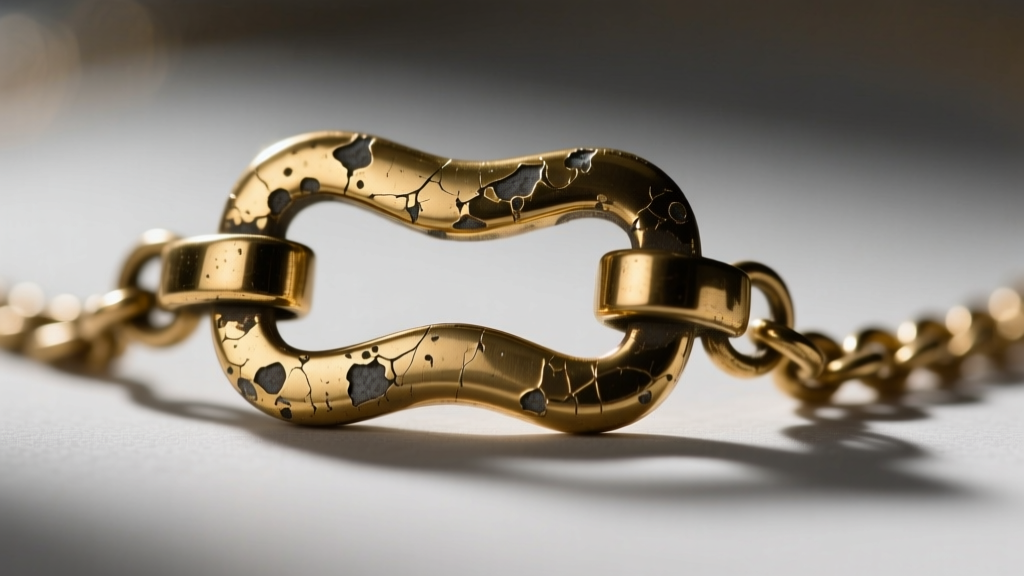
The most common complaint with vintage brass-based fashion jewelry is the dreaded 'green skin' effect. This is not an allergic reaction, but a chemical one. When the gold-tone plating wears thin, the underlying copper content in the brass reacts with the acids, sweat, and lotions on your skin, creating copper chloride—a green compound that transfers to your neck.
Restoration Solutions for Plating Wear
- The Barrier Method (Temporary): For a quick fix, apply a micro-thin layer of clear, non-yellowing polyurethane or specialized jewelry shield to the back of the necklace where it touches the skin. Avoid standard nail polish, as it chips quickly and can trap moisture against the brass, accelerating internal corrosion.
- Professional Replating (Permanent): If the gold-tone finish is entirely rubbed off on the front of the bib or pendant, consider sending the piece to an electroplating specialist. They will strip the remaining finish, polish the raw brass, and apply a new layer of 14k or 18k gold plating. Expect to pay between $80 and $150 for this service, which is often worth it for rare, retired J.Crew statement pieces.
- Embracing the Patina: If the piece features an antiqued or oxidized design, use a mild brass polish specifically on the high points, leaving the dark oxidation in the crevices to maintain the vintage depth.
Safe Cleaning Protocols for Enamel and Crystals
A major mistake novices make is tossing a vintage J Crew necklace into an ultrasonic cleaner or dipping it in harsh chemical silver baths. Ultrasonic vibrations will shatter the glass crystals and dissolve the industrial glues holding the pavé in place. Chemical dips will instantly strip the painted enamel and ruin the foil-backing on the rhinestones, leaving them looking cloudy and dead.
According to the Gemological Institute of America (GIA), the safest way to clean complex fashion jewelry is through gentle mechanical action. Mix a few drops of pH-neutral dish soap (like Dawn) into a bowl of lukewarm distilled water. Using a baby-soft toothbrush, gently agitate the bristles over the metal and stones. Rinse quickly under a gentle stream of distilled water—never tap water, as the chlorine and minerals can spot the raw brass. Pat dry immediately with a microfiber cloth and use a hair dryer on the 'cool' setting to blow moisture out of the tiny pavé settings.
Replacing Missing Rhinestones and Pavé
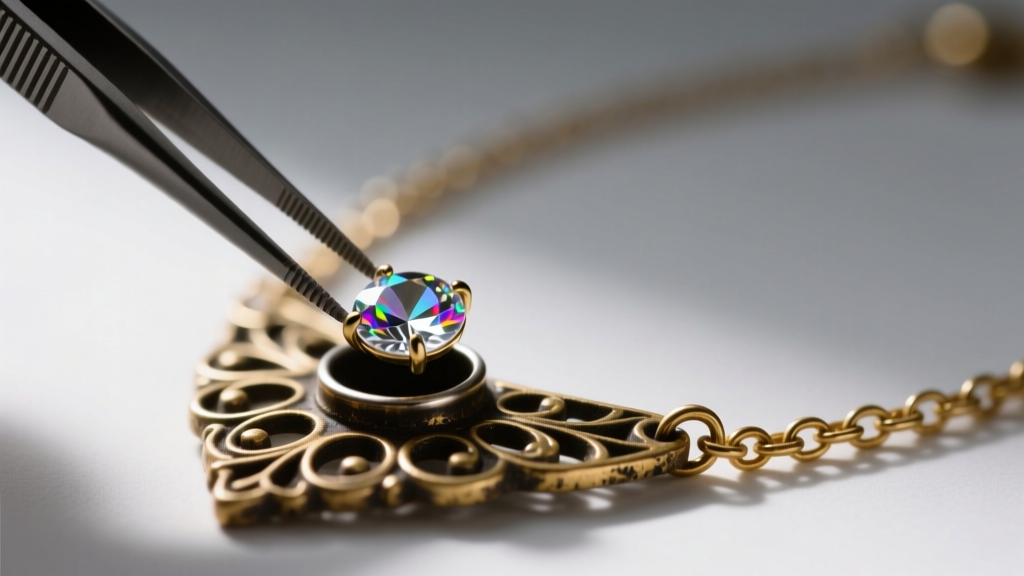
J.Crew's statement necklaces are notorious for dropping stones, primarily because the factory prongs were often machine-pressed with minimal tension, and the epoxy adhesive degrades over a decade of wear. Replacing these stones requires matching the exact millimeter size and selecting the correct adhesive.
Stone Sizing and Adhesive Selection
Most vintage J.Crew pavé utilizes standard round glass rhinestones in sizes SS12 (3.2mm), SS16 (4.0mm), and SS20 (5.0mm). You can source high-quality glass or crystal replacements from suppliers like Fire Mountain Gems. When it comes to glue, avoid super glue (cyanoacrylate), which dries brittle, turns white when exposed to moisture, and can fog the glass stones.
| Adhesive Type | Best Use Case | Cure Time | Flexibility |
|---|---|---|---|
| E6000 Jewelry Glue | Large stones, metal-to-metal bonds | 24-72 Hours | High (Absorbs shock) |
| Gem-Tac | Porous surfaces, fabric, small pavé | 24 Hours | Medium (Washable) |
| Two-Part Epoxy | Heavy stones, structural prong repair | 5-30 Minutes | Low (Rigid, very strong) |
Use a wax-tipped jewelers' pick or fine-point tweezers to apply a microscopic dot of E6000 into the empty setting. Place the stone, and use a wooden toothpick to gently push the metal prongs over the girdle of the stone to secure it while the glue cures.
Fixing Broken Clasps and Fatigued Jump Rings
The structural weak point of almost every heavy vintage J Crew necklace is the jump ring connecting the heavy brass pendant to the delicate cable chain. The repeated stress of the heavy pendant swinging causes the metal to fatigue, eventually snapping the jump ring or pulling it open.
To troubleshoot this, never pull a jump ring apart laterally (outward), as this warps the circle and weakens the metal. Always use two pairs of flat-nose pliers to twist the jump ring open horizontally, along its split seam. If the original jump ring is deeply grooved or fatigued, discard it. Replace it with a heavy-duty, soldered stainless steel or brass jump ring of the same gauge (usually 18-gauge or 20-gauge for J.Crew chains). If the lobster clasp itself has lost its spring tension, snip it off and solder or attach a high-quality stainless steel replacement to ensure the heavy necklace remains secure around your neck.
Preventative Storage for Long-Term Preservation
Once your vintage J Crew necklace is restored, proper storage is critical to prevent the brass from oxidizing again. Store the piece in an airtight, zip-lock bag made of anti-tarnish polyethylene. Drop a small silica gel packet inside to absorb ambient moisture, and include a 3M anti-tarnish strip, which actively absorbs sulfur compounds in the air that cause brass to blacken. Never store vintage fashion jewelry in a humid bathroom or hang it on an open rack where UV light can fade the vibrant enamel resins over time.
By understanding the specific material science behind these iconic 2010s accessories, you can successfully rescue a vintage J Crew necklace from the bottom of a jewelry box and return it to its rightful place as a centerpiece of your wardrobe.


