How to Restring an Aquamarine Beaded Necklace Step-by-Step
Learn how to restring and knot an aquamarine beaded necklace with our step-by-step guide. Discover silk thread sizes, tools, and expert jewelry tips.

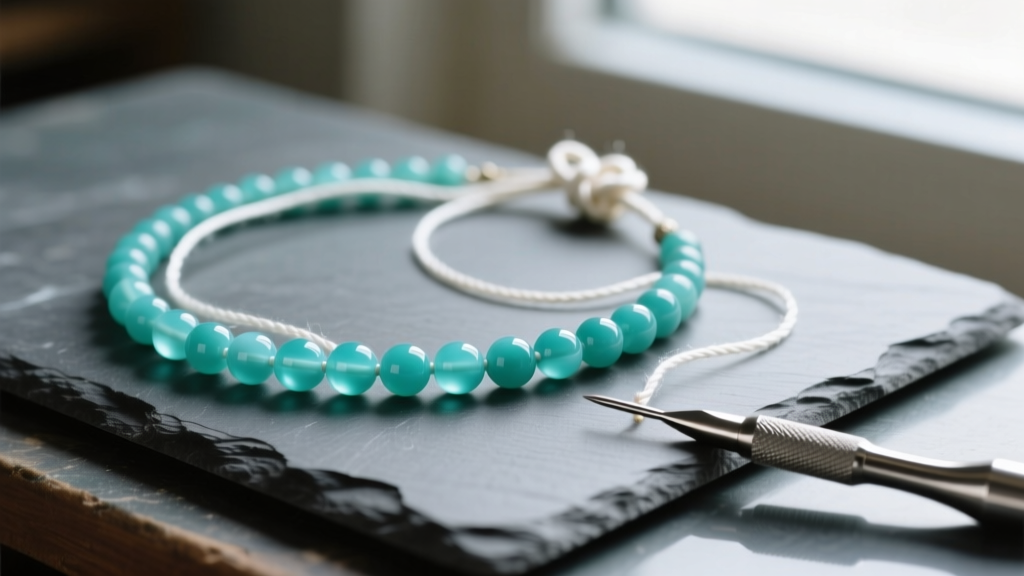
Why Restringing Your Aquamarine Beaded Necklace Requires Precision
An aquamarine beaded necklace is a timeless investment, prized for its serene blue hues and exceptional brilliance. However, even the highest-quality beryl beads are susceptible to the hidden dangers of friction and thread degradation over time. Whether you are restoring a vintage family heirloom or designing a custom piece from a newly purchased strand of AAA-grade aquamarine, proper knotting is non-negotiable. Unlike glass or synthetic beads, genuine gemstones carry significant weight and feature micro-serrated edges inside their drilled holes. If you string them without protective knots, the beads will grind against one another, eventually fraying the cord and risking a catastrophic break. In this comprehensive guide, we will walk you through the exact techniques, material grades, and professional tools required to restring an aquamarine beaded necklace that will last for generations.
The Anatomy of Aquamarine Beads: What You Must Know
Before threading a single bead, it is crucial to understand the physical properties of your materials. According to the Gemological Institute of America (GIA), aquamarine is a variety of the mineral beryl, ranking between 7.5 and 8 on the Mohs hardness scale. While this makes the exterior of the beads highly resistant to everyday scratches, the drilling process tells a different story.
Most commercial aquamarine beads are drilled using diamond-tipped bits. This process often leaves behind sharp, abrasive ridges inside the bead hole. If you use a standard nylon or polyester thread without knotting between each bead, these internal ridges will act like tiny saws, slicing through the cord over time. Furthermore, high-quality 6mm to 8mm AA-grade aquamarine beads can cost between $45 and $85 per 16-inch strand in the 2026 wholesale market, while vivid, eye-clean AAA-grade strands frequently exceed $150. Protecting this financial and sentimental investment requires the use of 100% natural silk thread and meticulous hand-knotting.
Sizing Your Silk Thread and Bead Tips
Selecting the correct thread thickness is the most common point of failure for amateur jewelers. If the thread is too thin, the knots will slip through the bead holes. If it is too thick, it will fray as you force it through the drill channel. We highly recommend using Griffin 100% natural silk thread, which comes pre-attached with a fine beading needle. Below is a professional sizing chart to help you match your thread to your specific aquamarine beads.
| Bead Diameter | Average Hole Size | Griffin Silk Thread Size | Recommended Bead Tip |
|---|---|---|---|
| 4mm - 5mm | 0.8mm - 1.0mm | Size 2 (0.45mm) | 2mm Clam Shell |
| 6mm - 7mm | 1.0mm - 1.2mm | Size F (0.55mm) | 3mm Clam Shell |
| 8mm - 10mm | 1.2mm - 1.5mm | Size G (0.60mm) | 4mm French Wire / Bullion |
Note: Always test your thread by passing it through the smallest bead in your strand twice (simulating the clasp knot) before committing to the full design.
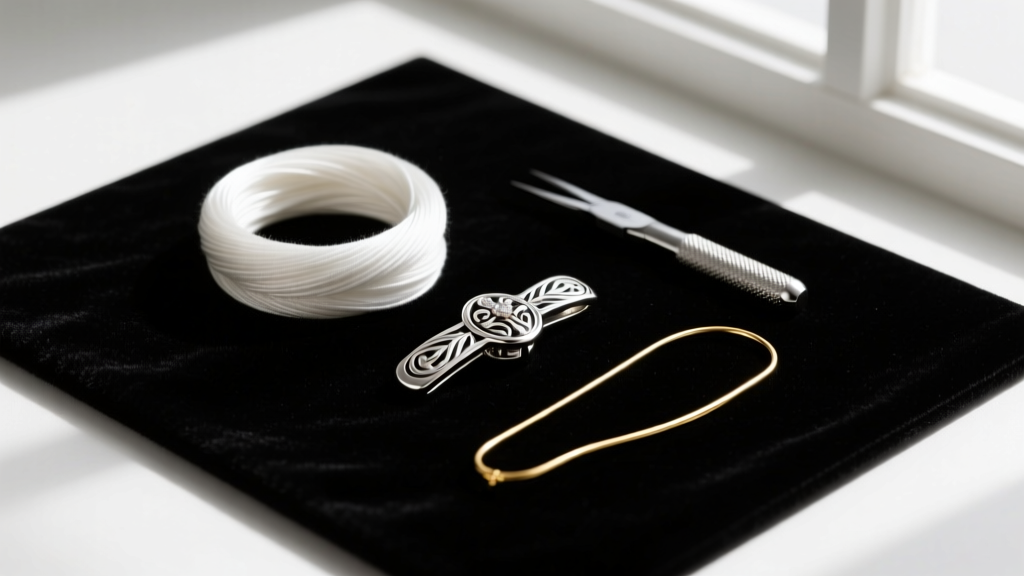
Step-by-Step Guide to Knotting Your Aquamarine Necklace
Step 1: Preparing the Clasp and French Wire
Never tie silk thread directly to a metal clasp; the metal will eventually cut the fibers. Instead, use French wire (also known as bullion). Cut a 1-inch piece of fine French wire. Thread your silk needle through one half of your sterling silver or 14k gold clasp, then pass it back through the French wire to create a protective loop. Tie a secure overhand knot, pull it tight with flat-nose pliers, and apply a microscopic drop of flexible jewelry glue (like G-S Hypo Cement) to seal the knot. Once dry, trim the excess thread.
Step 2: The Overhand Knot Technique
String your first aquamarine bead. To create a knot that sits flush against the bead, use a specialized beading awl. Form a loose overhand knot in the silk thread, insert the tip of the awl into the knot, and slide it down until it rests against the bead. Pull the silk thread taut while simultaneously guiding the awl downward to tighten the knot perfectly against the gemstone. Release the awl slowly. Repeat this process for every single bead. This technique ensures uniform spacing and prevents bead-on-bead friction.
Step 3: Securing the Final Knot and Clasp
When you reach the final bead, attach the second half of your clasp using the same French wire method. Before tying the final knot, gently stretch the entire necklace by running it through your fingers to remove any slack in the silk. Tie your final overhand knot, secure it with the awl, apply a drop of cement, and trim the tail. Tuck the tail into a clam-shell bead tip if you are using one, and snap it shut with chain-nose pliers.
Common Mistakes and Troubleshooting
- Loose Knots: If your knots are not sitting flush against the aquamarine beads, your thread tension is too low. Always use the beading awl to leverage the knot tight before pulling the thread completely taut.
- Fraying at the Hole: If you notice the silk fraying as it enters the bead, your drill holes are too abrasive. You must use a diamond bead reamer to smooth the interior channels before stringing.
- Stretching Over Time: Silk naturally stretches when exposed to moisture and skin oils. Always store your necklace flat or hanging, and have it professionally restrung every 3 to 5 years depending on wear frequency.

Long-Term Care for Knotted Aquamarine Jewelry
Proper maintenance is just as critical as the restringing process. While aquamarine itself is highly durable and can withstand ultrasonic cleaners, the silk thread cannot. Never submerge a knotted aquamarine beaded necklace in water, ultrasonic solutions, or harsh chemical cleaners. The silk will absorb the moisture, leading to rot, stretching, and eventual snapping.
To clean your necklace, lay it flat on a soft microfiber cloth. Use a damp, lint-free cloth to gently wipe the surface of each aquamarine bead, avoiding the knots. For deeper cleaning, use a soft-bristled makeup brush dipped in a mild, non-detergent soap solution to lightly dust the crevices around the knots, then immediately dry with a clean cloth. By following these meticulous care instructions, your custom-knotted aquamarine necklace will retain its structural integrity and breathtaking brilliance for decades to come.


