Guide to Restringing a Vintage Murano Glass Bead Necklace
Learn how to authenticate, clean, and restring a vintage Murano glass bead necklace with our expert step-by-step guide for lasting jewelry preservation.

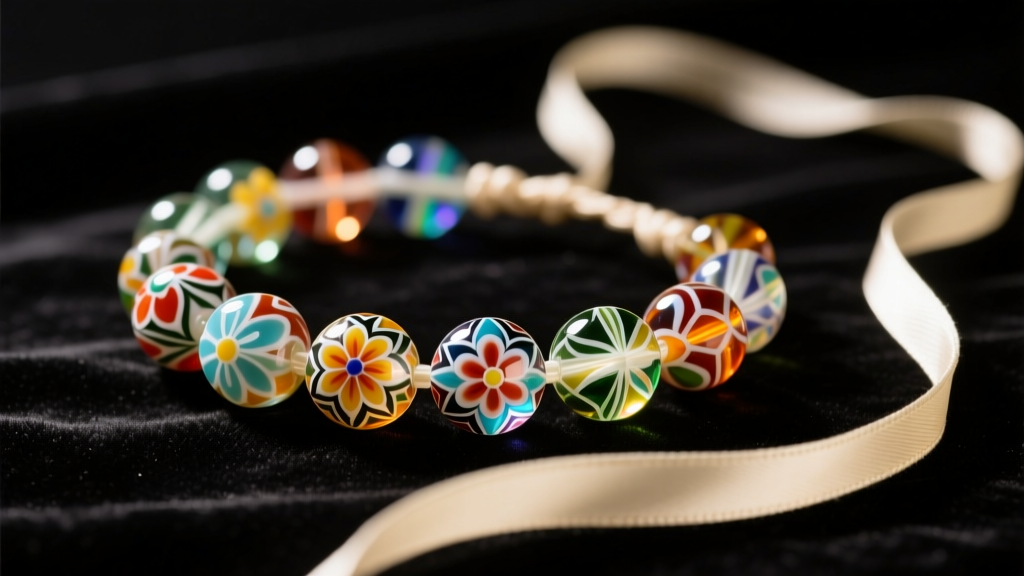
The Art and Fragility of Vintage Murano Glass
A genuine vintage Murano glass bead necklace is more than just an accessory; it is a wearable piece of Venetian history. Crafted using centuries-old techniques on the island of Murano, these beads showcase unparalleled vibrancy, intricate millefiori (thousand flowers) patterns, and suspended gold or silver leaf. However, the longevity of these masterpieces is often compromised by their original stringing materials. Mid-century necklaces were frequently strung on natural silk or early synthetic nylons that degrade, stretch, or become brittle over decades of wear. If you have inherited or acquired a vintage piece, restringing it is not just a maintenance task—it is a critical preservation step. This comprehensive guide will walk you through authenticating your beads, selecting modern archival-quality materials, and executing a professional-grade restringing process to ensure your necklace survives for another generation.
Step 1: Authenticating Your Vintage Murano Glass Bead Necklace
Before you begin disassembling the necklace, it is vital to verify the authenticity of the beads. The market is saturated with Czech and mass-produced Asian imitations that mimic the Murano aesthetic. According to the Corning Museum of Glass, true Venetian glass possesses distinct physical and structural markers that machines cannot perfectly replicate.
Key Authentication Markers
- The Pontil Mark: Hand-lampworked Murano beads often feature a small, slightly rough indentation or 'pontil mark' where the glass was snapped off the metal mandrel. Machine-made beads are perfectly smooth and uniform.
- Asymmetry and Inclusions: Genuine vintage beads exhibit slight, organic asymmetries. In millefiori beads, the glass canes should look embedded and slightly varied in depth. Tiny, trapped air bubbles are a hallmark of hand-furnace craftsmanship, whereas sterile, bubble-free glass often indicates modern mass production.
- Aventurine Oxidation: If your necklace features gold-flecked glass (aventurine), inspect the metallic inclusions. In authentic vintage pieces, the copper-infused glass may show microscopic, natural oxidation or a deep, rich sparkle, unlike the flat, painted metallic finishes found on imitations.
- Hole Size and Wear: Vintage Murano beads from the 1950s to 1970s typically have larger, slightly irregular drill holes (ranging from 1.5mm to 2.5mm) due to the thick mandrels used by artisans. Look for internal chipping around the hole edges, a common result of decades of bead-on-bead friction.
Step 2: Selecting the Proper Stringing Material
Choosing the right cord is crucial. You must balance the large hole sizes of vintage glass with the need for structural integrity and a fluid drape. Avoid rigid wires that can cause the heavy glass beads to crack under pressure. Below is a comparison of the best stringing materials for heavy, large-hole vintage glass.
| Material | Diameter | Best Application | Durability & Drape |
|---|---|---|---|
| Griffin 100% Silk Cord (Size F or G) | 0.90mm - 1.00mm | Traditional knotting between beads | Moderate. Requires replacing every 10-15 years. Excellent, fluid drape. |
| Beadalon 49-Strand Micro Wire | 0.018 inch | Heavy beads where knotting is skipped | High. Very durable, but can kink and lacks the soft drape of silk. |
| PowerPro Braided Polyethylene | 0.015 inch (30lb test) | Knotting and heavy tension resistance | Extremely High. Does not rot or stretch. Stiffer than silk but highly secure. |
For a true vintage Murano glass bead necklace, we highly recommend using Griffin Size F or G silk cord paired with traditional overhand knots. Knotting prevents the heavy glass beads from grinding against each other, which can cause irreversible edge chipping. For a complete guide on jewelry crafting supplies, Fire Mountain Gems offers extensive technical data on cord tensile strengths.
Step 3: The Restringing Process (Step-by-Step)
Restringing requires patience and the right tools. Gather your bead board, a fine-tipped beading awl, a brass knotting tool, French wire (gimp), and G-S Hypo Cement.
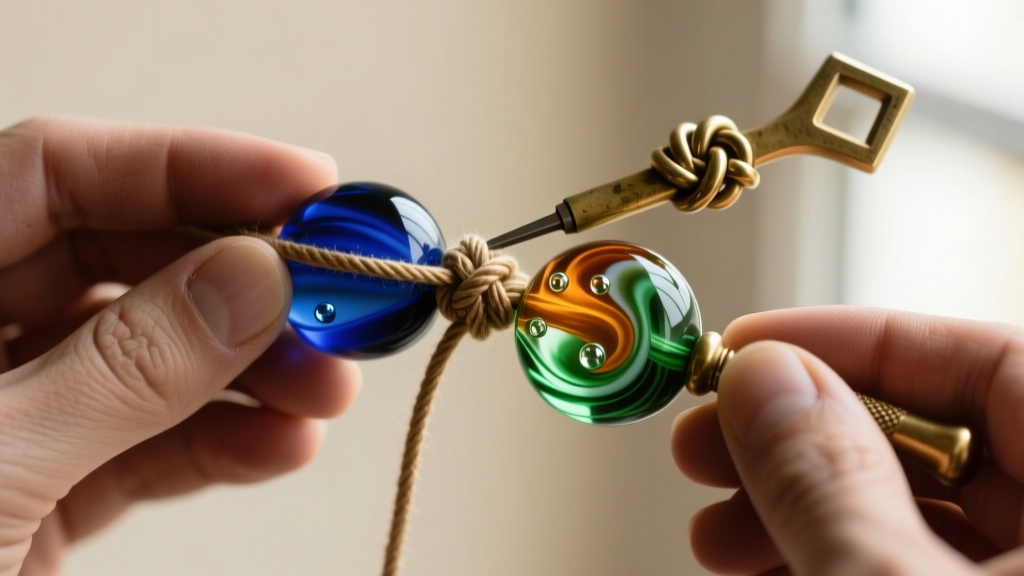
- Map the Layout: Carefully cut the old, degraded cord and remove the beads. Clean them gently (see Step 4) and lay them out on a velvet bead board in their exact original graduated or symmetrical pattern.
- Prepare the Clasp and French Wire: Cut a 1-inch piece of fine French wire (0.5mm inner diameter). Thread your silk cord through the French wire, then through the jump ring of your clasp. Pass the cord back through the French wire to create a protected loop. This prevents the metal clasp from sawing through the silk over time.
- Secure the Starting Knot: Tie a secure surgeon's knot at the base of the French wire. Apply a microscopic drop of G-S Hypo Cement to the knot and let it cure for 10 minutes. Trim the tail flush with the knot.
- String and Knot: Thread the first Murano bead onto the cord. Using your brass knotting tool, tie a tight overhand knot directly against the base of the bead. The knot must be large enough not to slip through the bead's 1.5mm+ hole. If the hole is exceptionally large, you may need to tie a double overhand knot or use a small metal spacer bead hidden inside the glass hole to act as a bumper.
- Repeat and Finish: Continue stringing and knotting until the necklace is complete. Finish the second end with another piece of French wire and the corresponding half of the clasp. Ensure the final knot is pulled taut using the beading awl before the glue sets.
Step 4: Safe Cleaning and Polishing Techniques
Never place a vintage Murano glass bead necklace in an ultrasonic cleaner. The high-frequency vibrations can exploit microscopic internal fractures (often present in older furnace-cooled glass), causing the beads to shatter instantly. Furthermore, harsh chemical dips will strip the delicate patina and can oxidize embedded copper or silver leaf.
The golden rule of vintage glass care: treat it like a historic artifact, not a modern gemstone. Gentle, manual cleaning is the only safe method.
To clean your beads, prepare a solution of lukewarm water and a few drops of pH-neutral dish soap. Dip a soft, lint-free microfiber cloth into the solution, wring it out until it is barely damp, and gently wipe each bead individually. Use a dry cotton swab to carefully clean the grime accumulated inside the drill holes. Allow the beads to air dry completely on a towel before restringing. This removes decades of skin oils and environmental dust, restoring the glass's natural optical clarity and brilliance.
Expert Tips for Clasp Selection and Finishing
When restoring a vintage piece, the clasp should complement the era of the beads. If your necklace dates to the 1960s, consider sourcing a vintage gold-filled barrel clasp or a simple, sturdy spring-ring clasp. Avoid heavy, modern lobster claws that can unbalance the drape of a delicate silk cord. Always use seamless, soldered jump rings to connect your French wire loops to the clasp; split rings will eventually catch on the silk and cause fraying.
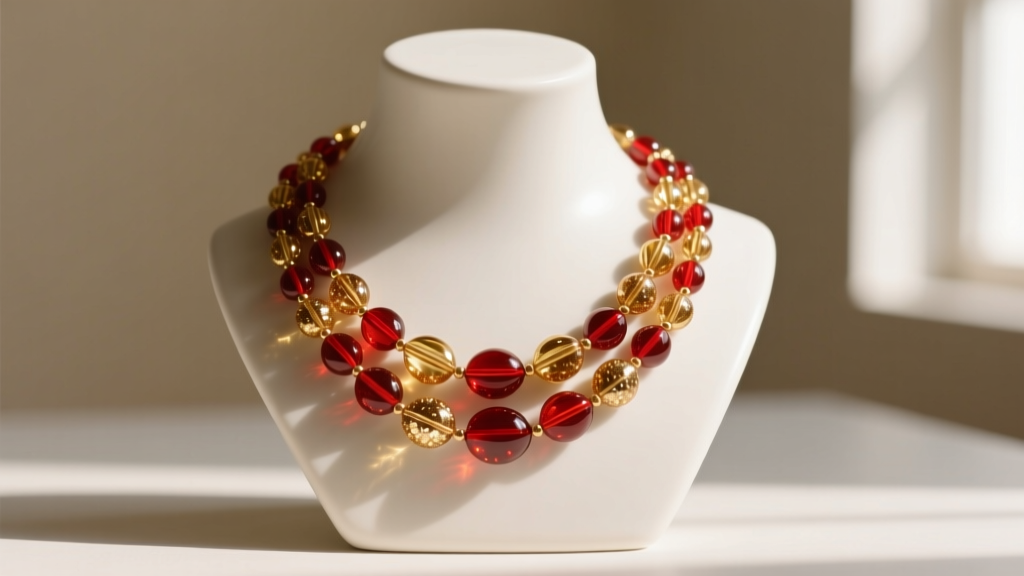
By taking the time to properly authenticate, clean, and restring your vintage Murano glass bead necklace using archival techniques, you are actively preserving a piece of Venetian artisanal heritage. The combination of traditional silk knotting and protective French wire ensures that the vibrant millefiori patterns and shimmering aventurine inclusions will remain secure and breathtaking for decades to come.


