Safety Pin Necklace DIY: Troubleshooting Common Flaws
Fix common flaws in your safety pin necklace DIY projects. Expert troubleshooting for broken clasps, nickel allergies, and weak jump rings.

The Hidden Dangers of Standard Craft-Store Safety Pins
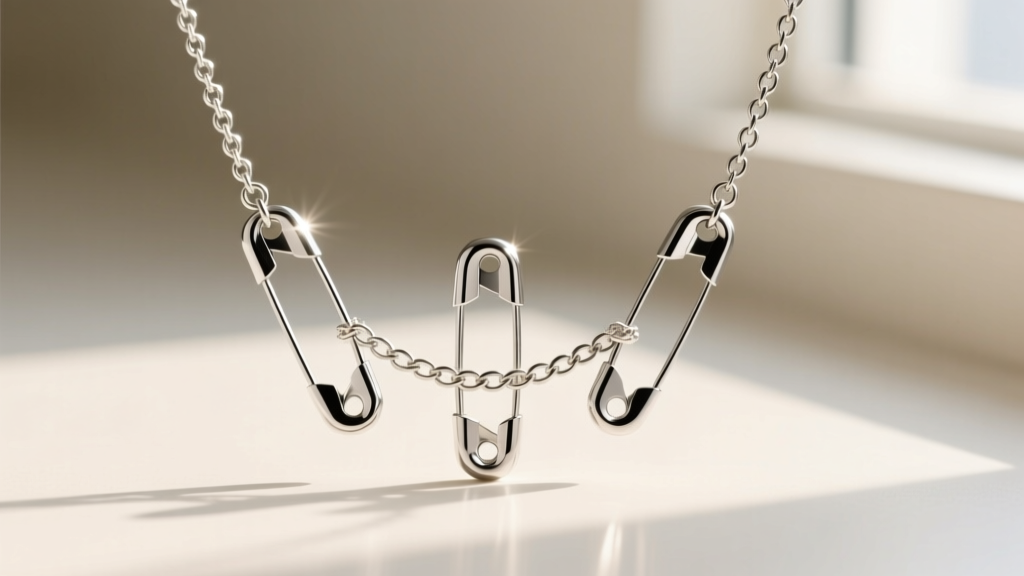
The safety pin necklace is a timeless staple of punk, grunge, and modern edgy aesthetics. However, when attempting a safety pin necklace DIY project, most beginners make a critical error at the very first step: sourcing materials from the sewing aisle rather than the jewelry supplier. Standard craft-store safety pins are typically manufactured from low-grade brass or zinc alloys with a micro-thin flash plating of nickel or silver. When exposed to the natural acidity and salts of human sweat, this plating degrades within hours, leading to severe contact dermatitis and permanent green staining on the skin.
According to dermatological research published by the National Institutes of Health (NIH), nickel allergy is the most common cause of allergic contact dermatitis worldwide. To troubleshoot and prevent this failure mode, you must upgrade your base materials. For a skin-safe DIY build, source 316L surgical stainless steel or ASTM F136 Grade 23 Titanium safety pins. These alloys are highly corrosion-resistant, hypoallergenic, and possess the necessary tensile strength to maintain their shape without warping under the weight of a chain.
Mechanical Troubleshooting: Why Your Pin Keeps Popping Open
The most catastrophic failure in any safety pin necklace DIY build is the clasp popping open while worn, resulting in a lost pendant and a potential choking hazard or skin puncture. This happens because the coiled spring at the hinge of a standard safety pin loses its torsional tension over time, especially if the pin has been repeatedly opened and closed.
The Silicone O-Ring Lock Method
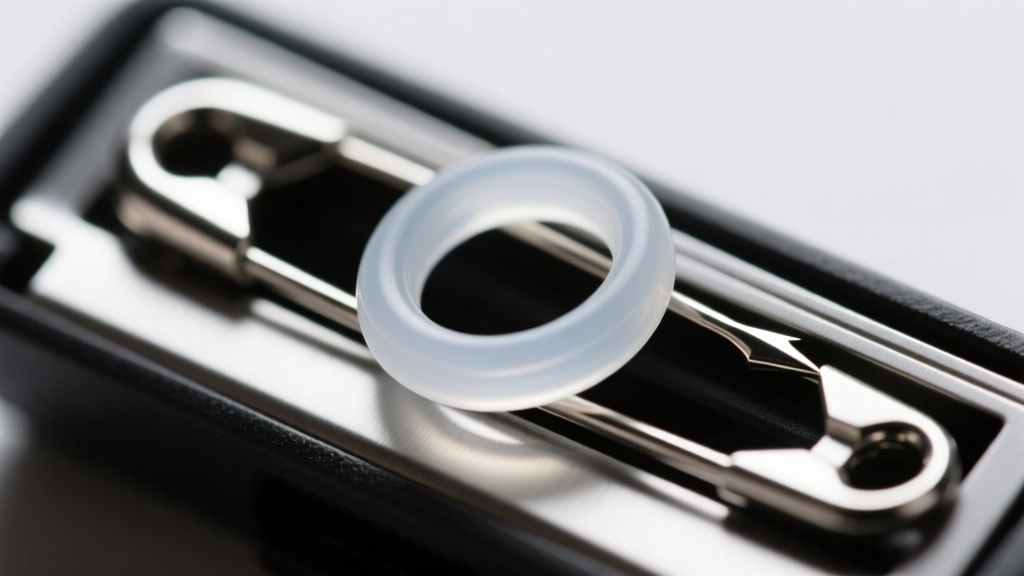
To permanently solve the latch failure without resorting to messy adhesives like cyanoacrylate (which can degrade and crack on metal), use a micro-silicone O-ring. Purchase 1.5mm Inner Diameter (ID) silicone O-rings with a 0.5mm cross-section. Before closing the safety pin, slide the O-ring over the sharp point. When you snap the pin into the clasp hood, the silicone compresses, creating a high-friction mechanical lock that prevents the point from slipping out of the hood, even if the spring coil fails.
Correcting Hinge Alignment
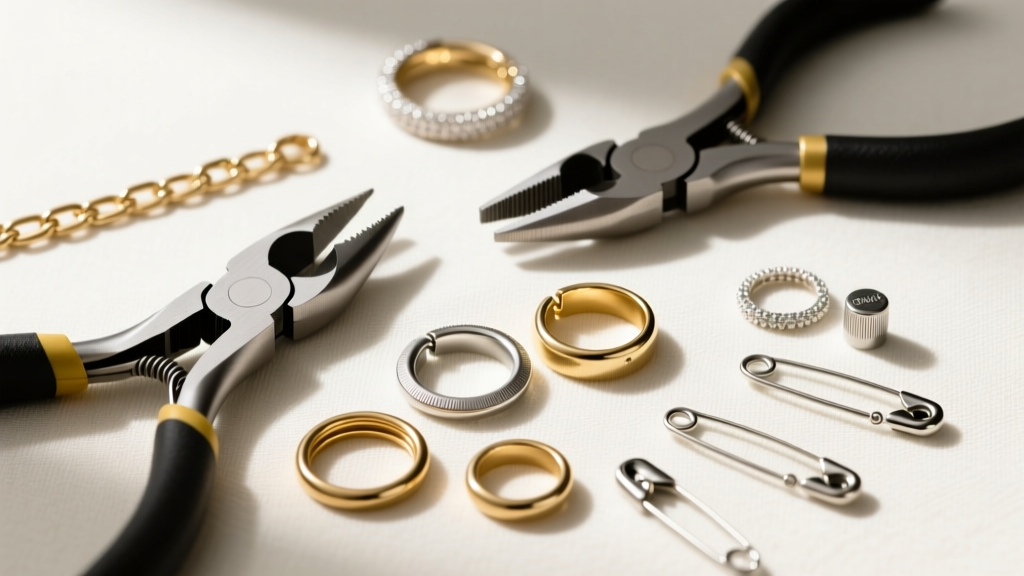
If your pin point sits outside the protective hood, the hinge wire is bent. Do not use standard steel pliers, as they will mar the finish and create micro-fractures in the metal. Instead, use nylon-jaw jewelry pliers to gently squeeze the coil inward, restoring the original 90-degree alignment of the pin arm. If the metal exhibits stress whitening at the coil, discard the pin immediately; the structural integrity is compromised and it will snap under tension.
Structural Weak Points: Jump Rings and Chain Snaps
A common complaint in DIY jewelry forums is the chain detaching from the safety pin. This is almost always due to the use of split rings or improperly sized jump rings. Standard 20-gauge or 22-gauge split rings will easily pull apart when subjected to the lateral torque of a swinging necklace.
To ensure structural integrity, you must understand Aspect Ratio (AR)—the relationship between the wire thickness and the inner diameter of the ring. For a safety pin necklace, you need a low AR to prevent the rings from pulling open. According to structural guidelines from Rio Grande Jewelry Supplies, a heavier wire gauge combined with a tight inner diameter provides the necessary tensile strength for pendants.
| Wire Gauge | Outer Diameter (OD) | Tensile Suitability | Troubleshooting Fix |
|---|---|---|---|
| 22g (0.64mm) | 4.0mm | Poor (Pulls apart easily) | Replace immediately; too weak for daily wear. |
| 20g (0.81mm) | 4.0mm | Fair (Okay for light chains) | Use two rings side-by-side to distribute load. |
| 18g (1.02mm) | 4.5mm | Excellent (Ideal for DIY) | Standard recommendation for 316L steel pins. |
| 16g (1.29mm) | 5.0mm | Heavy Duty (Chunky chains) | Requires soldering or heavy-duty pliers to close. |
Pro-Tip: Always use closed, hard-tempered jump rings or solder your own rings. If you must use split rings, use a specialized split-ring plier to open them laterally, and ensure the hole punched through the safety pin head is large enough to accommodate the double-wrap of the split ring without forcing the metal apart.
Elevating the Aesthetic: Avoiding the "Cheap" Look
While the raw, industrial look is part of the appeal, a poorly executed safety pin necklace DIY can easily cross the line from "edgy" to "sloppy." Troubleshooting the visual weight and balance of the piece is just as important as the mechanical fixes.
- Chain Selection: Avoid delicate cable chains. The elongated links of cable chains easily tangle with the exposed coils of the safety pins. Instead, opt for curb chains, rolo chains, or box chains. Their interlocking, flat, or uniform geometric links resist twisting and provide a visual weight that matches the industrial nature of the pin.
- Bead Integration: If threading beads onto the safety pin itself, use metal or glass tube beads with a 2.0mm inner diameter. Standard seed beads will look disproportionate and will slide into the coil mechanism, jamming the spring. Secure the beads in place by crimping a tiny 1.5mm copper bead on either side of the focal beads to prevent them from rattling against the pin head.
- Patina and Polish: If you are upcycling vintage safety pins, they may have uneven oxidation. Submerge them in a warm bath of distilled white vinegar and sea salt for exactly 4 minutes to strip the grime, then neutralize them in a baking soda and water solution. Polish with a jeweler's rouge cloth to restore a mirror finish before assembling.
Step-by-Step Troubleshooting Matrix
When your build isn't working, consult this rapid-response guide to diagnose the exact point of failure.
- Problem: The pin head wobbles and snags the chain.
Cause: The eyelet hole at the top of the pin is oversized or stretched.
Fix: Use a 1.2mm leather hole punch to create a fresh, clean hole in a thicker section of the pin head, or wrap the existing hole tightly with 24-gauge copper wire to reduce the inner diameter and protect the jump ring. - Problem: The necklace sits unevenly on the collarbone.
Cause: Asymmetrical weight distribution of multiple pins.
Fix: Map out the necklace on a velvet bead board before crimping. Use a digital jewelry scale to ensure the left and right sides of the chain have the exact same gram weight. Balance the visual weight by adding small 3mm sterling silver spacer beads to the lighter side. - Problem: The metal leaves a dark gray residue on the skin.
Cause: Galvanic reaction between dissimilar metals (e.g., a brass pin connected to a sterling silver chain via a copper jump ring) accelerated by sweat.
Fix: Standardize your metals. Use only 316L stainless steel for all components (pins, jump rings, and chain) or coat the back of the pin head with a thin layer of clear, flexible jewelry guard (polyurethane-based) to create a physical barrier between the metal and the skin.
"The difference between a craft project and a piece of wearable jewelry lies entirely in the tolerances. A 0.5mm variance in a jump ring's closure is the difference between a necklace that lasts a lifetime and one that breaks on the first wear." — Master Bench Jeweler
Final Safety Checks Before Wearing
Before wearing your finished safety pin necklace DIY creation out in the wild, perform the "tug and shake" test. Hold the clasp securely and give the chain three sharp, lateral tugs to simulate the force of the necklace getting caught on a sweater. Inspect the jump rings under a 10x jeweler's loupe to ensure the cut ends are perfectly flush and have not separated. Finally, run a piece of silk fabric over the entire assembly; if the silk snags on any burrs or misaligned coils, file the rough spots down with a 600-grit sanding stick before wearing.


