How to Style and Maintain Your Silver Necklace Ball Chain
Learn how to style, layer, and maintain a silver necklace ball chain. Discover bead sizes, clasp upgrades, and snag-free care tips in our expert guide.

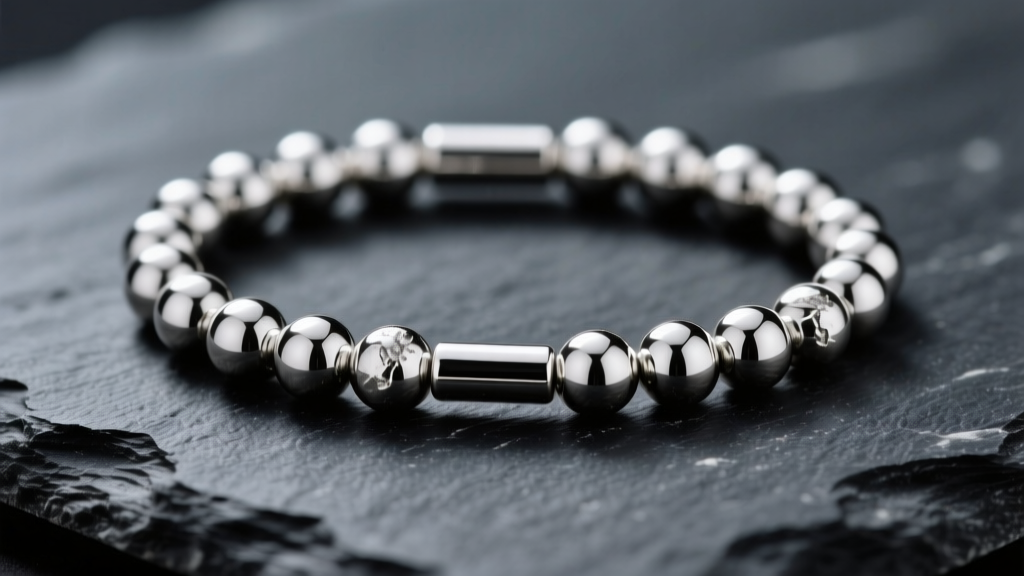
The silver necklace ball chain is a staple in modern jewelry, prized for its fluid drape, industrial-chic aesthetic, and lightweight comfort. However, beneath its simple appearance lies a complex structure that requires specific knowledge to style, layer, and maintain properly. Unlike traditional cable or curb chains, ball chains are highly susceptible to specific failure modes—namely, connector stretching, hair snagging, and clasp detachment. In this comprehensive guide, we break down the exact anatomy of these chains and provide step-by-step instructions to maximize their longevity and visual impact.
The Anatomy of a Silver Necklace Ball Chain
To properly care for and style your jewelry, you must first understand how it is manufactured. A ball chain is created by stamping flat sheets of 925 sterling silver into hollow hemispheres, folding them into spheres, and linking them via small wire or tube connectors. Because the beads are hollow, the chain remains remarkably light, but this also means the structural integrity relies entirely on the connectors.
Choosing the Right Bead Diameter and Connector
Not all ball chains are created equal. The market is flooded with cheap wire-loop connectors that easily pull apart. For fine jewelry, always seek out chains with stamped tube connectors, which enclose the wire loop and prevent it from stretching under tension.
| Bead Diameter | Connector Type | Weight (18") | Best Use Case |
|---|---|---|---|
| 1.2mm - 1.5mm | Wire Loop | ~4 grams | Delicate layering, lightweight pendant base |
| 2.0mm - 2.4mm | Stamped Tube | ~12 grams | Standalone everyday wear, medium pendants |
| 3.5mm - 4.5mm | Heavy Tube | ~28 grams | Statement pieces, heavy gemstone pendants |
Expert Tip: If you are purchasing a silver necklace ball chain for daily wear, opt for Argentium Silver (960 purity) over standard Sterling (925). Argentium contains germanium, which forms a transparent tarnish-resistant barrier. Because the crevices between the beads and connectors are nearly impossible to polish with a cloth, tarnish resistance is critical for this specific chain style.
Step-by-Step: Upgrading the Clasp for Security
The most common point of failure on a ball chain is the factory-installed barrel clasp. The thin wire loops connecting the barrel to the chain frequently bend and snap. Upgrading to a lobster or magnetic clasp using heavy-duty jump rings is a mandatory step for chain longevity.
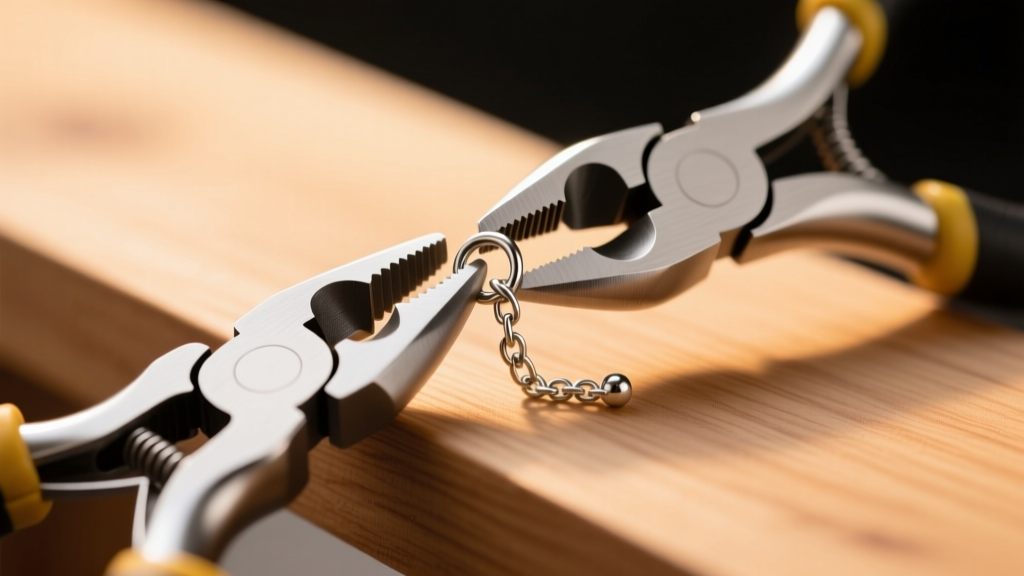
Tools Required
- Flush cutters (to remove the factory clasp)
- Chain-nose pliers (two pairs recommended)
- 5mm or 6mm solid jump rings (20-gauge or 18-gauge thickness)
- Lobster clasp or neodymium magnetic clasp
The Upgrade Process
- Remove the Factory Clasp: Use your flush cutters to snip the thin wire loop connecting the silver beads to the barrel clasp. Discard the barrel clasp.
- Open the Jump Ring: Grip the solid jump ring with two pairs of chain-nose pliers. Twist the ends laterally (like opening a door) rather than pulling them apart, which compromises the ring's circular shape.
- Thread the Chain: Slide the end bead of your silver necklace ball chain onto the jump ring. Ensure the connector tube rests securely inside the ring.
- Attach the New Clasp: Slide your lobster clasp onto the same jump ring, then twist the jump ring closed until the ends click flush against each other.
- Repeat: Attach a second jump ring and a catch-ring to the opposite end of the chain.
How to Layer Ball Chains Without Tangling
Layering a silver necklace ball chain creates a stunning, textured cascade of light. However, ball chains are notorious for tangling because the spherical beads act like tiny gears, catching on the connectors of adjacent chains. To prevent this, you must follow the principles of length differentiation and weight disparity.

The Layering Formula
Never layer two ball chains of the same bead diameter, even if their lengths differ slightly. The identical bead sizes will interlock and knot. Instead, use this three-tier framework:
- Layer 1 (The Choker): 14 to 16 inches. Use a delicate 1.2mm or 1.5mm chain. This sits high on the collarbone and moves independently.
- Layer 2 (The Anchor): 18 to 20 inches. Use a standard 2.4mm chain. This provides the visual weight and sits perfectly in the hollow of the throat or upper chest.
- Layer 3 (The Statement): 24 to 28 inches. Use a heavy 3.5mm+ chain, potentially featuring a focal pendant. The heavy weight pulls the chain taut, preventing it from wrapping around the lighter chains above it.
By ensuring a minimum 2-inch gap between lengths and drastically changing the bead volume, the chains will slide past one another rather than catching.
Troubleshooting Common Ball Chain Issues
Even high-quality sterling silver ball chains present unique wearability challenges. Here is how to troubleshoot the most frequent complaints.
The Hair Snagging Problem
If your chain constantly pulls your hair, the culprit is the connector. Standard wire-loop connectors have a microscopic gap where the wire enters the bead. Fine hair slips into this gap and gets trapped when the chain moves.
The Fix: If you already own the chain, a temporary fix is to lightly coat the connectors with clear nail polish or jeweler's micro-set adhesive to seal the gap. For a permanent solution, take the chain to a bench jeweler and have them swap the wire connectors for solid tube connectors, or simply purchase a chain manufactured with enclosed bead-to-bead links.
Chain Stretching and Deformation
Ball chains do not stretch in the way a cable chain does; instead, the wire connectors deform, turning from circles into ovals. This usually happens when the chain is caught on clothing or worn during sleep.
The Fix: Once a wire connector is stretched, it cannot be safely compressed back into shape without risking metal fatigue and snapping. You must use flush cutters to remove the deformed link and reattach the chain using a new, heavy-gauge jump ring or replacement tube connector.
Daily Maintenance and Polishing Routine
Maintaining the high-shine finish of a silver necklace ball chain requires a different approach than solid link chains. According to metalworking experts at Rio Grande, the intricate crevices of ball chains trap skin oils, lotions, and environmental sulfur, accelerating tarnish deep inside the chain's core.
What to Avoid
Never use an ultrasonic cleaner on a ball chain unless you are absolutely certain it features high-quality, laser-welded tube connectors. The high-frequency vibrations of an ultrasonic bath can easily shake open folded wire connectors, causing the chain to disintegrate into dozens of loose silver beads.
The Safe Cleaning Protocol
- Chemical Dip: Submerge the chain in a mild, non-toxic silver dip solution for no more than 10 seconds. This reaches the tight spaces between the beads that a cloth cannot.
- Neutralize: Immediately rinse the chain under warm running water to halt the chemical reaction. Residual acid trapped between the beads will cause rapid, severe pitting.
- Dry Thoroughly: Lay the chain flat on a microfiber towel. Use a hair dryer on a cool setting to blow water out of the hollow beads and connectors. Storing a damp ball chain in a jewelry box guarantees localized black tarnish spots within 48 hours.
- Surface Polish: Gently run a treated silver polishing cloth down the length of the chain, pinching it lightly between your fingers to buff the exposed exterior of the beads.
By understanding the mechanical nuances of the silver necklace ball chain, you can transition it from a fragile, easily tangled accessory into a robust, lifelong staple of your jewelry wardrobe. Whether you are upgrading the hardware for security or engineering the perfect tangle-free layered stack, precision and an eye for structural integrity are your best tools.


