How to Tie a Sliding Knot Macrame Necklace Step-by-Step
Learn how to make a sliding knot macrame necklace with our step-by-step guide. Master cord selection, knotting techniques, and gemstone setting.

The Renaissance of Macrame Jewelry in 2026
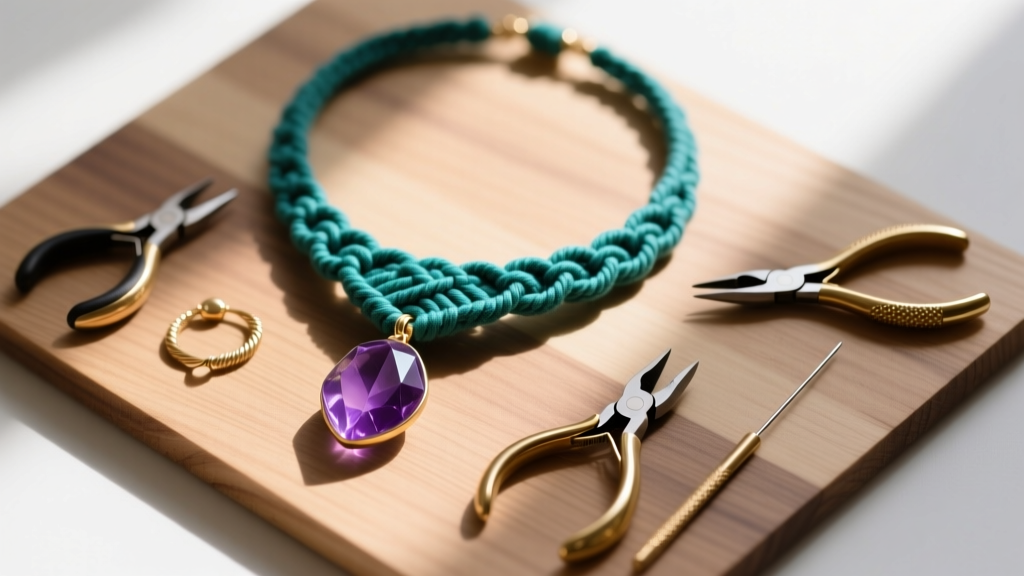
Macrame jewelry has completely transcended its 1970s bohemian roots, evolving into a staple of the modern slow-fashion movement. In 2026, artisans and hobbyists alike are gravitating toward macrame necklaces not just for their aesthetic versatility, but for their sustainable, zero-waste crafting process. Unlike mass-produced chain necklaces that rely on mined metals and energy-intensive casting, a handcrafted macrame necklace requires only natural or recycled fibers, a focal gemstone, and your hands.
The true hallmark of a professional-grade macrame necklace is the adjustable sliding knot closure. This ingenious mechanism eliminates the need for metal lobster clasps, which can tarnish, break, or cause nickel allergies. A properly tied sliding square knot or double overhand knot provides infinite adjustability, allowing the wearer to transition the necklace from a high choker length (14 inches) to a deep matinee drop (24 inches) in seconds. This comprehensive guide will walk you through the exact materials, tension techniques, and knotting sequences required to create a durable, heirloom-quality sliding knot macrame necklace.
Essential Materials and Tools for Macrame Necklaces
The success of your macrame necklace hinges entirely on cord selection. Using the wrong cord diameter or material will result in stiff, bulky knots or fragile, fraying closures. According to Fire Mountain Gems, the ideal cord for jewelry must balance tensile strength with flexibility.
Cord Selection: Waxed Cotton vs. Nylon
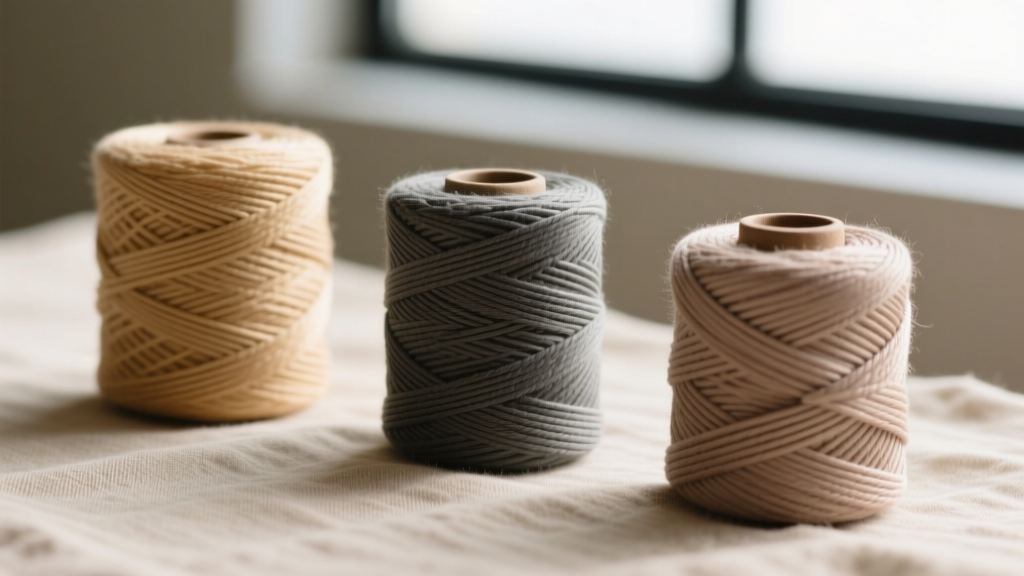
For beginners and intermediate knotting, 0.8mm waxed cotton cord (such as Linhas Caires) is the gold standard. The wax coating provides a slight tackiness that holds knots in place while you work, preventing them from unraveling before you tighten them. For advanced micro-macrame or pieces requiring extreme durability and water resistance, C-Lon nylon thread in 0.5mm or 0.9mm is preferred. Nylon requires melting to finish, whereas cotton requires glue or wax sealing.
| Cord Type | Material | Diameter | Best For | Finishing Method |
|---|---|---|---|---|
| Waxed Cotton | Cotton + Beeswax | 0.8mm | Beginners, Pendants, Earthy styles | Clear glue or beeswax rub |
| C-Lon Nylon | Bonded Nylon | 0.5mm - 0.9mm | Micro-macrame, Water-resistant wear | Thread burner / Lighter |
| Hemp Cord | Natural Hemp | 1.0mm+ | Rustic, heavy statement pieces | Whipping knot or glue |
Required Tools
- Flush Cutters: For clean, angled cuts that prevent cord fraying.
- Thread Burner: A butane-powered precision tool (like the Eurotool Super Ace) for melting nylon ends safely.
- Hemostats or Flat-Nose Pliers: To pull tight cords through stubborn knot loops.
- Beading Mat: A velvet or flocked surface to prevent cords from slipping while you knot.
Step 1: Preparing the Pendant and Base Cord
Before tying a single knot, you must calculate your cord length. The golden rule for a standard square-knot macrame necklace is to multiply your desired finished length by four, then add 12 inches for the sliding closure and tassels. For a 20-inch necklace, cut two pieces of 0.8mm waxed cotton cord, each measuring 46 inches.
Fold your first cord in half to find the center. If your gemstone pendant has a top-drilled bail or a large hole (minimum 1.5mm for folded 0.8mm cord), thread the folded loop through the bail, then pass the two tail ends through the loop and pull tight. This creates a secure Lark's Head Knot. If your stone is a raw, un-drilled crystal, you will need to create a wire-wrapped cage or a macrame bezel setting first. According to the Gemological Institute of America (GIA), securing raw stones without metal prongs requires precise tension to avoid cracking the gemstone's natural inclusions.
Once the pendant is secured, tape the top loop to your beading mat. Separate the two tail ends; these will serve as your "core" cords. The second piece of cord you cut will be your "working" cord, which you will use to tie the knots around the core.
Step 2: Tying the Square Knot Sequence
The square knot is the foundational building block of most macrame necklaces. It is flat, symmetrical, and highly durable. To begin, place your 46-inch working cord horizontally behind the two vertical core cords, ensuring the left and right sides of the working cord are perfectly equal in length.
- The First Half: Take the left working cord and cross it over the two core cords, forming a "4" shape. Take the right working cord, pass it over the left working cord's tail, then under the core cords, and pull it up through the loop created by the left cord. Pull tight, sliding the knot all the way up to the pendant bail.
- The Second Half: Now, reverse the process. Take the right working cord and cross it over the core cords. Take the left working cord, pass it over the right tail, under the core cords, and up through the right loop. Pull tight.
You have now completed one full square knot. The critical E-E-A-T insight here is tension control. If you pull the working cords too tightly, the necklace will become stiff and curl inward. If you pull too loosely, the core cords will bunch up and look sloppy. Aim for the "Goldilocks Zone": pull just tight enough so the knot sits flush against the previous knot without distorting the vertical core cords.
Continue tying square knots down the length of the necklace. For a minimalist design, you can tie square knots all the way down to the nape of the neck. For a more decorative look, alternate square knots with sections of exposed core cords or incorporate small seed beads into the core cords between knot clusters. As noted in The Spruce Crafts, maintaining a consistent rhythm and checking your tension every five knots will prevent the necklace from twisting.
Step 3: Creating the Adjustable Sliding Closure
Once both sides of your necklace are knotted to the desired length, it is time to create the sliding closure. This mechanism allows the necklace to expand over the wearer's head and contract to sit perfectly on the collarbone.
- Overlap the two ends of the necklace so they run parallel to each other in opposite directions. Secure them temporarily with a piece of painter's tape on your mat.
- Cut a separate, shorter piece of cord (about 12 inches long) to serve as your closure working cord.
- Place this short cord horizontally behind the two overlapping necklace cords.
- Tie a series of square knots around the overlapping cords. Four to six square knots are usually sufficient to create a sturdy, sliding barrel.
- As you tie these knots, periodically untape the necklace and slide the knot barrel back and forth along the main cords. This ensures you are not tying the closure too tightly, which would freeze the sliding mechanism in place.
Once the closure barrel is complete, trim the working cord tails close to the knots and seal them. The two main necklace cords will now extend out from either side of the barrel; these will become your decorative end tassels.
Troubleshooting Common Macrame Necklace Issues
Even experienced jewelers encounter structural issues when working with fiber. Here is a troubleshooting framework for the most common macrame necklace failures:
- The Necklace is Twisting: This happens when you accidentally tie half-square knots instead of full square knots. A half-square knot (repeating the exact same directional cross without reversing) creates a spiral. If you want a flat necklace, ensure you alternate your starting side (Left-over-Right, then Right-over-Left) for every single knot.
- The Sliding Knot is Stuck: You tied the closure barrel too tightly around the core cords. Unfortunately, waxed cotton cannot be easily loosened once compressed. You will need to carefully cut the closure off with flush cutters and retie it with a lighter touch, or switch to a smoother nylon cord for the core.
- Frayed Cord Ends: If your cotton cord is unraveling before you can thread it through a gemstone bail, apply a tiny drop of clear jewelry glue (like G-S Hypo Cement) to the tip and twist it with your fingers to create a rigid, needle-like point.
- Asymmetrical Tension: If one side of the necklace looks tighter than the other, use flat-nose pliers to gently massage and shift the knots. Never yank the cord, as this can snap the internal fibers of the cotton.
Finishing and Sealing Your Macrame Necklace
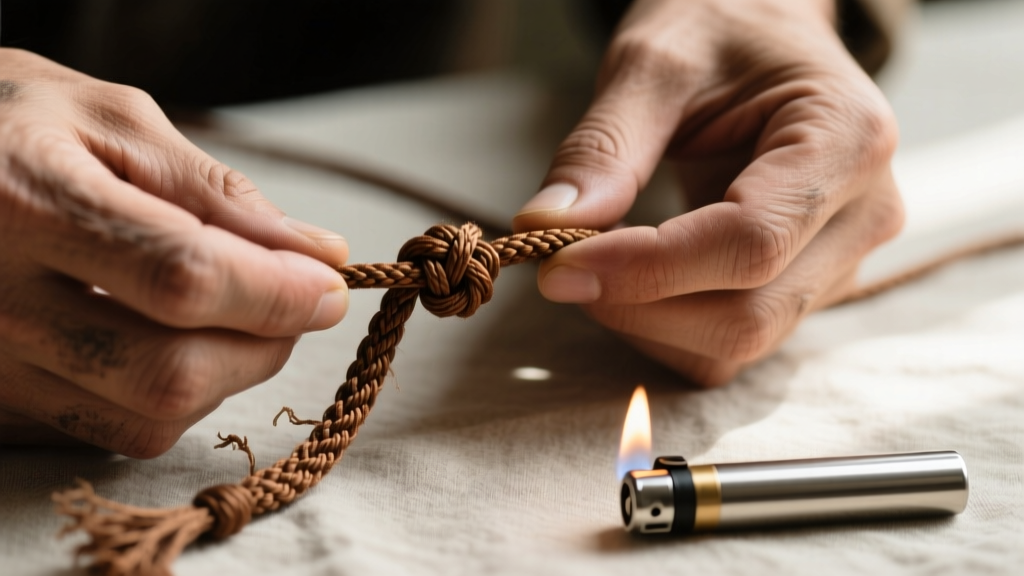
The final step separates amateur crafts from professional jewelry: finishing the ends. For the decorative tassels extending from your sliding closure, trim the cords at an angle. If you used nylon cord, carefully apply a thread burner to melt the tips into small, smooth beads, ensuring they are large enough to prevent the sliding barrel from slipping off. Be cautious not to scorch the main cords.
If you used waxed cotton, melting is not an option as it will burn and leave a brittle, blackened ash. Instead, apply a micro-drop of flexible jewelry glue to the very tip of the tassel. Alternatively, you can add a tiny crimp bead or a micro wire-wrapping cap to the end of the cotton tassel for a polished, metallic accent that also serves as a physical stopper.
Finally, give the entire necklace a gentle stretch and run your fingers down the length of the cords to smooth out any microscopic bumps in tension. Store your finished macrame necklace flat or hung by the loop to prevent the fibers from taking on a permanent crease. With proper care, avoiding prolonged exposure to chlorinated water and heavy perfumes, a high-quality waxed cotton or nylon macrame necklace will remain a durable, stylish staple in your jewelry rotation for years to come.


