How to Solder Necklace Chains: Expert Technical Guide
Master the technical aspects of how to solder necklace chains. Explore solder grades, laser welding, and link integrity for durable fine jewelry.

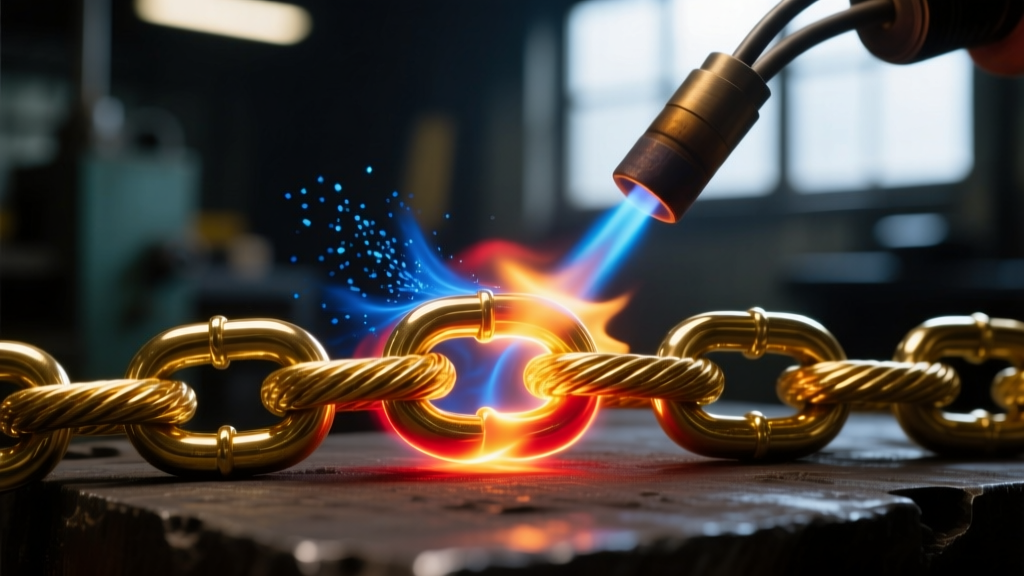
The Metallurgy of Chain Integrity: Why Soldering Matters
In the realm of fine jewelry fabrication and repair, the structural integrity of a chain is paramount. When jewelers solder necklace chains, they are not merely fixing a break; they are restoring the continuous metallurgical bond that allows the piece to withstand tensile stress, torsion, and the weight of suspended pendants. Unsoldered jump rings and open links are notorious failure points, prone to snagging on textiles, warping under pressure, and ultimately pulling apart. A properly soldered link ensures that the chain's tensile strength is limited only by the base metal's yield strength, rather than the mechanical friction of a closed seam.
Understanding how to solder necklace components requires a deep comprehension of capillary action, alloy composition, and thermal dynamics. Soldering is not melting the base metal; it is the process of introducing a filler metal (solder) with a lower melting point that flows into the microscopic gap between two precisely fitted base metal surfaces. For karat gold chains, the solder must match the karat weight and color of the chain to maintain assay compliance and aesthetic uniformity. According to the Gemological Institute of America (GIA), mismatched solder alloys can lead to galvanic corrosion or visible color lines that compromise the piece's value and longevity.
Solder Grades and Melting Points for Fine Jewelry
Jewelry solder is categorized by its melting temperature into three primary grades: Hard, Medium, and Easy. This tiered system is critical when a necklace requires multiple soldering operations, such as resizing a chain, attaching a new clasp, and repairing a broken link simultaneously. By starting with Hard solder and progressing to Easy, the jeweler ensures that previously completed joints do not remelt and fail during subsequent heating cycles.
| Solder Grade | Melting Range (°F) | Flow Temp (°F) | Primary Application |
|---|---|---|---|
| Hard | 1365 - 1450 | 1450 | Initial link fabrication, heavy structural joints |
| Medium | 1275 - 1365 | 1365 | Secondary joints, clasp ring soldering |
| Easy | 1145 - 1275 | 1250 | Final repairs, catching single broken cable links |
Note: Temperatures listed are approximate for 14k yellow gold solder. Platinum and sterling silver require entirely different alloy formulations and thermal profiles.
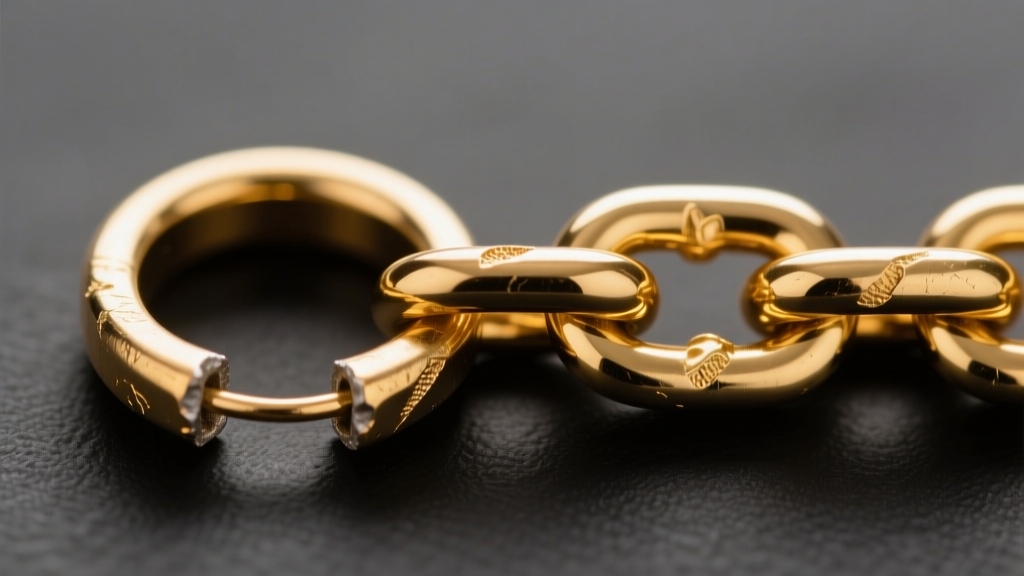
Traditional Torch vs. Laser Welding for Necklace Repair
The methodology chosen to solder necklace chains depends heavily on the chain's gauge, link complexity, and the proximity of heat-sensitive gemstones. The two dominant technologies in the modern bench jeweler's arsenal are the micro-torch and the laser welder.
When to Use a Micro-Torch
Traditional torch soldering relies on a gas-oxygen flame (often hydrogen or natural gas) to heat the metal. This method requires the application of a chemical flux—typically a borax-based compound or boric acid—to prevent oxidation (firescale) and allow the solder to flow. Torch soldering is ideal for heavy-gauge chains (14 to 16-gauge) like thick Cuban links or heavy rope chains where broad, even heat distribution is necessary to bring the entire mass of the link up to the solder's flow temperature. However, the thermal footprint of a torch poses a severe risk to delicate chains (20-gauge and finer), as the surrounding links can easily fuse together or melt if the heat is not strictly localized using thermal barriers like cross-locking tweezers or heat-absorbing tweezers.
The Advantage of Laser Welders
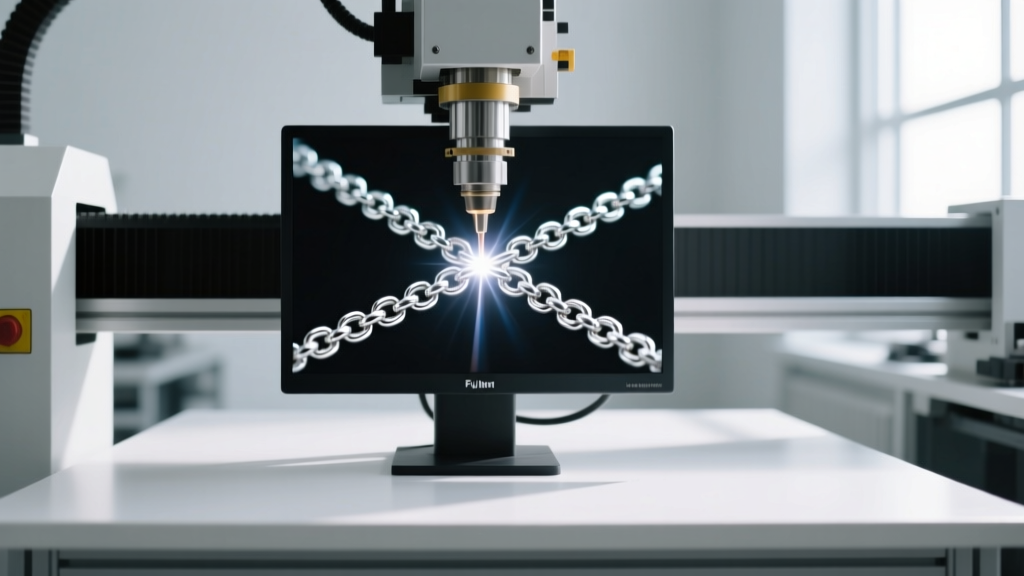
Laser welding has revolutionized chain repair by eliminating the need for flux, pickle, and broad thermal exposure. A laser welder fires a highly concentrated pulse of light energy that melts a microscopic spot of metal in milliseconds. According to industry suppliers like Stuller, laser welding creates a localized heat-affected zone (HAZ) so small that a jeweler can weld a broken link just millimeters away from a heat-sensitive stone or an enamel coating without causing damage. For intricate box chains, serpentine chains, or platinum necklaces, laser welding provides a superior, nearly invisible seam without the risk of melting adjacent links.
Step-by-Step Technical Framework for Soldering a Cable Chain
For standard 18-gauge to 20-gauge cable or curb chains requiring torch soldering, precision and preparation are non-negotiable. Follow this technical framework to ensure a flawless, durable joint:
- Ultrasonic Cleaning: Submerge the chain in an ultrasonic cleaner with a mild alkaline solution for 3-5 minutes. Any trace of skin oils, lotion, or polishing compound will disrupt capillary action and cause the solder to ball up rather than flow.
- Link Alignment: Using fine-tipped tweezers, perfectly align the two ends of the broken link. The seam must be completely flush. If the link is distorted, gently round it on a steel mandrel before soldering.
- Flux Application: Apply a minimal amount of high-temperature paste flux directly to the seam. Excess flux will boil and displace the solder pallion when heated.
- Solder Placement: Cut a microscopic chip of Easy grade solder (approximately 0.5mm x 0.5mm). Place it directly over the seam using a flux-dampened tungsten pick.
- Thermal Management: Use a micro-torch with a pinpoint flame. First, broadly warm the surrounding chain to equalize the temperature, then focus the inner blue cone of the flame directly on the link. Watch for the flux to bubble, turn clear, and then flash. The moment the solder flashes and flows into the seam, remove the heat instantly.
- Pickling and Quenching: Drop the chain into a warm pickle pot (sodium bisulfate solution) to dissolve the copper oxides. Crucial: Always use brass or copper tongs; steel tongs will introduce iron into the acid, causing a layer of pure copper to plate onto the gold chain.
Common Failure Modes in Chain Soldering
Even experienced jewelers encounter metallurgical anomalies when attempting to solder necklace chains. Recognizing these failure modes is essential for troubleshooting:
Cold Joints: Occurs when the solder melts but fails to bond with the base metal, resulting in a weak, brittle seam. This is almost always caused by inadequate cleaning or removing the heat before the base metal reached the solder's liquidus temperature.
Another frequent issue is porosity, characterized by tiny pinholes in the solder seam. This happens when trapped gases or burning flux inclusions become encapsulated in the cooling metal. To prevent this, ensure the chain is impeccably clean and avoid overheating the flux until it turns glassy and inert. Finally, reticulation or melting of the parent link happens when the jeweler uses too high a temperature solder grade or focuses the flame on the thin wire of the link rather than the joint mass, causing the base metal to collapse before the solder flows.
Conclusion: The Mark of Master Craftsmanship
The decision to properly solder necklace links is the dividing line between costume accessories and heirloom-quality fine jewelry. Whether utilizing traditional flux-and-torch methodologies or cutting-edge pulse-arc laser technology, the objective remains the same: to create a continuous, homogenous metallic structure that honors the integrity of the design. By mastering the thermal properties of precious metal solders and adhering to strict bench protocols, jewelers ensure that every chain they touch is built to withstand the rigors of daily wear for generations.


