Stack Necklace Buying Guide: Layering Rules & Fit Tips
Master the art of the stack necklace with our expert buying guide. Learn chain pairings, length increments, and metal grades for flawless layering.

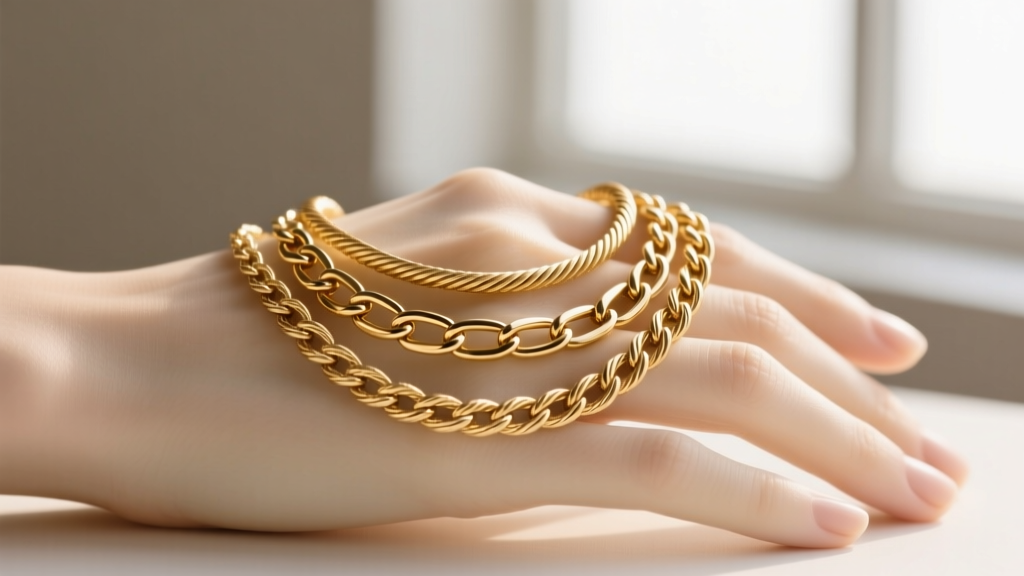
The art of the stack necklace has evolved from a fleeting social media trend into a fundamental pillar of modern jewelry styling. As we move through 2026, collectors and minimalists alike are moving away from haphazard layering, opting instead for curated, intentional arrangements that highlight personal style without looking cluttered. Whether you are investing in fine jewelry or building a collection of high-quality demi-fine pieces, understanding the mechanics of layering is essential.
This comprehensive buying guide breaks down the exact specifications, material grades, and structural rules you need to build a flawless stack necklace collection. We will cover chain weaves, precise length increments, metal durability, and clasp mechanics to ensure your layers sit perfectly and last a lifetime.
The Anatomy of a Perfect Stack Necklace
A successful stack necklace arrangement relies on the interplay of three core elements: visual weight, textural contrast, and focal hierarchy. The most common mistake buyers make is purchasing three chains of the exact same thickness and weave. This not only creates a muddy, indistinguishable silhouette but also guarantees that the chains will tangle relentlessly due to uniform friction points.
To build a balanced stack, you need an anchor piece (usually the longest and heaviest), a bridge piece (medium weight, often featuring a small pendant or charm), and a base piece (a delicate, shorter chain that sits close to the collarbone). By varying the width of the chains from 1.0mm up to 3.0mm, you create depth and allow each individual piece to catch the light independently.
Chain Styles That Play Well Together
When shopping for a stack necklace, mixing weaves is critical. Different link structures reflect light differently and interact with one another in unique ways. According to jewelry manufacturing standards, combining smooth, rounded links with angular or flattened links prevents the chains from catching on one another.
| Chain Type | Ideal Thickness | Visual Weight | Best Position in Stack | Durability Rating |
|---|---|---|---|---|
| Cable Chain | 1.0mm - 1.5mm | Light / Delicate | Base (14" - 16") | Moderate |
| Paperclip Chain | 2.0mm - 3.5mm | Medium / Modern | Bridge (16" - 18") | High |
| Figaro Chain | 2.5mm - 4.0mm | Heavy / Textured | Anchor (18" - 22") | Very High |
| Rope Chain | 1.5mm - 3.0mm | Medium / Sparkly | Bridge or Anchor | High |
| Box Chain | 1.0mm - 2.0mm | Light / Geometric | Base or Pendant Holder | Moderate |
For a classic 2026 aesthetic, pair a 1.2mm cable chain with a 2.5mm paperclip chain and finish with a 3.0mm hollow-curb or figaro chain. This specific combination guarantees that the links will slide past each other smoothly, drastically reducing tangling.
The Golden Rule of Length Increments
The spacing between your layers dictates the entire look of your stack necklace. If chains are too close in length, they will bunch up at the clasp and twist around the neck. If they are too far apart, they lose the cohesive "stacked" appearance and look like entirely separate outfits.
The 2-Inch Rule
The industry standard for layering is the 2-inch increment rule. This provides enough visual separation to showcase each chain while keeping them visually grouped. Here is the optimal length chart for a three-piece stack:
- Layer 1 (Choker/Collar): 14 inches (sits tightly on the lower neck) or 15 inches (rests on the upper collarbone).
- Layer 2 (Princess): 16 inches or 17 inches (rests on the mid-collarbone, ideal for small pendants like a solitaire diamond or pearl).
- Layer 3 (Matinee): 18 inches or 20 inches (falls below the collarbone, perfect for larger medallions, lockets, or heavy anchor chains).
Pro-Tip: Always look for chains that include a 2-inch extender. This allows you to micro-adjust your stack necklace based on the neckline of your clothing and natural fluctuations in neck swelling throughout the day.
Metal Grades & Clasp Mechanics
The longevity of your layered jewelry depends heavily on the metallurgy and the hardware used. When investing in a gold stack necklace, understanding karatage is vital. The Gemological Institute of America (GIA) notes that while 24k gold is pure, it is far too soft for daily-wear chains.
14k Gold (58.5% pure gold): This is the gold standard for stack necklaces. Alloyed with copper, silver, and zinc, 14k gold offers superior tensile strength, meaning the tiny jump rings and delicate links will not stretch or snap under the weight of layering.
18k Gold (75% pure gold): Offers a richer, deeper yellow hue but is slightly softer. If you choose 18k for a stack, avoid chains thinner than 1.5mm, as they are prone to kinking.
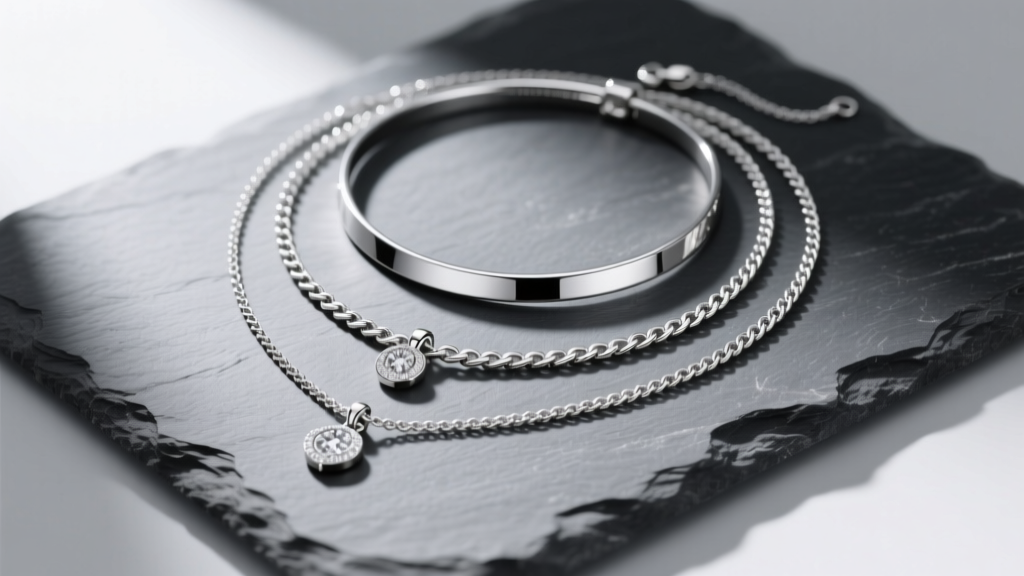
Sterling Silver (925): An excellent budget-friendly alternative, but ensure it is plated with at least 0.75 to 1.0 microns of rhodium to prevent tarnishing and reduce friction between layers.
Clasp Hardware: What to Look For
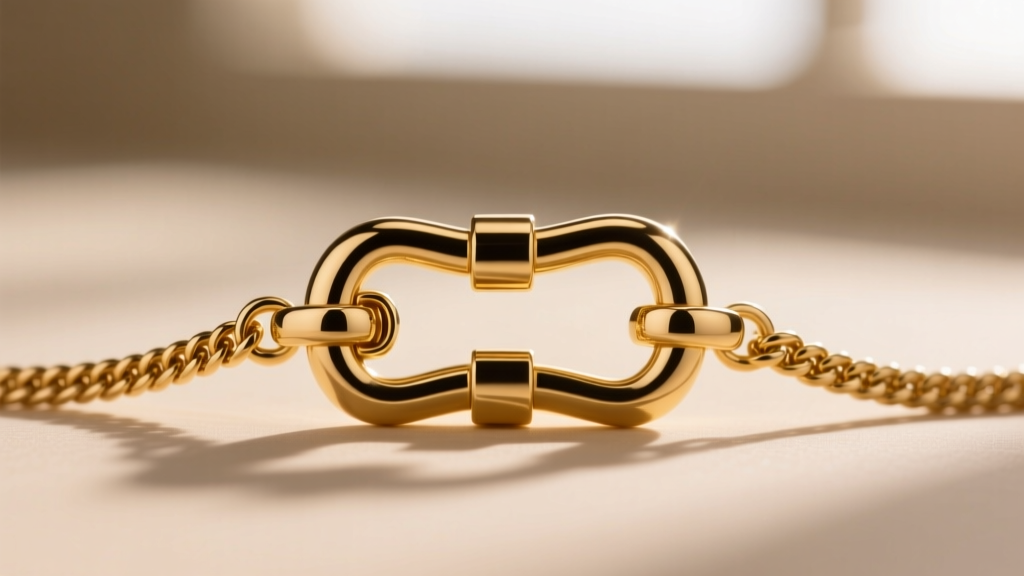
Do not overlook the clasp. Spring ring clasps are notoriously difficult to fasten when you are trying to secure three chains at the back of your neck. Always prioritize lobster clasps (specifically 10mm or 12mm sizes) or magnetic toggle clasps. Lobster clasps feature a robust internal spring mechanism that will not accidentally catch on a sweater or hair, ensuring your stack necklace remains secure. The Jewelers of America recommends routinely checking the small jump ring opposite the clasp, as this is the most common failure point in layered setups.
Troubleshooting Common Stacking Failures
Even with the best pieces, you may encounter structural issues. Here is how to troubleshoot the most common stack necklace problems:
1. The "Tangle Trap"
The Problem: Your chains are twisted into a knot by noon.
The Fix: You have likely paired chains with similar link sizes (e.g., a 2mm cable and a 2mm box chain). The links are acting like gears, catching and locking into one another. Swap one chain for a smooth, continuous weave like a herringbone, snake chain, or a rope chain to break the friction cycle.
2. The "Floating Clasp"
The Problem: The clasp keeps migrating from the back of your neck to the front, ruining the aesthetic.
The Fix: This happens when the pendant or anchor chain is lighter than the clasp itself. Upgrade to a solid, heavy lobster clasp, or add a small counterweight charm to the jump ring near the clasp to keep it anchored at the nape of the neck.
3. Neckline Clashing
The Problem: The stack looks messy against certain shirts.
The Fix: Match the stack to the geometry of the fabric. For V-necks, use a cascading stack (16", 18", 20") that mimics the V-shape. For crew necks or turtlenecks, opt for a tighter, higher stack (14", 15", 16") featuring bolder, thicker chains that can stand up to the heavy fabric.
Expert Styling Insight: "When building a stack necklace, always put your necklaces on in order from shortest to longest. Fasten the 14-inch chain first, then the 16-inch, and finally the 18-inch. This prevents the longer chains from draping over and obscuring the clasps of the shorter ones, making the process significantly less frustrating."
Final Verdict: Building Your Core Collection
A masterfully curated stack necklace is not about buying as many chains as possible; it is about strategic curation. Start by investing in a high-quality 14k gold or rhodium-plated 1.2mm cable chain as your versatile base. Next, add a 2.5mm paperclip or curb chain with a 2-inch extender for modern texture. Finally, anchor the look with an 18-inch or 20-inch rope or figaro chain that can support a meaningful pendant or locket.
By paying strict attention to length increments, mixing chain weaves to prevent tangling, and prioritizing secure lobster clasps, you will build a layered jewelry collection that is not only visually stunning but engineered for everyday, hassle-free wear.


