How to Start Layering Necklaces: A Step-by-Step Guide
Learn the exact formulas for layering necklaces without tangling. Discover ideal chain lengths, weights, and clasp types for a flawless 2026 stacked look.

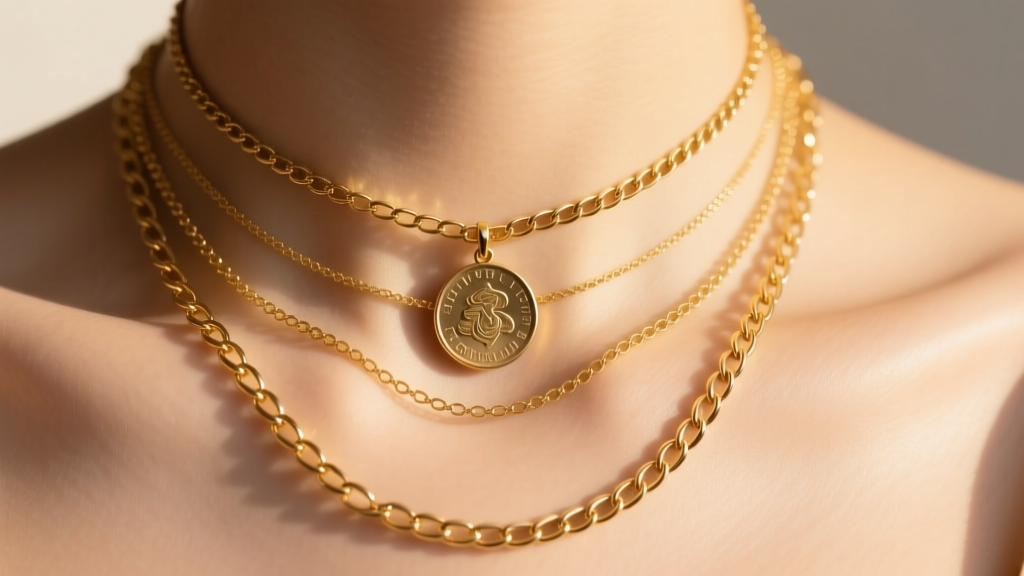
The Science Behind the Stack
While many users search for 'how to layering necklaces' online, the true secret to a flawless stack isn't about piling on random pieces; it is a precise science of weight distribution, link geometry, and spatial gaps. In 2026, the chaotic, bohemian tangles of the past decade have been replaced by intentional, structured layering. A well-engineered necklace stack moves with your body, catches the light at different intervals, and most importantly, resists the friction that causes chains to knot at the nape of your neck.
To master this technique, you must understand that every chain has a unique center of gravity and friction coefficient. When two chains of similar weight and identical length rest against each other, their links interlock like gears. By manipulating length disparities, metal grades, and link structures, you can create a stack that looks effortless but is actually meticulously calculated.
Step 1: Establishing the Base (The Anchor Choker)
Your base layer sets the structural foundation for the entire stack. This piece should sit snugly on the lower neck or collarbone, typically measuring between 14 and 15 inches in length. The critical error most people make here is choosing a chain that is too delicate. If your base chain is lighter than your mid-layer chain, the heavier piece will inevitably flip over and drag the base chain into a twisted mess.
Material and Gauge Specifications
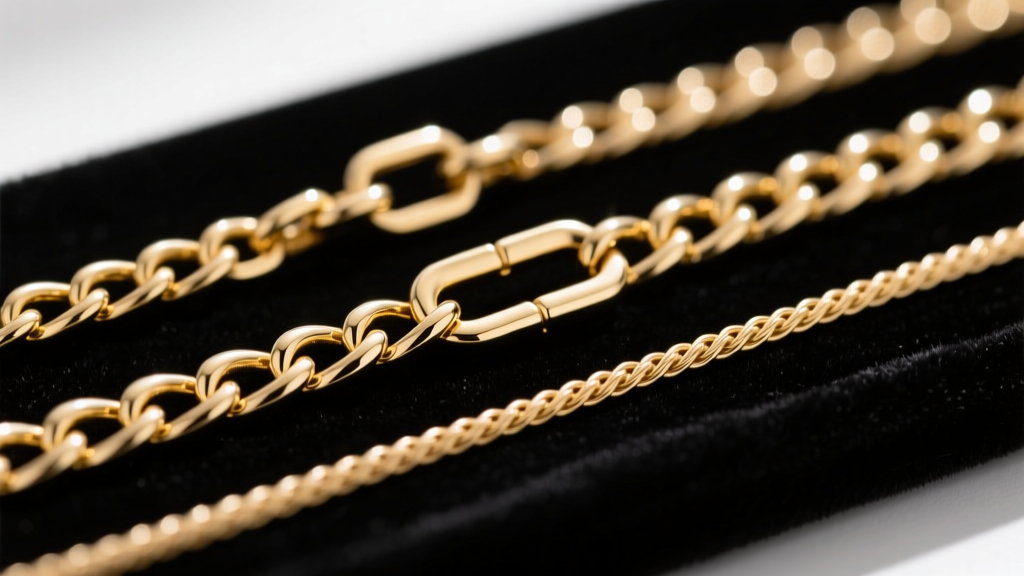
For the base layer, opt for a 14k gold or platinum chain with a width of 1.5mm to 2.5mm. 14k gold (58.5% pure gold) is alloyed with metals like zinc and copper, giving it a higher tensile strength than 18k gold. This stiffness prevents the chain from collapsing under the weight of the layers below it. A sturdy cable chain or a tightly woven wheat chain is ideal here, as their rounded links resist catching on the links of the subsequent layers.
Step 2: The Mid-Length Focal Point
The second layer is where you introduce personality and scale. This chain should measure between 17 and 19 inches, creating a mandatory 2-to-3-inch gap below the base layer. This 'spacer rule' is non-negotiable; any less space, and the clasps and pendants will collide, leading to severe tangling and metal abrasion over time.
This layer typically hosts a pendant, coin, or locket. When selecting a focal piece, pay close attention to the bail (the loop that connects the pendant to the chain). A fixed bail keeps the pendant facing forward, while a sliding bail allows it to move laterally. For layered looks, a fixed bail is superior because it prevents the pendant from sliding into the empty spaces of the adjacent chains.
Weight Distribution Warning
Keep the pendant on your mid-layer under 5 grams for daily wear. Heavier pendants act as a pendulum, swinging outward and catching on the longer anchor chain beneath it. If you desire a heavier, statement-making piece (10+ grams), you must upgrade the chain to a 2.0mm box chain to support the load without stretching the links over time.
Step 3: The Anchor Chain (The Long Layer)
The final layer elongates the torso and frames the outer layers of the stack. Measuring 22 to 26 inches, this chain should be the lightest in terms of physical weight, but can be visually textured. Because it hangs lower and moves more freely, it is highly susceptible to the 'pendulum effect'—swinging and wrapping around the mid-layer.
To counteract this, use a rolo chain or a beaded chain for the anchor layer. The wide, flat surfaces of rolo links or the spherical bumps of beaded chains create a high-friction surface that naturally repels the smoother links of the inner layers. Avoid snake chains or herringbone chains for this bottom layer at all costs; their flat, scale-like surfaces act like Velcro when pressed against other metals.
Troubleshooting: The Physics of Chain Tangling
Tangling is not a matter of bad luck; it is a matter of incompatible link geometries. When building your stack, consult the matrix below to ensure your chains are structurally compatible. According to jewelry care experts at the GIA, friction between dissimilar metals and link types is the primary cause of micro-scratches and structural failure in layered jewelry.
| Chain Type | Link Geometry | Tangle Risk | Best Layer Position |
|---|---|---|---|
| Cable / Rolo | Uniform, rounded loops | Low | Base or Anchor |
| Box | Square, interlocking cubes | Very Low | Mid (Heavy Pendants) |
| Herringbone | Flat, overlapping scales | Extremely High | Wear Alone Only |
| Snake | Tight, smooth cylinders | High | Base (Without Pendants) |
| Wheat / Spiga | Woven, directional loops | Low | Base or Mid |
Metal Mixing and Clasp Mechanics
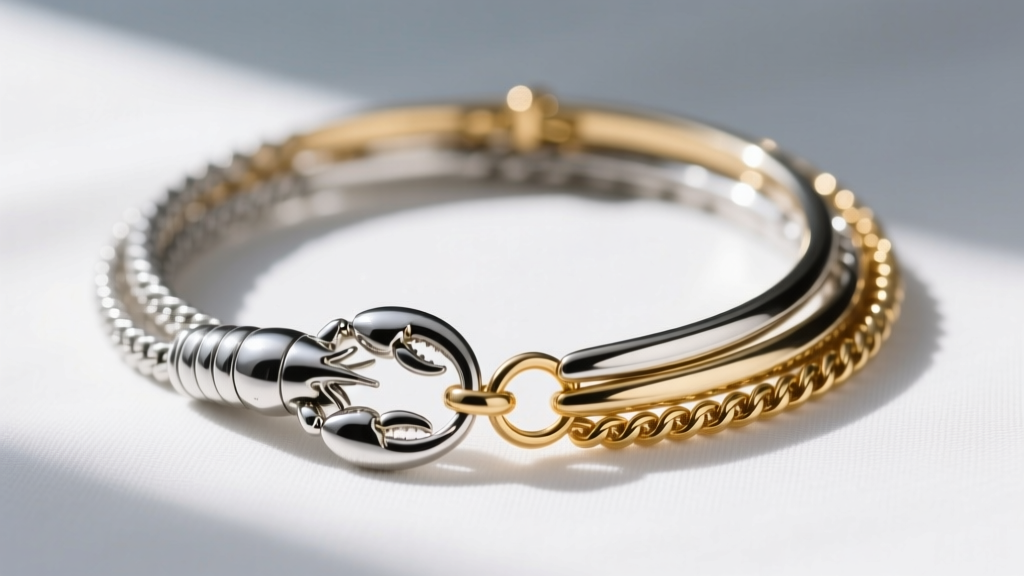
The 2026 styling consensus heavily favors mixed-metal stacks, but combining sterling silver and gold requires an understanding of galvanic reactions and tarnish. Sterling silver (925) contains 7.5% copper, which oxidizes when exposed to the sulfur compounds in human sweat and environmental pollutants. When layered directly against yellow gold, the tarnish can transfer, dulling the gold's polish.
To prevent this, ensure your silver pieces are plated with a thick layer of rhodium. Furthermore, pay attention to your clasps. The standard spring-ring clasp is lightweight but prone to failing under the tension of a multi-layer stack. Upgrade your base and mid-layers to lobster clasps—specifically the teardrop or swivel variants. Swivel lobster clasps rotate 360 degrees at the nape of the neck, absorbing the torsional stress that causes chains to twist into tight knots. For a deep dive into metal alloys and durability, refer to Vogue's comprehensive jewelry guides.
Adapting Your Stack to Necklines
A perfect stack must interact harmoniously with the geometry of your clothing. Here is a quick framework for matching your layers to common necklines:
- The Crew Neck: The high, horizontal line of a crew neck requires a stark contrast. Use a tight 14-inch choker sitting above the fabric line, paired with a long 24-inch pendant that drops below the collar, effectively breaking the horizontal block of the shirt.
- The V-Neck: Follow the natural geometry of the garment. Graduate your chains in 2-inch increments (e.g., 16', 18', 20') so they echo the V-shape of the neckline without overlapping the fabric hem.
- The Button-Down: Unbutton the shirt to the sternum. This creates a deep, vertical canvas perfect for a Y-chain or lariat style, where a single chain drops vertically, drawing the eye downward and elongating the neck.
- The Square Neck: Avoid wide, horizontal pendants that compete with the dress's seam. Opt for delicate, vertical bar pendants or simple solitaire diamonds that sit cleanly within the negative space.
Final Pre-Departure Checklist
Before you leave the house, run through this three-point diagnostic to ensure your stack will survive the day:
- The 2-Inch Rule Check: Pinch the chains together at the center of your chest. Is there at least a 2-inch gap between the pendants or the bottom of the links? If they touch, swap the mid-layer for a longer chain.
- The Clasp Alignment: Reach to the back of your neck. Ensure all lobster clasps are facing outward (away from your skin) and that the jump rings are fully closed. Twisted clasps at the nape are the origin point for 80% of chain tangles.
- The Pendulum Test: Lean forward slightly and stand back up. Does the longest chain swing wildly and cross over the mid-layer? If so, add a small, 2-gram sliding bead to the anchor chain to weigh it down and stabilize its center of gravity.
Mastering the art of the stack takes time, but by treating your jewelry like an engineered system rather than a random assortment of accessories, you will achieve a polished, tangle-free look that elevates any outfit.


