How to String a Custom Blue Glass Bead Necklace: Expert Guide
Learn how to design and string a durable blue glass bead necklace. Master wire gauges, crimping techniques, and material selection in this expert guide.

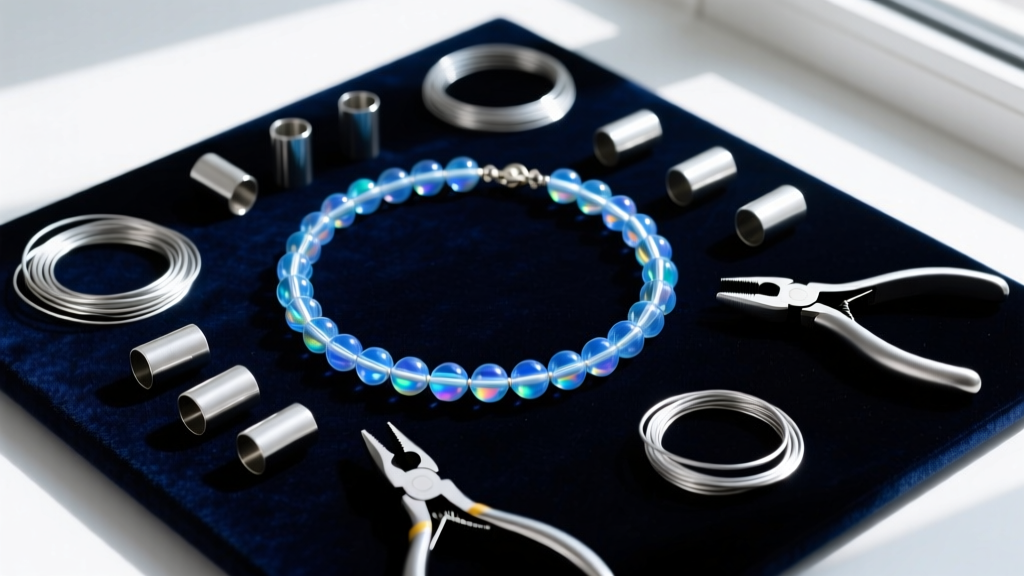
The Art and Engineering of Glass Bead Stringing
Designing a custom blue glass bead necklace is a masterclass in balancing aesthetics with structural engineering. Whether you are working with deep cobalt Czech fire-polished beads, intricate Venetian lampwork, or dichroic glass pendants, the visual impact of blue glass is undeniable. However, glass is inherently heavy and unforgiving. A poorly strung necklace will suffer from wire fatigue, kinking, or catastrophic clasp failure within months.
As a jewelry designer, your goal is to create a piece that drapes like liquid but holds up to daily wear. This comprehensive, step-by-step guide will walk you through the exact materials, wire gauges, and professional crimping techniques required to build a high-end blue glass bead necklace that lasts a lifetime.
Material Selection: Choosing Your Wire and Findings
The most common point of failure in glass bead jewelry is the stringing material. Never use nylon thread, silk, or elastic for glass beads. Glass beads have hard, sometimes sharp interior holes that will slice through organic fibers over time. You must use multi-strand stainless steel beading wire.
Understanding Wire Strand Counts and Diameters
Professional jewelers rely on 49-strand stainless steel wire (such as those from Soft Flex Company). The 49-strand construction provides superior drape and kink-resistance compared to 7-strand or 19-strand alternatives. The diameter of the wire must be matched to the weight and hole size of your specific blue glass beads.
| Wire Diameter | Strand Count | Best Glass Type | Max Bead Size |
|---|---|---|---|
| 0.014" (0.36mm) | 49-strand | Lightweight Czech glass, seed beads | Under 6mm |
| 0.018" (0.46mm) | 49-strand | Standard mixed glass, crystal | 6mm to 10mm |
| 0.024" (0.61mm) | 49-strand | Heavy lampwork, large dichroic glass | 12mm and above |
Essential Findings for Durability
- Crimp Tubes: Use 2x2mm sterling silver or 14k gold-filled seamless tubes. Avoid base metals, which can slip or crack under pressure.
- Wire Guardians (French Wire): These horseshoe-shaped metal findings protect the steel wire from the friction of the clasp ring.
- Crimp Covers: 3mm or 4mm sterling silver C-shaped covers that squeeze over the finished crimp to mimic a seamless metal bead.
Step 1: Preparing and Reaming Your Glass Beads
Before you even unspool your wire, you must inspect your blue glass beads. Handmade lampwork glass and vintage beads often have microscopic burrs or sharp edges inside the drill holes. If left untreated, these act like tiny saw blades against your steel wire.
Use a diamond-coated bead reamer. Wet the bead in a shallow bowl of water (to prevent glass dust inhalation and keep the bit cool) and gently twist the reamer through the hole of each bead. This smooths the interior channel and ensures the wire glides through without abrasion. For standard machine-made Czech glass, this step is usually unnecessary, but it is mandatory for artisan lampwork.
Step 2: Layout and Tension Management
Lay out your design on a flocked bead board. This prevents beads from rolling away and allows you to measure the exact length. For a standard princess-length necklace (18 inches), map out 17.5 inches of beads, leaving the remaining space for the clasp and findings.
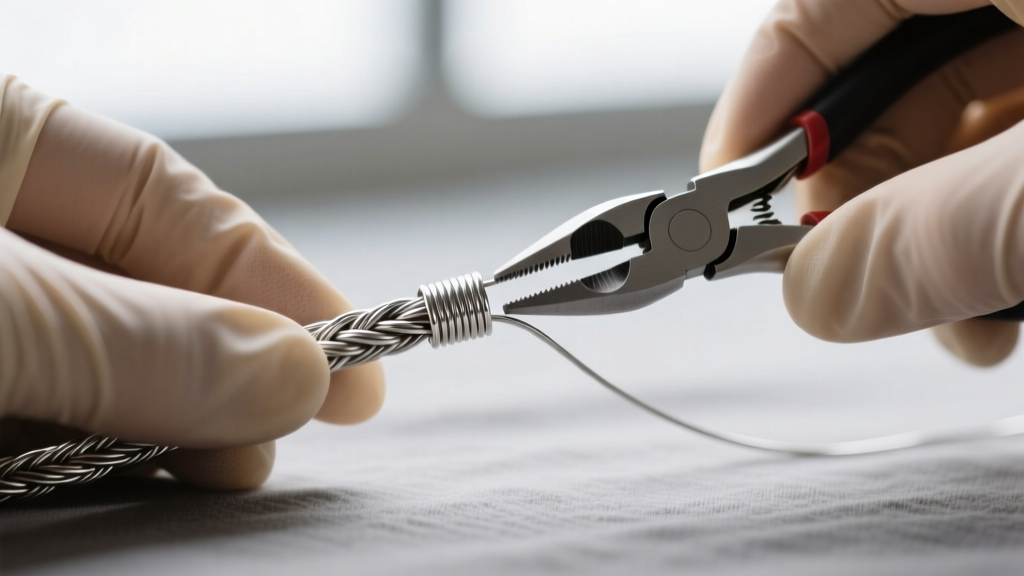
Step 3: The Perfect Crimp Technique
The crimp is the structural anchor of your necklace. A failed crimp means a broken necklace. Follow this exact sequence for a secure finish:
- Thread the Wire: Pass the 49-strand wire through a crimp tube, then through the loop of your wire guardian, and back down through the same crimp tube.
- Positioning: Slide the crimp tube up close to the wire guardian, leaving a 1/8-inch tail of wire extending past the crimp.
- The First Squeeze: Using the back notch of a micro-crimping plier (designed for 2x2mm tubes), squeeze the crimp tube firmly. This creates a U-shape channel, separating the two wires.
- The Fold: Rotate the pliers to the front oval notch. Place the U-shaped crimp on its side and squeeze again, folding the U in half so the wires are locked inside a tight, rounded bead.
- Secure the Tail: Thread the short tail wire through the first three glass beads before trimming it flush with a pair of precision flush cutters.
Expert Insight: Never use flat-nose pliers to simply smash a crimp tube flat. A flattened tube has sharp edges that will eventually cut the steel wire, and it offers significantly less surface-area grip than a properly folded and rounded crimp.
Step 4: Stringing and Finishing the Second End
String your blue glass beads according to your bead board layout. As you work, periodically lift the necklace by one end to allow the beads to settle. Glass beads are heavy; if you string them too tightly, the necklace will be stiff and the wire will bow between the beads. If you string them too loosely, the wire will show through the gaps.
The ideal tension allows the wire to bend smoothly around a 2-inch diameter circle without the beads gapping apart. Once the layout is complete, attach your second wire guardian and clasp. Use a bead stopper or a piece of tape to hold the tension while you perform your final crimp. Finally, apply sterling silver crimp covers over both crimp tubes using chain-nose pliers, squeezing them gently until they close into perfect spheres.
Troubleshooting Common Stringing Failures
Even experienced jewelers encounter issues when working with heavy glass. Here is how to troubleshoot the most common problems:
- Wire Kinking: If your 49-strand wire kinks, do not try to bend it back into place. The structural integrity of the stainless steel is compromised. Cut the wire and start over.
- Clasp Friction: If the wire snaps right at the clasp loop, you likely omitted the wire guardian. The constant friction of a lobster clasp rubbing against bare steel wire will cause metal fatigue and snapping within weeks.
- Sagging Neckline: If the necklace sags heavily at the front, your glass beads are too heavy for the wire gauge. Upgrade from 0.018" to 0.024" wire, or incorporate lighter spacer beads to reduce the overall gram weight of the piece.
Care and Maintenance of Glass Jewelry
Blue glass beads, particularly those with metallic finishes or dichroic coatings, require specific care to maintain their luster. Avoid ultrasonic cleaners, as the high-frequency vibrations can cause micro-fractures in tempered glass or strip delicate surface treatments.

Instead, clean your blue glass bead necklace using a lint-free microfiber cloth and a mild solution of warm water and dish soap. Dip a soft cotton swab into the solution, gently wipe each bead, and immediately dry them. For the sterling silver findings, use a dedicated silver polishing cloth. According to the experts at Rio Grande, storing your finished glass jewelry in an anti-tarnish ziplock bag with a silica gel packet will prevent both silver oxidation and moisture buildup, ensuring your custom piece remains vibrant and structurally sound for years to come.


