Step-by-Step Guide to Stringing a Necklace with White Beads
Learn how to string and knot a professional-grade necklace with white beads. Master thread selection, spacing, and clasp finishing in our step-by-step guide.

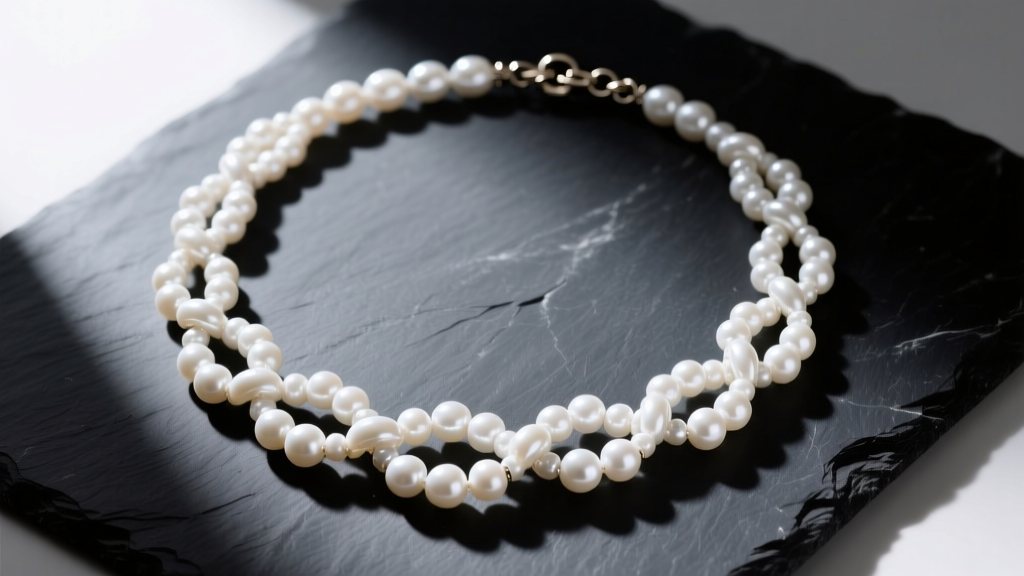
Creating a custom necklace with white beads is a rite of passage for jewelry makers and a highly sought-after skill for vintage restoration enthusiasts. Whether you are working with lustrous freshwater pearls, ethereal moonstones, or polished white agates, the structural integrity and aesthetic drape of your piece depend entirely on your stringing technique. A poorly strung necklace will sag, fray, and eventually break, while a professionally finished piece will drape elegantly and last for generations.
In this comprehensive guide, we will walk through the exact materials, gauges, and hand-knotting techniques used by master jewelers to construct a luxury-grade necklace with white beads. Say goodbye to stiff, wire-strung necklaces and learn the art of traditional silk knotting and French wire finishing.
Why Material Choice Dictates the Lifespan of Your White Bead Necklace
Before threading a single bead, you must understand the material science of your chosen gemstones. White beads span a wide variety of mineral compositions, each with different Mohs hardness ratings and drill hole characteristics. According to the Gemological Institute of America (GIA), understanding a gem's hardness is critical for predicting how it will interact with stringing materials over time.
- Freshwater Pearls (Mohs 2.5 - 4.5): Composed of calcium carbonate, pearls are soft and easily scratched. Their drill holes are typically small (0.5mm to 0.7mm) and can have sharp internal edges if not professionally reamed. They require flexible, gentle threads like natural silk.
- White Moonstone (Mohs 6.0 - 6.5): Moonstone has perfect cleavage, meaning it can split if subjected to hard impacts. Drill holes are usually 0.8mm. A slightly thicker nylon or silk thread is ideal to cushion the stone.
- White Agate or Jade (Mohs 6.5 - 7.0): These are heavy, hard stones often drilled with 1.0mm holes. They can easily saw through delicate silk threads over time due to their weight and microscopic crystalline edges. Multi-strand beading wire is often preferred here unless you ream the holes and use heavy-duty bonded nylon.
The Beader’s Toolkit: Gauges, Threads, and Findings
Selecting the correct stringing medium is the most critical decision you will make. The Fire Mountain Gems Encyclopedia notes that matching thread diameter to the bead's hole size and weight prevents premature wear. Below is a comparison chart to help you choose the right foundation for your necklace with white beads.
| Stringing Material | Best Bead Types | Diameter / Size | Pros & Cons |
|---|---|---|---|
| Natural Silk Thread (Size E or F) | Pearls, Coral, lightweight Moonstone | 0.32mm (E) / 0.35mm (F) | Pros: Traditional look, knots beautifully, gentle on soft gems. Cons: Degrades with sweat/oils, stretches over time. |
| Bonded Nylon (e.g., Silamide) | Heavier gemstones, Agate, Jade | 0.40mm - 0.60mm | Pros: High tensile strength, resists moisture and fraying. Cons: Stiffer drape, knots can slip if not melted or cemented. |
| 19-Strand Stainless Wire (Beadalon) | Heavy, sharp-edged white stones | 0.015' or 0.018' | Pros: Unbreakable under normal wear, no knotting required. Cons: Cannot be knotted, requires crimp beads, stiffer drape. |
Essential Findings and Tools
Beyond the thread, a professional finish requires specific findings. You will need a sterling silver or 14k gold-filled lobster clasp, jump rings, French wire (also known as gimp or bullion wire) in 0.6mm thickness, a beading awl, and G-S Hypo Cement for securing knots.
Step 1: Preparing and Sorting Your White Beads
A luxury necklace with white beads never looks perfectly uniform because natural materials vary. To achieve a harmonious drape, you must 'graduate' or sort your beads. Lay your beads out on a felt-lined bead board. If you are using round pearls, place the largest, most perfectly round beads at the center (the focal point) and gradually taper down to slightly smaller or more baroque-shaped beads toward the clasp. This technique not only improves the visual aesthetics but also distributes the physical weight evenly across the nape of the neck, reducing strain on the stringing thread.
Step 2: Stringing and the French Wire (Gimp) Technique
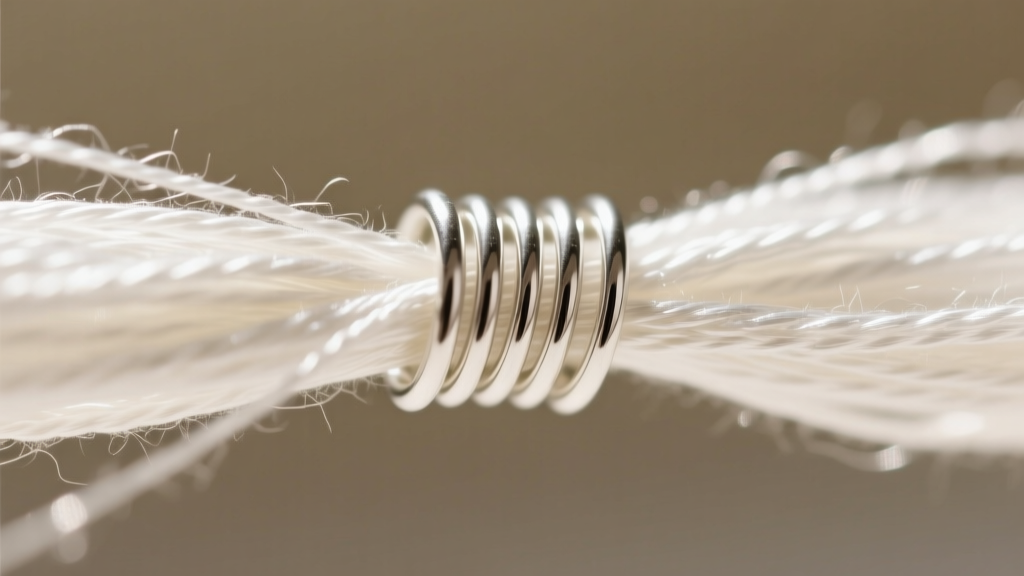
The hallmark of a high-end pearl or gemstone necklace is the absence of bare thread near the clasp. Friction from the metal clasp rubbing against silk or nylon will inevitably cause the thread to snap. To prevent this, jewelers use French wire—a delicate, hollow, coiled metal ribbon.
- Thread the Needle: Attach a fine, flexible beading needle (like a John James size 10) to your silk or nylon thread. Do not double the thread; high-end necklaces are strung on a single, heavy-duty strand to allow knots to seat tightly.
- Add the First Finding: String on a crimp bead (if using wire) or tie a temporary stopper knot. Next, string on one half of your clasp assembly (e.g., the ring side).
- Apply the French Wire: Cut a 3/4-inch piece of 0.6mm sterling silver French wire. Thread your needle through the hollow center of the coil. Pull the coil down so it covers the thread completely, resting flush against the clasp ring.
- Secure the Loop: Pass your needle back through the first bead of your necklace. Pull tight so the French wire forms a smooth, protected metal loop over the clasp ring. Tie a secure overhand knot around the thread tail to lock the wire in place.

Step 3: Hand-Knotting Between Beads for a Luxury Finish
Knotting between each white bead serves three vital purposes: it prevents bead loss if the necklace breaks, it stops the beads from rubbing against each other (which damages pearls), and it provides the fluid, fabric-like drape that wire-strung necklaces lack.
The Awl Technique
Tying the knot is easy; seating it perfectly flush against the bead requires an awl.
- String your first white bead onto the thread.
- Tie a simple overhand knot, but do not pull it tight yet. Leave the loop slightly open.
- Insert the tapered steel tip of your beading awl into the loose knot.
- Gently slide the awl down the thread, pushing the knot all the way until it touches the top of the bead.
- Apply firm, steady pressure downward with the awl while pulling the thread tail with your other hand. This tightens the knot perfectly flush against the bead without leaving a gap.
- Apply a microscopic drop of G-S Hypo Cement to the knot using the needle-point applicator. Let it dry for three seconds before moving to the next bead.
Pro Tip: If your white beads are dyed howlite or porous chalk turquoise, avoid using liquid cements that can wick into the bead's drill hole and cause discoloration. Instead, use a tiny burst of clear nail polish or a specialized non-wicking jeweler's adhesive applied strictly to the thread.
Troubleshooting Common Stringing Failures
Even experienced jewelers encounter issues when building a necklace with white beads. Here is how to troubleshoot the most common structural failures:
- Fraying Thread at the Drill Hole: If your silk thread keeps snapping near the bead, the bead's drill hole likely has a sharp, unreamed edge. Use a diamond-coated bead reamer to gently smooth the interior of the hole, or switch to a 19-strand coated beading wire for that specific heavy stone.
- Gaps Between Knots and Beads: This happens when the thread diameter is too thin for the bead hole, allowing the knot to slip partially inside the bead. Size up your thread (e.g., move from Size E to Size F silk) or double your thread pass if the hole permits.
- Stretching Over Time: Natural silk stretches when exposed to humidity and skin oils. To mitigate this, pre-stretch your silk thread by hanging a light weight from it for 24 hours before stringing, or switch to bonded nylon which has virtually zero stretch memory.
Final Care and Storage Guidelines
Once your necklace with white beads is complete, proper maintenance is required to preserve your hard work. Never store pearls or soft white stones in airtight plastic bags; they require ambient moisture to prevent cracking. Store the necklace flat or hung on a padded jewelry bust to prevent the silk from developing permanent kinks. Clean the white beads only with a soft, damp microfiber cloth after wearing, and have the necklace professionally re-strung every 3 to 5 years depending on wear frequency. By mastering these traditional techniques, you elevate your jewelry craftsmanship from simple assembly to true wearable art.


