How to String and Style a Custom Big Bead Necklace
Learn how to string, secure, and style a custom big bead necklace. Expert tips on wire gauges, crimping, and neckline proportions.

The Physics of Drape: Why Big Bead Necklaces Fail
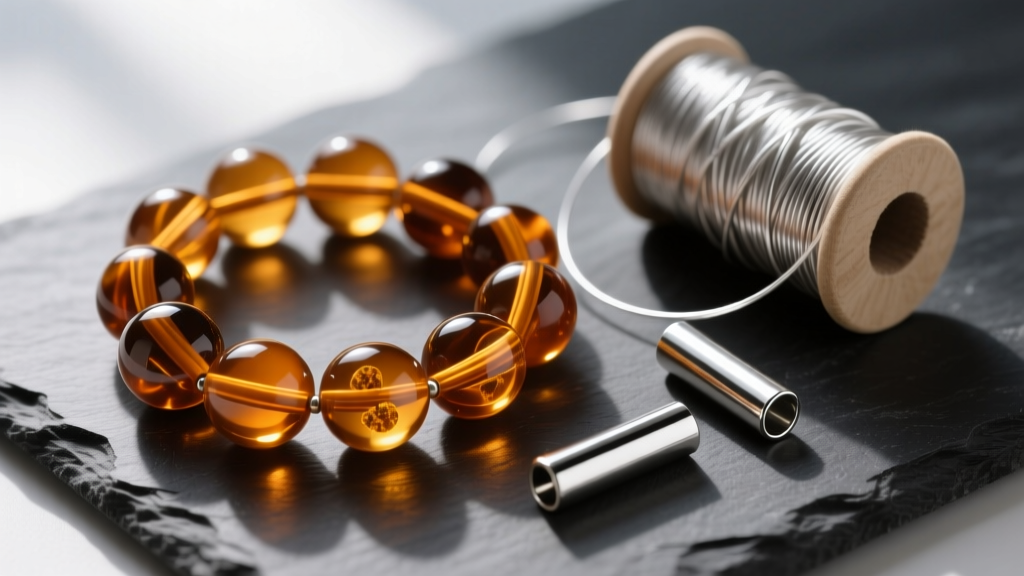
Big bead necklaces have evolved far beyond the chunky, uniform plastic styles of the early 2000s. In 2026, the trend leans heavily toward sculptural, asymmetrical, and oversized artisan beads—think 30mm carved turquoise, 25mm hand-blown glass, and massive geometric resins. However, creating or wearing a statement piece with oversized beads introduces unique structural challenges. The most common failure point in a big bead necklace is the center of gravity. When beads are too heavy and uniformly distributed, the necklace suffers from 'clasp creep,' where the weight of the front beads pulls the lighter back chain or cord upward, causing the clasp to slide to the front of the neck. Furthermore, heavy beads exert immense shear stress on standard stringing materials, leading to snapped wires and lost gemstones. This guide will walk you through the exact mechanics of stringing heavy beads and the sartorial rules for styling them flawlessly.
Step-by-Step: Stringing Heavy Beads Securely
Constructing a durable big bead necklace requires abandoning standard jewelry-making shortcuts. You cannot use basic nylon thread or thin 7-strand wire for beads that weigh more than a few ounces. Here is the professional methodology for securing oversized components.
Step 1: Selecting the Right Stringing Material
The internal structure of your necklace dictates its lifespan. According to the SoftFlex Beading Wire Guide, the number of strands in a beading wire determines its flexibility and drape. For large, heavy beads, you need a wire that can support significant tensile weight while remaining supple enough to curve around the collarbone without kinking.
| Stringing Material | Diameter / Size | Tensile Strength | Best Bead Types |
|---|---|---|---|
| 49-Strand Micro Wire | 0.024 inch | 40 lbs | Heavy glass, semi-precious stone, large ceramics |
| Braided Polyethylene | 30 lb test | 30 lbs | Smooth gemstones, metal beads, large pearls |
| Griffin Silk Cord | No. 6 (0.8mm) | 12 lbs | Lightweight oversized resin, amber, copal |
| Memory Wire | Standard Neck | N/A (Rigid) | Not recommended (fails under heavy bead torque) |
Step 2: Sizing, Spacing, and Hole Protection
Large beads often feature drilled holes ranging from 1.5mm to 4mm. If the hole edges are rough (common in carved stone or artisan glass), they will act like tiny saws against your stringing wire. To prevent internal abrasion, always use silicone bead bumpers or 3mm sterling silver spacer beads between heavy focal beads. This not only protects the wire but prevents the beads from grinding against each other, which can chip delicate finishes. If you are working with European-style large-hole beads (4mm holes), you must use heavy-duty wire guards or wrap the wire in French bullion wire at the stress points to fill the void and stabilize the bead.
Step 3: Securing the Clasp with Crimps and Wire Guardians
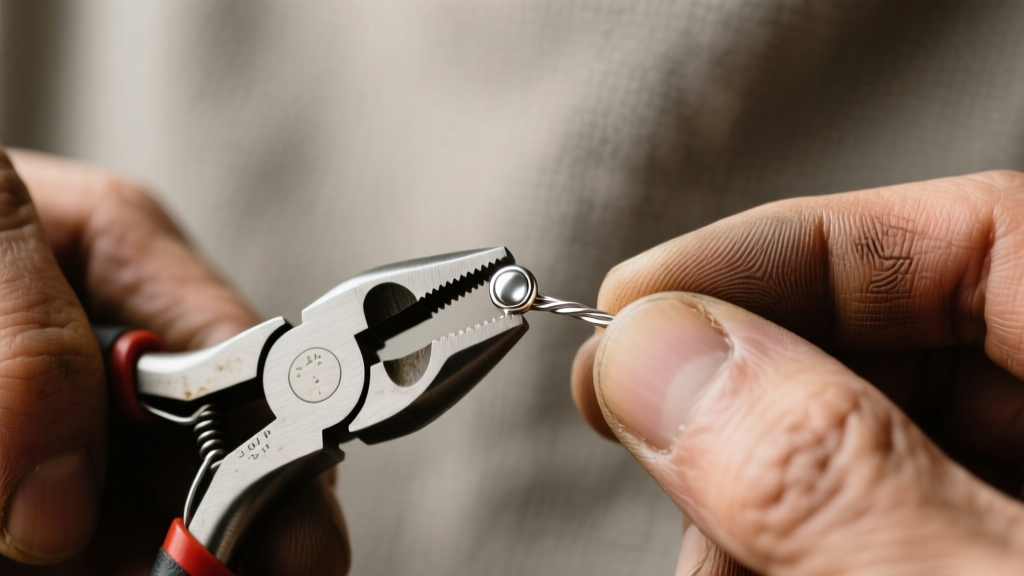
The termination point is where 90% of big bead necklaces break. Never simply loop a heavy-duty wire through a jump ring and crimp it flat; the sharp metal edge of the jump ring will eventually slice through the wire under the swinging weight of the beads. Instead, use a sterling silver or gold-filled wire guardian (also known as a French wire protector). Thread your 0.024" wire through the guardian, loop it through the clasp, and bring it back down. Secure it using a 2x2mm seamless sterling silver crimp tube. Using a micro-crimping tool, compress the tube into a U-shape, then fold it into a clean, rounded bead-like finish. This distributes the kinetic stress evenly across the wire loop.
Styling Guide: Matching Bead Scale to Necklines
Once your necklace is structurally sound, the next challenge is styling. A big bead necklace is inherently loud, so balancing its visual weight with your wardrobe is crucial. The Fire Mountain Gems Encyclopedia notes that jewelry proportion should always complement, rather than compete with, the garment's architecture.
- The Crew Neck (18-20 inch length): When wearing a standard crew neck t-shirt or sweater, your big bead necklace should sit exactly one inch below the fabric's collar seam. Opt for beads in the 15mm to 20mm range. Anything larger will look cluttered against the high neckline.
- The V-Neck (16-18 inch length): A V-neck creates a natural geometric frame. Use a graduated big bead necklace, where the beads start at 10mm near the clasp and swell to a massive 35mm focal bead at the center. The central bead should rest precisely at the apex of the V-neckline to elongate the torso.
- The Turtleneck (28-32 inch length): Heavy, oversized beads look incredibly chic layered over a ribbed turtleneck. Because the fabric is thick, you need a longer, heavier rope-style necklace to drape over the chest. Use 25mm+ beads and ensure the total weight of the necklace is at least 150 grams so it hangs straight down without tangling in the knitwear.
- The Off-The-Shoulder (14-16 inch choker length): For exposed collarbones, keep the beads close to the neck. A choker-style big bead necklace using 12mm to 15mm spherical beads creates a bold, modernist look without overwhelming the bare skin.

Troubleshooting Common Big Bead Necklace Issues
Even with perfect construction, heavy necklaces can misbehave. Here is how to troubleshoot the most common issues encountered with oversized bead jewelry:
Problem: The Clasp Keeps Sliding to the Front
Solution: You need to add a counterweight. Attach a small, heavy metal charm (like a 15-gram sterling silver teardrop or a dense hematite bead) to the jump ring right next to the clasp. This extra weight at the back of the neck will anchor the necklace, keeping the heavy focal beads centered on your chest.
Problem: The Wire is Kinking Between Beads
Solution: Kinking occurs when the wire is too thin for the bead's hole size, allowing the bead to bend the wire at a sharp angle. If your beads have 3mm holes, do not use 0.019" wire. Upgrade to 0.024" or even 0.030" wire, or use a thick, knotted silk cord that fills the hole entirely, preventing the bead from shifting and bending the core material.
Problem: The Necklace Feels Too Tight When Sitting Down
Solution: Large beads do not articulate as smoothly as small seed beads. When you sit, your posture changes and your neck expands slightly. A rigid big bead necklace will feel like a choke collar. Always add an extender chain (at least 2 inches) to the back of the clasp, or design the necklace with a 2-inch section of flexible chain integrated near the nape of the neck to allow for movement and breathing room.
Final Thoughts
Mastering the big bead necklace requires a blend of engineering and aesthetics. By selecting the correct 49-strand wire, utilizing wire guardians to prevent shear stress, and carefully matching the bead scale to your neckline, you can create and wear statement pieces that are as durable as they are visually striking. Whether you are stringing vintage Bakelite or modern 3D-printed resins, respecting the physics of heavy jewelry ensures your custom creations will last a lifetime.


