How to Style a Giant Initial Necklace Without Overpowering
Learn how to style a giant initial necklace with our step-by-step guide. Discover chain gauges, neckline pairings, and layering techniques.
The Engineering of Oversized Jewelry
The giant initial necklace has evolved from a niche hip-hop staple into a mainstream high-fashion statement. In 2026, the trend leans toward oversized, architectural letterforms ranging from 2.5 to 4.5 inches in height. However, wearing a piece of this magnitude requires more than just throwing it on. A standard 1-inch initial pendant weighs roughly 3 to 5 grams, but a solid 3-inch initial can easily exceed 45 grams. This massive increase in weight and surface area introduces unique physical challenges, including the "pendulum effect" (where a heavy pendant swings and strikes the sternum) and severe strain on delicate chain links.
Styling a giant initial necklace is an exercise in visual balance and structural engineering. If the chain is too thin, it will snap. If the neckline is too busy, the pendant will look like an afterthought. This step-by-step guide will walk you through the exact specifications, chain gauges, and styling frameworks needed to wear an oversized initial pendant with confidence and comfort.
Step 1: Selecting the Right Chain Gauge and Clasp
The most common point of failure for oversized pendants is the chain and clasp assembly. You cannot safely suspend a 40-gram pendant on a standard 1.2mm cable chain. The dynamic tension created by walking, bending, and adjusting the necklace will eventually cause the links to stretch, warp, or snap entirely. Furthermore, the clasp must be rated for heavy loads; a standard 9mm spring ring clasp will easily pop open under the weight of a giant initial.
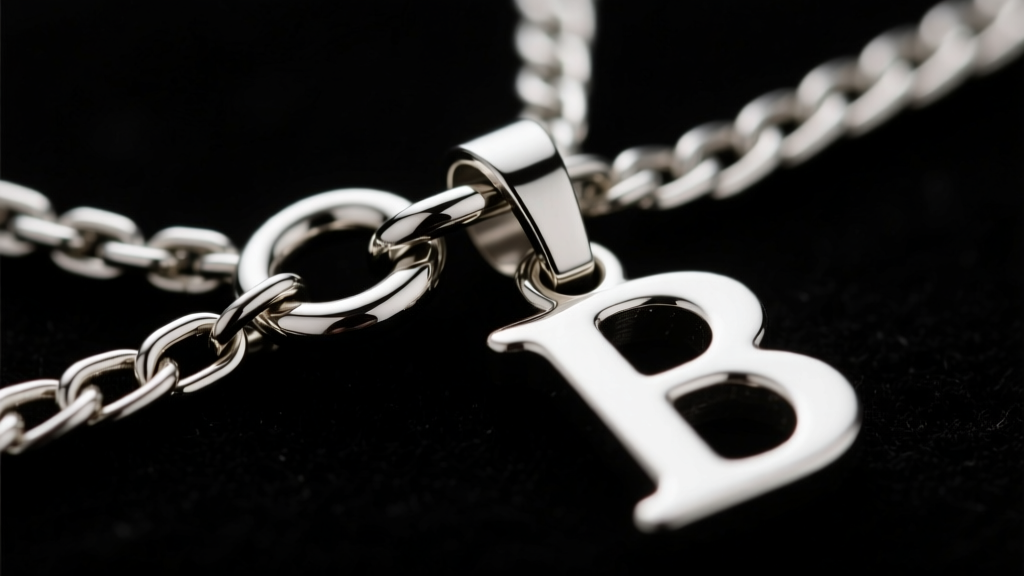
When selecting a chain, you must also consider the bail (the loop that connects the pendant to the chain). A 4mm thick chain requires a bail with an Inner Diameter (ID) of at least 5mm. If your pendant features a soldered 3mm bail, you are restricted to chains under 2.5mm, which may not provide adequate support. According to jewelry fabrication standards outlined by suppliers like Rio Grande, matching the chain's tensile strength to the pendant's static and dynamic weight is critical for longevity.
| Chain Style | Recommended Thickness | Weight Capacity | Best For |
|---|---|---|---|
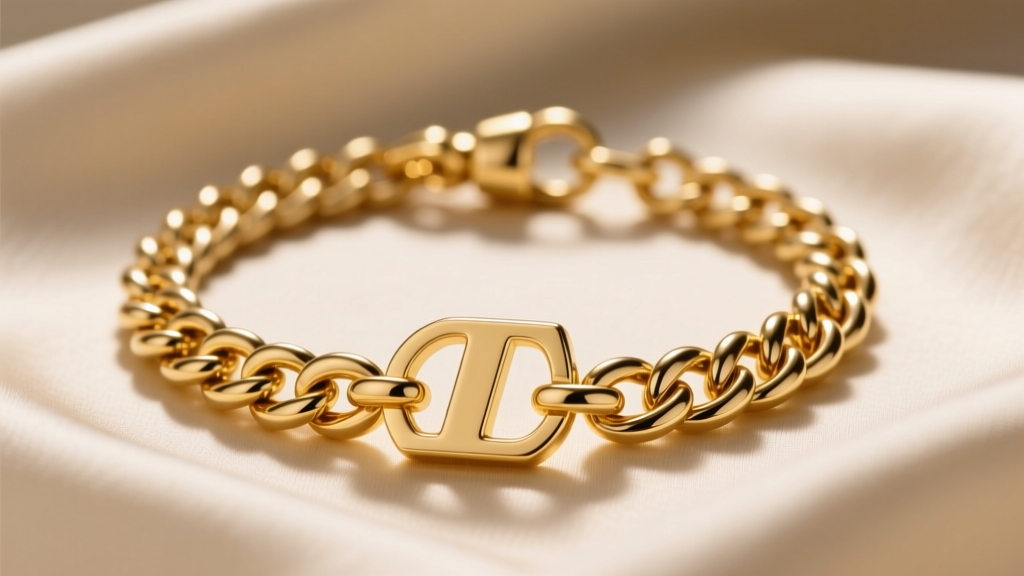
| Cuban Link | 3.5mm - 5.0mm | Up to 60g | Streetwear, bold statements, heavy solid gold letters |
| Figaro | 3.0mm - 4.5mm | Up to 45g | Classic everyday wear, vintage-inspired initials |
| Rope Chain | 3.0mm - 4.0mm | Up to 50g | Diamond-cut initials, high-reflection settings |
| Box Chain | 2.5mm - 3.5mm | Up to 35g | Sleek, modern, minimalist giant initials |
Pro Tip: Always upgrade your clasp to a 15mm lobster clasp or a custom box clasp with a figure-8 safety catch. This ensures the structural integrity of the necklace's weakest point.
Step 2: Matching Necklines to the Visual Weight
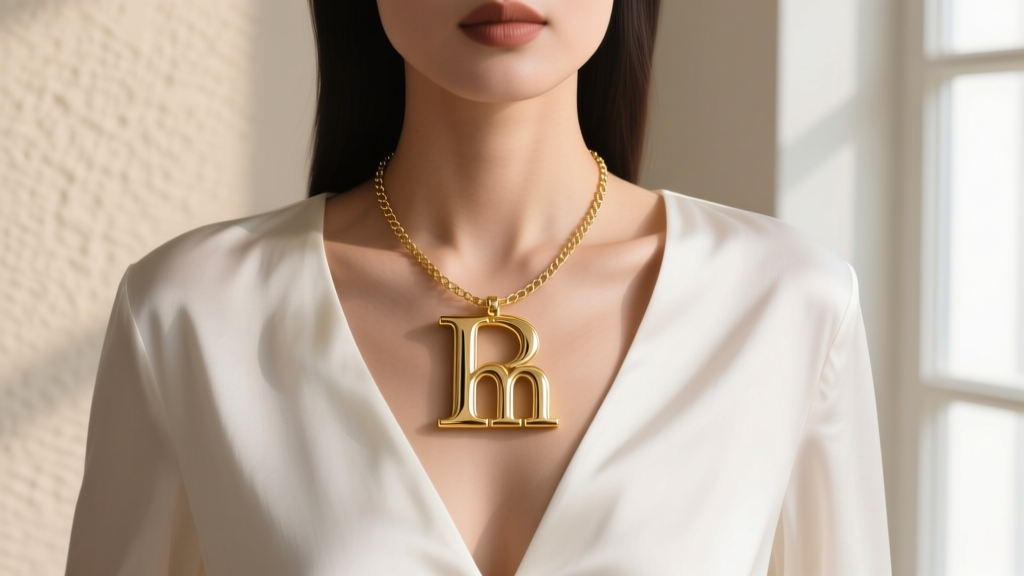
A giant initial necklace commands attention, but it can easily overwhelm your outfit if the neckline is incorrect. The goal is to create a frame of negative space that allows the pendant to breathe. Avoid high collars, turtlenecks, and busy, multi-layered ruffles, as these will cause the heavy pendant to snag and visually compete with the fabric.
- Deep V-Neck: The ideal canvas. A 20-inch or 22-inch chain will allow the giant initial to rest perfectly in the negative space of the V, elongating the neck and drawing the eye downward.
- Scoop Neck: Works exceptionally well with slightly shorter 18-inch chains, allowing the bottom of the initial to hover just above the fabric line, creating a clean, intentional boundary.
- Off-the-Shoulder / Boat Neck: Provides a wide, horizontal expanse of bare skin. Pair this with a 24-inch chain so the initial rests against the bare collarbone/sternum area, contrasting the horizontal neckline with a sharp vertical focal point.
- Button-Down Shirts: Leave the top three buttons undone to create an artificial deep V-neck. Ensure the fabric is stiff enough (like crisp cotton or denim) to support the visual weight of the jewelry without looking unbalanced.
Step 3: The Art of Asymmetrical Layering
Layering a giant initial necklace is challenging because of its sheer size, but it is possible using the "4-Inch Drop Rule." This rule dictates that any secondary chain must sit at least 4 inches above the top of the giant initial to prevent tangling and visual clutter.
"When layering oversized statement pieces, the secondary chains should act as delicate framing devices, not competing focal points. Contrast is your best tool."
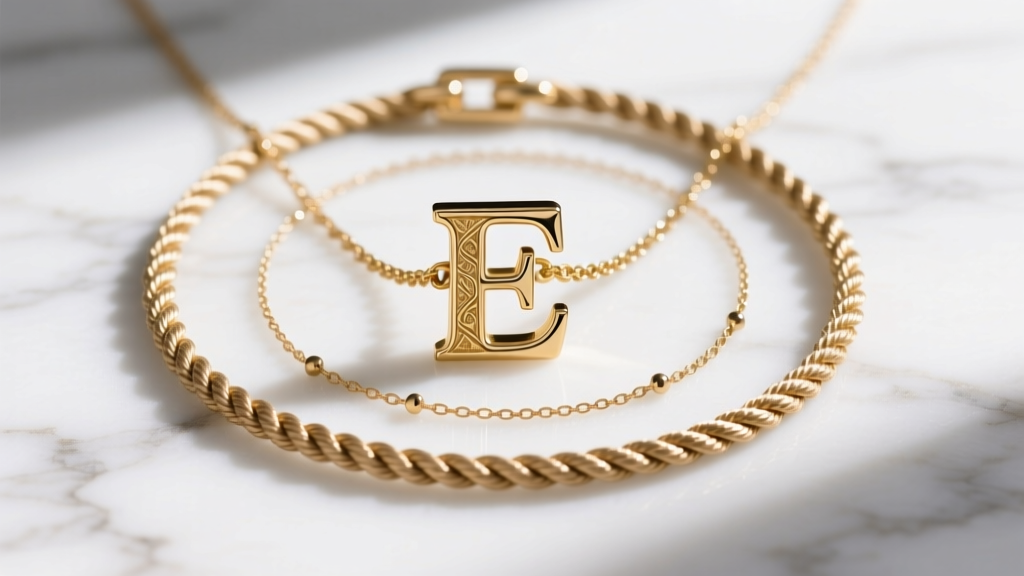
If your giant initial sits at 22 inches, your secondary chain should be a delicate 1mm to 1.5mm cable or satellite chain sitting at 16 or 18 inches. Avoid layering with other heavy pendants, coins, or gemstones. Instead, opt for a simple, bare chain or a tiny, understated bezel-set diamond solitaire. This asymmetrical approach keeps the giant initial as the undisputed star of the ensemble while adding depth and texture to your overall jewelry curation.
Step 4: Managing Metal Weight and Skin Sensitivities
Because a giant initial covers a significant surface area of the chest, the metal composition directly impacts both the weight of the piece and how your skin reacts to it over prolonged wear.
Solid vs. Hollow Construction
Many mass-market giant initials are hollow or semi-hollow to keep the price point accessible. While a hollow 3-inch pendant might weigh only 12 grams compared to a solid version's 45 grams, hollow pieces are highly susceptible to denting if dropped or struck against a hard surface. If you opt for hollow construction, treat it as occasional wear. For daily wear, invest in solid cast or die-struck pieces, which offer superior durability and a premium, heavy drape that feels luxurious.
Karat Selection and Durability
When choosing gold, higher karat does not always mean better for oversized jewelry. According to the Gemological Institute of America (GIA), 24k gold is too soft for everyday structural wear. 18k gold (75% pure gold) offers a rich, warm color but is still relatively soft and prone to scratching when a heavy pendant constantly rubs against itself or the chain. For a giant initial necklace, 14k gold (58.5% pure gold) is the optimal choice. The higher percentage of alloyed metals like copper, silver, and zinc provides superior tensile strength, scratch resistance, and structural integrity, ensuring the sharp edges of your initial remain crisp for years.
Mitigating the Pendulum Effect
A heavy pendant on a long chain will swing like a pendulum when you walk, which can be annoying and even painful if it strikes your chest. To combat this, wear the necklace slightly tighter (e.g., 20 inches instead of 24 inches) so it rests flush against the chest wall. Alternatively, you can use a transparent silicone anti-slip bead on the back of the chain, near the clasp, to create friction against the nape of your neck, keeping the heavy pendant anchored in the center of your chest.
Final Thoughts on Proportions
Mastering the giant initial necklace is all about respecting its physical and visual gravity. By pairing it with the correct heavy-gauge chain, utilizing the negative space of your neckline, and choosing durable 14k gold construction, you transform a potentially overwhelming accessory into a sophisticated, personalized masterpiece. Remember that jewelry should enhance your presence, not distract from it—so let the initial speak for itself by keeping the rest of your styling intentional, balanced, and structurally sound.


