How to Style and Layer a Heavy Chain Chunky Necklace
Master the art of wearing a chain chunky necklace. Learn step-by-step styling, clasp upgrades for heavy weights, and link maintenance tips.


The Anatomy of a Statement Piece
The shift toward maximalist jewelry has firmly established the chain chunky necklace as a cornerstone of modern wardrobes. However, wearing a heavy metal chain is not as simple as clasping it around your neck. True 'chunky' chains typically start at 8mm in width and can scale up to 20mm or more, with weights ranging from a modest 60 grams to well over 200 grams for solid, oversized statement pieces. Styling and maintaining these heavy garments requires an understanding of metallurgy, weight distribution, and mechanical stress points. This step-by-step guide will walk you through selecting, upgrading, layering, and caring for your heavy chain necklaces to ensure they remain pristine and secure.
Step 1: Selecting the Right Link Profile and Metallurgy
Not all chain links are created equal. The geometry of the link dictates how the necklace drapes, how it catches the light, and most importantly, how it withstands friction. When investing in a substantial piece, understanding the material composition is critical to avoid premature wear.
| Link Style | Avg Width | Weight (18-inch) | Durability & Drape Profile |
|---|---|---|---|
| Cuban Link | 10mm - 16mm | 85g - 150g | High friction, lays flat, requires robust clasps. |
| Curb Link | 8mm - 12mm | 60g - 110g | Moderate friction, flexible, excellent for layering. |
| Paperclip | 10mm - 15mm | 40g - 80g | Low friction, elongated links, lightweight but bold. |
| Rope Chain | 8mm - 12mm | 70g - 130g | High light reflection, prone to snagging on fabrics. |
The Vermeil vs. PVD Dilemma
If you are purchasing a gold-toned chain chunky necklace that is not solid gold, you must pay attention to the plating method. Traditional gold vermeil (gold plated over sterling silver) is highly susceptible to friction wear. On heavy Cuban or Curb links, the constant metal-on-metal rubbing at the joints will strip the vermeil plating down to the silver or brass core within six months of daily wear. Instead, seek out 316L stainless steel chains coated with PVD (Physical Vapor Deposition). PVD bonds the gold color at a molecular level, making it vastly superior for high-friction jewelry. If you prefer solid gold, the Gemological Institute of America (GIA) notes that 14k gold offers superior tensile strength and scratch resistance compared to 18k or 24k, making it the optimal choice for heavy, everyday chains.
Step 2: Upgrading the Clasp (Preventing Catastrophic Failure)
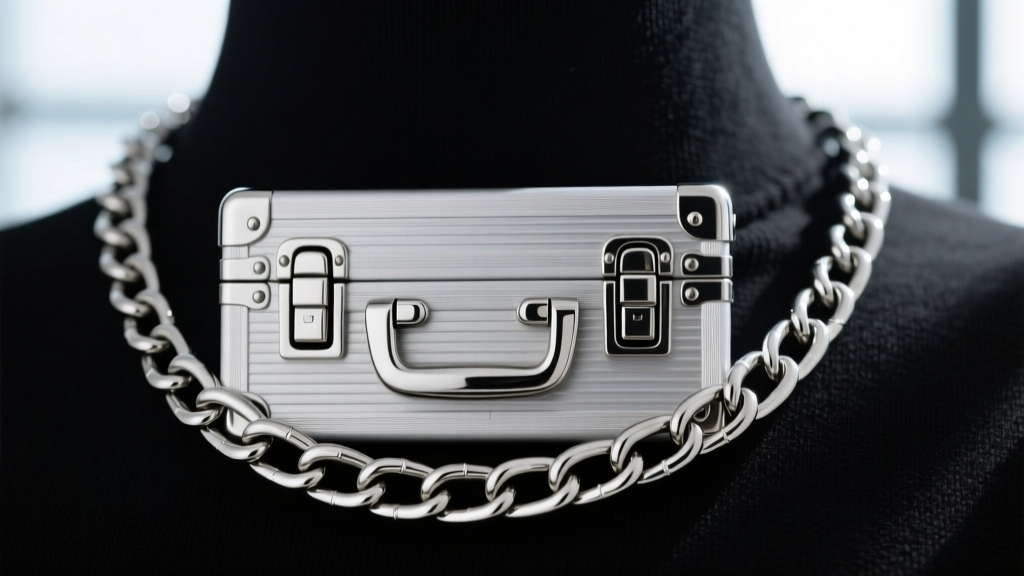
The most common failure point on any heavy necklace is the clasp. A chain weighing 100 grams generates significant dynamic G-force when you move, bend, or jog. Standard lobster clasps—even the oversized 15mm or 20mm versions—rely on a tiny internal brass spring. Under the dynamic load of a heavy chain, these springs routinely deform, leading to accidental unclasping and devastating drops.
The Mandatory Clasp Upgrade
For any chain chunky necklace exceeding 70 grams, you must transition to a Box Clasp with Figure-8 Safety Catches.
- The Box Mechanism: A folded metal tab clicks securely into a square housing, relying on structural tension rather than a fragile spring.
- The Figure-8 Safeties: These are secondary wire latches that snap over a pin on the opposite side of the clasp. Even if the primary box mechanism is jarred open by a sudden impact, the figure-8 safeties will catch the chain before it falls.
Many jewelers offer clasp retrofitting services. Spending $50 to $100 to have a jeweler laser-weld a heavy-duty box clasp onto your chain is a necessary insurance policy for your investment.
Step 3: The 4-Inch Layering Framework
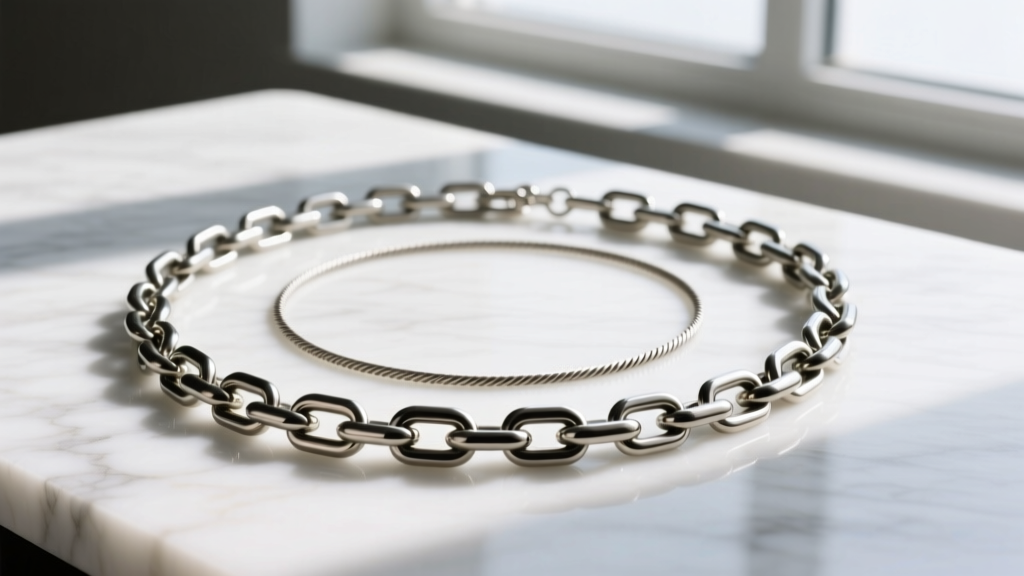
Layering a massive chain chunky necklace with delicate pieces creates a stunning visual contrast, but it introduces a mechanical hazard: tangling and micro-scratching. When a heavy 12mm chain rests directly against a delicate 2mm cable chain, the heavier links act like a file, grinding away the finish of the thinner chain.
"The golden rule of necklace layering is spatial isolation. Never allow chains of vastly different weights and link geometries to occupy the same vertical plane on the neckline."
Executing the Drop Rule
To layer safely and effectively, apply the 4-Inch Drop Rule. If your primary chunky chain is an 18-inch choker length, your secondary layered necklace must be no shorter than 22 inches, or you must use a rigid 14-inch collar. This 4-inch gap ensures that the heavy links swing freely without colliding with secondary pendants or delicate chains. If you must wear them closer together, utilize a leather or silicone 'necklace spacer'—a small bar with multiple loops that physically locks the chains into parallel tracks, preventing them from crossing over and tangling throughout the day.
Step 4: Friction Management and Deep Cleaning
Heavy chains trap skin oils, lotions, and environmental dust deep within the interlocking joints. Over time, this grime acts as an abrasive paste, accelerating wear on the metal. Proper cleaning is essential, but heavy chains require a different approach than fine, delicate jewelry.
The Ultrasonic Warning
Never place a hollow or semi-hollow chain chunky necklace into an ultrasonic cleaner. The high-frequency sound waves create microscopic cavitation bubbles that violently shake the metal. While this cleans well, it routinely fractures the delicate laser solder joints used to close hollow links, causing the chain to snap unexpectedly. According to the Jewelers of America, manual cleaning is always the safest route for complex or heavy link structures.
The Step-by-Step Manual Wash
- The Soak: Fill a ceramic bowl with warm water and three drops of a grease-cutting dish soap (like Dawn). Avoid harsh chemical dips, which can strip PVD coatings or oxidize silver cores.
- The Agitation: Submerge the chain and let it soak for 10 minutes to loosen sebum and lotion buildup.
- The Brush: Use a soft-bristled horsehair jewelry brush. Gently scrub the interior of the links, paying special attention to the friction points where the links interlock.
- The Dry: Rinse under lukewarm running water, then lay the chain flat on a microfiber towel. Use a hair dryer on the 'cool' setting to blast water out of the hidden crevices, preventing water spots and rust on non-stainless alloys.
Final Thoughts on Heavy Metal Styling
A chain chunky necklace is an investment in bold personal expression. By understanding the mechanical realities of heavy jewelry—upgrading to structural box clasps, respecting the 4-inch layering rule, and avoiding destructive ultrasonic cleaners—you ensure that your statement piece remains secure, untangled, and brilliantly polished for years to come. Treat your heavy chains with the mechanical respect they demand, and they will effortlessly elevate your style.


