How to Style, Layer, and Care for a Bird Pendant Necklace
Master the art of the bird pendant necklace. Learn step-by-step layering techniques, metal durability tips, and snag-proof maintenance for avian jewelry.

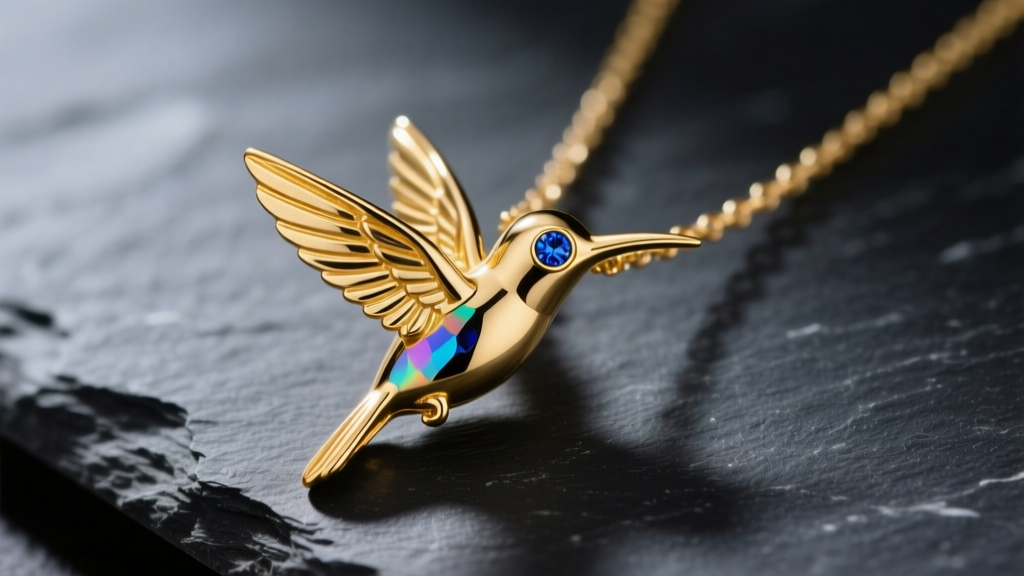
Avian motifs have maintained a steadfast presence in fine jewelry for centuries, symbolizing freedom, perspective, and the delicate beauty of the natural world. However, styling and maintaining a bird pendant necklace requires far more technical consideration than a standard geometric or gemstone drop. The protruding wings, sharp beaks, and delicate talons inherent to avian designs introduce unique structural vulnerabilities and styling challenges. Whether you are wearing a minimalist silver swallow or an ornate gold eagle, mastering the layering, pairing, and maintenance of your piece is essential for longevity and aesthetic impact.
The Metallurgy of Avian Jewelry: Choosing the Right Alloy
Before you begin styling, it is crucial to understand the structural limitations of your pendant. Bird motifs often feature extremities—such as extended wingtips or tail feathers—that are highly susceptible to bending or snapping. According to the Gemological Institute of America (GIA), the purity of gold directly impacts its tensile strength and Vickers hardness (HV).
- 18k Gold (75% pure): With a hardness of roughly 110-120 HV, 18k gold is buttery and rich in color but relatively soft. It is ideal for chunky, solid bird casts but a poor choice for pendants with thin, extended wings.
- 14k Gold (58.5% pure): Hardness increases to approximately 130-150 HV. This is the optimal choice for intricate bird pendants, offering the necessary rigidity to protect delicate beaks and talons from everyday impact.
- Sterling Silver (925): While affordable and beautifully contrasting against the skin, silver is prone to sulfide tarnishing. Because bird pendants often feature deep textural crevices to mimic feathers, polishing tarnish out of these grooves requires specialized care.
When purchasing, always inspect the bail (the loop connecting the pendant to the chain). A hidden bail or a tapered loop integrated into the bird's design preserves the silhouette, whereas a bulky soldered jump ring can distract from the artisan's detailing.
Step-by-Step Guide to Layering Your Bird Pendant
Layering a bird pendant necklace requires strategic spacing to ensure the motif remains the focal point without tangling in adjacent chains. Follow this three-tier framework for a balanced, snag-free stack.
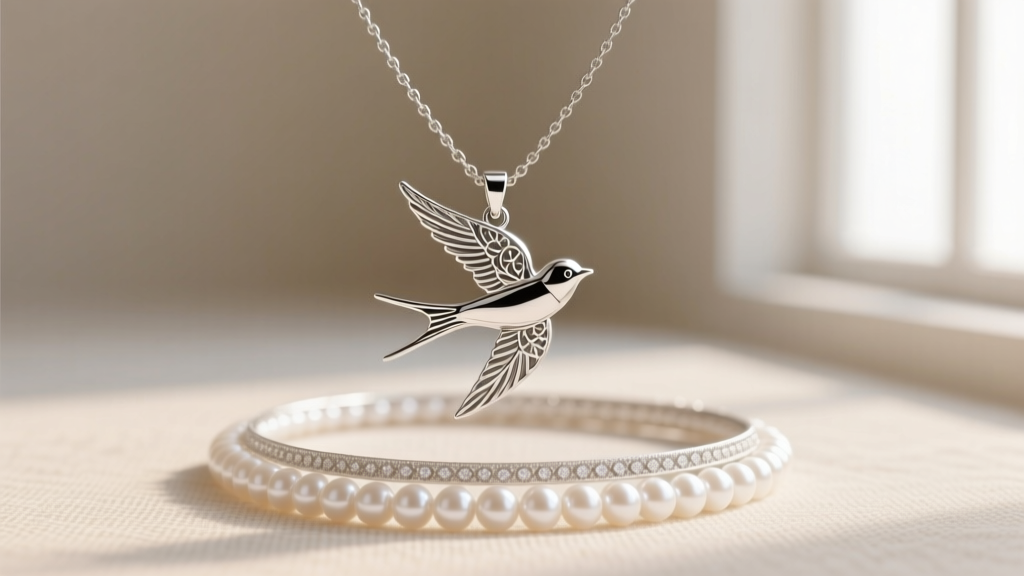
Step 1: The Anchor (14-16 Inches)
Begin with a close-fitting anchor chain to frame the collarbone. A 14-inch pearl choker or a 16-inch 1mm cable chain works best. Avoid chains with heavy textures here; the goal is to provide a subtle baseline that pushes the eye downward toward the main pendant.
Step 2: The Avian Focal Point (18-20 Inches)
Your bird pendant necklace should sit squarely in the center of the sternum. Opt for an 18-inch or 20-inch chain. The weave of this chain is critical: never use a box chain. The sharp interior edges of box chain links will catch on the bird's claws or beak, causing micro-abrasions and eventual breakage. Instead, choose a smooth wheat chain or a classic rope chain, which glide over the pendant's extremities without friction.
Step 3: The Elongating Lariat (24-28 Inches)
Finish the stack with a longer, heavier chain to elongate the torso. A 24-inch paperclip chain or a simple leather cord with a subtle gold slide clasp adds verticality. Ensure the clasp on this bottom layer is a parrot clasp rather than a standard spring ring, as the added weight of a longer chain can easily compromise a weak spring mechanism.
The Neckline Pairing Matrix
The silhouette of your clothing dictates the optimal chain length and pendant scale. Use this matrix to ensure your bird motif is never swallowed by fabric or awkwardly bisected by a seam.
| Neckline Type | Optimal Chain Length | Pendant Scale & Style | Styling Note |
|---|---|---|---|
| Crew Neck | 18 - 20 inches | Medium to Large (1.5in+) | Rest the pendant just below the collar seam to avoid visual clutter. |
| V-Neck | 16 - 18 inches | Small to Medium (1in) | Mimic the V-shape with a bird in flight (wings up) to complement the geometry. |
| Button-Down | 14 - 16 inches | Minimalist / Silhouette | Wear inside the collar, resting on the skin. Avoid long chains that swing when bending. |
| Scoop Neck | 20 - 24 inches | Large / Statement | Allow the pendant to float in the negative space of the scoop without touching the hem. |
| Turtleneck | 24 - 30 inches | Heavy / Textured | Use a thicker chain to cut through the visual weight of the heavy knit fabric. |
Snag Prevention: The Beak and Talon Rule
The most common failure mode for a bird pendant necklace is not the chain breaking, but the pendant catching on knitwear, lace, or hair. Open beaks and sharp talons act as microscopic hooks. If your pendant features an open beak (common in raven or eagle motifs) or splayed talons (common in owl or hawk designs), it will inevitably snag.
Expert Tip: Take your pendant to a local bench jeweler and request 'talon capping' or 'beak rounding.' A jeweler can apply a microscopic bead of matching solder to close the gap of an open beak or round off sharp claws. This preserves the visual silhouette while rendering the piece completely snag-proof for everyday wear.
Furthermore, if your bird pendant features pave diamonds set into the wings, avoid wearing it with loose-weave sweaters. The tiny prongs holding the melee diamonds are easily lifted by stray threads, leading to stone loss.
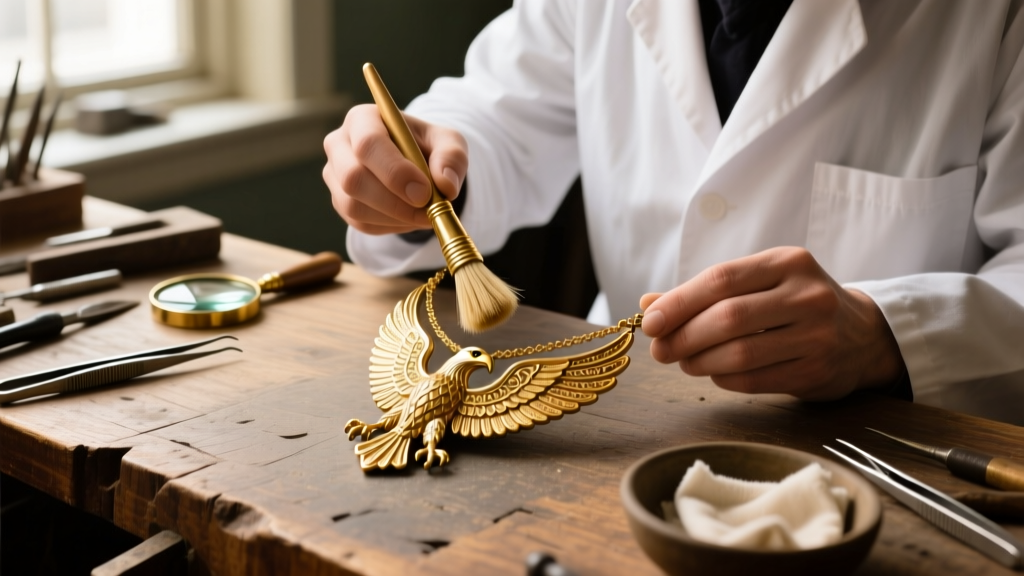
Expert Maintenance and Cleaning Protocols
Cleaning the intricate feather textures of an avian pendant requires a gentle touch. The Jewelers of America recommends against using ultrasonic cleaners for highly textured or antique jewelry. The high-frequency vibrations can shake loose stones or exacerbate micro-fractures in thin, cast-metal wings.
The Safe Cleaning Method
- Soak: Submerge the necklace in a bowl of warm water mixed with a few drops of mild, phosphate-free dish soap for 10 minutes.
- Agitate: Use a baby-soft toothbrush or a specialized jewelry detailing brush. Brush in the direction of the feather casting, never against it, to avoid bending delicate metal ridges.
- Rinse and Dry: Rinse under lukewarm running water. Pat dry with a microfiber cloth. Never air-dry, as water spots will settle into the deep crevices of the wing textures.
For sterling silver bird pendants, use a treated silver polishing cloth for the raised, high-polish areas (like the belly or head), but leave the dark oxidation in the recessed feather grooves. This contrast is intentional and provides the three-dimensional depth that makes the motif come alive.
Market Tiers and Artisan Sourcing
When investing in a bird pendant necklace, understanding the market tiers helps you align your budget with your expectations regarding craftsmanship and material longevity.
- Mass Market / Fashion ($30 - $90): Typically die-struck from thin sheets of brass or plated silver. These pieces often lack depth and feature flat, two-dimensional silhouettes. The plating will eventually wear off, especially at the bail where friction occurs. Best for temporary, trend-driven styling.
- Indie Artisan / Small Batch ($150 - $450): Usually created using the lost-wax casting method in solid 14k gold or recycled sterling silver. Artisans in this tier often incorporate unique elements, such as ethically sourced sapphire eyes or oxidized detailing. You are paying for original sculpting and structural integrity.
- Fine Jewelry / Heritage ($800+): Hand-fabricated or master-cast by heritage houses. These pieces feature flawless pave work, enamel accents (guilloché), and articulated wings that move independently. They are built to become multi-generational heirlooms.
By prioritizing structural alloys, mindful layering techniques, and proactive snag-prevention, your bird pendant necklace will remain a pristine, dynamic centerpiece in your jewelry wardrobe for decades to come.


