How to Style, Layer, and Care for a Piano Necklace
Learn how to style, layer, and maintain your piano necklace. Discover chain pairings, enamel care tips, and neckline matching for musicians.

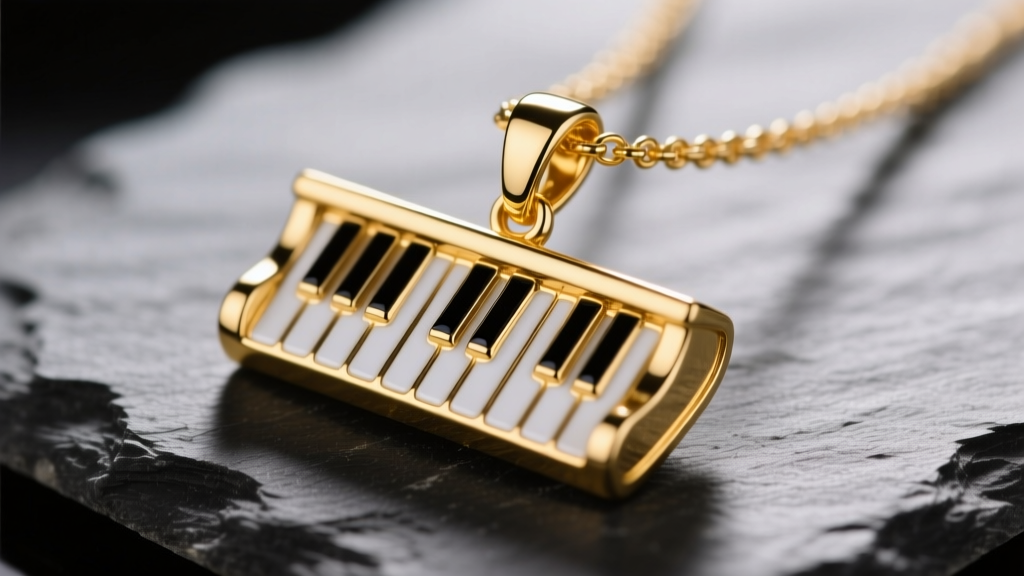
The Timeless Appeal of the Piano Necklace
For musicians, music educators, and devoted audiophiles, a piano necklace is more than just a piece of jewelry; it is a wearable testament to their passion. Whether shaped like a grand piano silhouette, a vertical row of piano keys, or a minimalist treble clef wrapping around a keyboard motif, these pendants require specific styling considerations. Because piano pendants often feature intricate enamel work, mixed metals, and unique weight distributions, treating them like a standard gemstone pendant can lead to premature wear or poor aesthetic presentation.
In this comprehensive guide, we will break down the exact anatomy of a high-quality piano necklace, how to select the proper chain gauge to prevent pendant flipping, and step-by-step layering techniques to elevate your everyday style. Finally, we will cover the critical, often-overlooked maintenance routines required to preserve delicate enamel detailing.
Step 1: Understanding Materials and Enamel Types
Before styling your piano necklace, you must understand its construction. The visual impact of a piano pendant relies heavily on the contrast between the metal base and the 'keys,' which are typically rendered in enamel.
Base Metals and Plating Standards
Avoid base metals like nickel or untreated brass, which can cause skin discoloration and tarnish rapidly. Look for a solid 925 sterling silver base. If you prefer gold, ensure the piece is gold vermeil rather than simple gold-plated. According to the Federal Trade Commission Jewelry Guides, true vermeil must feature a sterling silver base coated with a minimum of 2.5 microns of 10k or higher gold. This thickness is crucial for a piano necklace, as the pendant frequently rubs against the skin and clothing, which can wear away thinner 0.5-micron flash plating in a matter of months.
Cold Enamel vs. Vitreous Enamel
- Cold Enamel (Epoxy Resin): Common in mid-range piano necklaces ($40–$120). It provides a brilliant, opaque black-and-white contrast for the piano keys but is susceptible to scratching and heat damage.
- Vitreous Enamel (Fired Glass): Found in luxury and artisan pieces ($250+). Glass powder is fused to the metal at high temperatures. It is highly scratch-resistant and possesses a luminous depth, but it can crack or 'craze' if dropped on a hard surface.
Step 2: Selecting the Ideal Chain Gauge and Style
The most common mistake buyers make with novelty or instrument-shaped pendants is pairing them with the wrong chain. A piano pendant, particularly a horizontal grand piano silhouette, has an off-center center of gravity. If the chain is too thin or the wrong style, the pendant will constantly flip upside down.

The Chain Style Matrix
| Chain Style | Recommended Gauge | Best For Pendant Type | Flipping Risk |
|---|---|---|---|
| Box Chain | 0.9mm – 1.2mm | Horizontal Grand Pianos | Low (Excellent drape) |
| Cable Chain | 1.0mm – 1.5mm | Vertical Piano Keys | Medium (Can tangle) |
| Rolo Chain | 1.2mm – 1.5mm | Heavy Solid Silver Pianos | Low (High structural support) |
| Snake Chain | 1.5mm+ | Wide Keyboard Wraps | Very Low (Stiff drape) |
Pro-Tip: Always check the bail (the loop connecting the pendant to the chain). A standard loop bail allows the pendant to swing freely. For wide grand piano pendants, look for a 'hidden bail' or a European-style slide bail that sits behind the pendant, keeping it perfectly flush and upright against the chest.
Step 3: The Layering Formula for Musical Pendants
Layering a piano necklace requires a strategic approach to ensure the intricate details of the instrument are not lost in a cluttered stack. The goal is to frame the pendant, not compete with it.
The 2-Inch Drop Rule
To prevent chains from tangling and pendants from overlapping, maintain a strict 2-inch length difference between each necklace in your stack.
- Layer 1 (The Anchor): A 14-inch or 15-inch minimalist choker. A simple 1.0mm gold herringbone chain or a delicate bezel-set diamond solitaire works best. This draws the eye up to the collarbone.
- Layer 2 (The Focal Point): Your 16-inch or 17-inch piano necklace. This sits perfectly in the hollow of the throat, allowing the enamel keys to catch the light.
- Layer 3 (The Elongator): An 18-inch or 20-inch lariat or a simple bar pendant. This creates a V-shape that elongates the neck and balances the visual weight of the piano pendant.
Thematic Pairing
If you want to lean into the musical theme without looking costume-like, pair your piano necklace with subtle, abstract musical nods. A tiny, minimalist treble clef on a longer chain, or a simple bar necklace engraved with the coordinates of a famous concert hall (like Carnegie Hall or the Royal Albert Hall), adds profound personal meaning while maintaining a sophisticated, modern aesthetic.
Step 4: Neckline Matching Strategies
The silhouette of your clothing dictates how your piano necklace will be perceived. Because piano pendants often feature high-contrast black and white enamel, they act as a natural focal point.
- Crew Necks and Turtlenecks: Opt for a longer chain (18 to 20 inches) that rests below the collarbone. A horizontal grand piano pendant sitting directly on top of a ribbed turtleneck creates a striking, preppy-chic contrast.
- V-Necks and Wrap Dresses: Stick to a 16-inch chain. The V-shape of the neckline naturally frames the pendant. Ensure the pendant sits at least one inch above the apex of the V-neck to avoid visual clutter.
- Button-Down Shirts: Wear the piano necklace inside the collar, resting against the skin, with the top two buttons undone. This offers a subtle, professional glimpse of the jewelry, perfect for music teachers or performers in formal settings.
Step 5: Cleaning and Preserving Enamel Details
Maintaining the pristine black-and-white contrast of a piano necklace requires specialized care. The methods recommended by the Jewelers of America for solid gemstones do not apply to enamel.
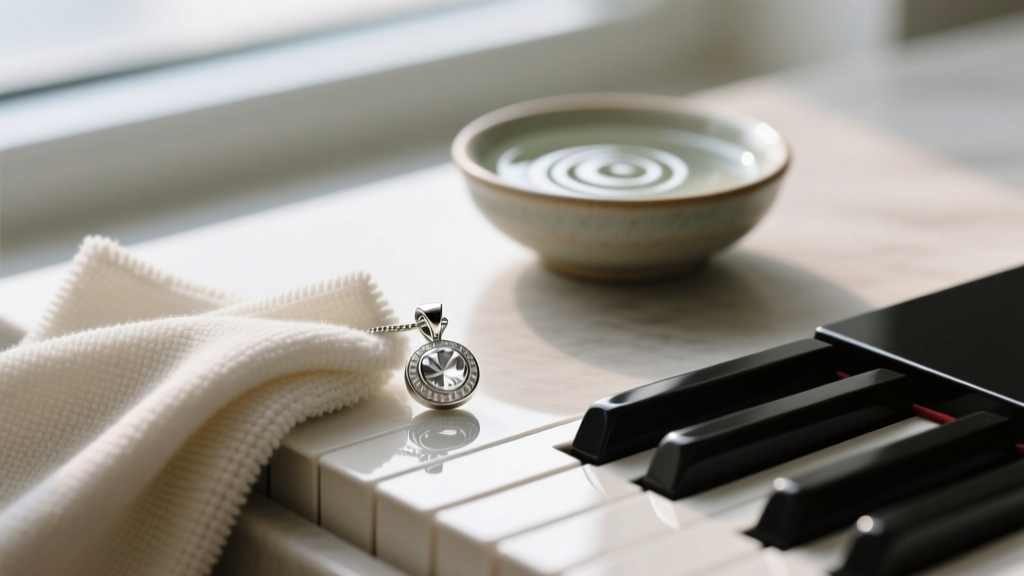
What NEVER to Do
- No Ultrasonic Cleaners: The high-frequency vibrations will shatter vitreous enamel and cause cold epoxy enamel to delaminate from the metal base.
- No Steam Cleaners: Extreme heat will melt or warp cold enamel and cause thermal shock cracking in fired enamel.
- No Harsh Chemicals: Avoid silver dip solutions, ammonia, and bleach. These chemicals will strip gold vermeil and cause the black enamel keys to turn a cloudy, irreparable gray.
The Safe Step-by-Step Cleaning Method
- Prepare a Mild Bath: Mix a few drops of phosphate-free dish soap (like Dawn) into a bowl of lukewarm (never hot) water.
- Soak Briefly: Submerge the piano necklace for no more than 3 to 5 minutes to loosen body oils and lotions.
- Gentle Agitation: Use an ultra-soft baby toothbrush to lightly sweep over the metal portions. Do not scrub the enamel keys, as micro-abrasions will dull the glossy finish over time.
- Rinse and Dry: Rinse thoroughly under lukewarm running water. Immediately pat dry with a lint-free microfiber cloth. Air-drying can leave water spots that are difficult to remove from the crevices between the piano keys.
- Storage: Store the necklace flat in a soft pouch. Hanging a heavy piano pendant on a jewelry tree for long periods can stress the bail and weaken the chain links over time.
Final Thoughts on Your Piano Necklace
A piano necklace is a deeply personal accessory that bridges the gap between artistic passion and everyday fashion. By respecting the material limitations of enamel, choosing a structurally sound box or rolo chain, and employing the 2-inch layering rule, you can ensure your pendant remains a sophisticated conversation starter. Whether you are stepping onto a stage, heading to a teaching studio, or simply enjoying a night out, proper care and styling will keep your musical tribute shining brilliantly for years to come.


