How to Style and Layer a Three Circle Necklace: A Step-by-Step Guide
Learn how to style, layer, and care for a three circle necklace. Discover expert tips on wire gauges, chain lengths, and metal grades for daily wear.

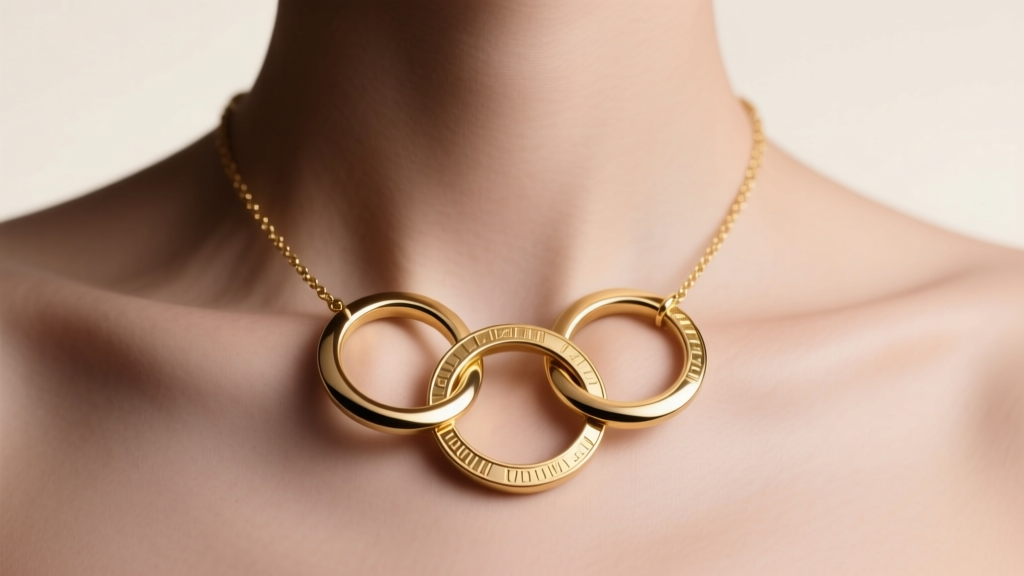
The Anatomy of a Perfect Three Circle Necklace
The three circle necklace is a masterclass in symbolic minimalism. Whether representing the past, present, and future, or the interlocking bonds of family and friendship, this pendant style relies on geometric precision to make its impact. However, styling a three circle pendant requires more than just slipping it over your head. The interlocking nature of the rings introduces unique structural vulnerabilities and layering challenges that standard pendants do not face. In this comprehensive guide, we break down the exact metallurgy, chain lengths, and layering frameworks required to wear, maintain, and troubleshoot your three circle necklace like a professional jeweler.
Step 1: Selecting the Right Metal Grade and Wire Gauge
The most common point of failure for interlocking ring necklaces is metal warping. Because the circles bear the tension of the chain and the weight of one another, the wire gauge (thickness) of the rings is critical. Avoid any three circle pendant crafted from 20-gauge (0.81mm) or 18-gauge (1.02mm) wire; these will easily bend out of shape when snagged on clothing.
The Ideal Wire Gauge
For daily wear, insist on a 12-gauge (2.05mm) or 10-gauge (2.59mm) wire thickness. This provides the structural rigidity needed to keep the circles perfectly round while maintaining a delicate visual profile. According to the Gemological Institute of America (GIA), the alloy composition of your gold also dictates durability. While 18k gold (75% pure gold) offers a richer, deeper yellow hue, it is inherently softer. For a three circle necklace that will be worn daily and subjected to the friction of interlocking rings, 14k solid gold (58.5% pure gold) is the superior choice. The higher alloy content (usually a mix of copper, silver, and zinc) significantly increases the tensile strength of the wire, preventing the rings from stretching into ovals over time.
Step 2: Matching Chain Lengths to Necklines
A three circle pendant typically measures between 15mm and 25mm in total diameter. Because the design is horizontally oriented, it requires specific chain lengths to sit correctly against the clavicle without flipping upside down. Use the decision framework below to match your chain length to your most worn necklines.
| Chain Length | Pendant Drop | Best Neckline Pairing | Visual Effect |
|---|---|---|---|
| 16 Inches (Choker) | Rests on collarbone | Crew neck, Boat neck, Off-shoulder | Modern, highlights the neck and jawline. |
| 18 Inches (Princess) | Rests below collarbone | V-neck, Scoop neck, Wrap dresses | Classic, draws the eye to the center of the chest. |
| 20 Inches (Matinee) | Rests on upper bust | Button-down shirts, Turtlenecks | Relaxed, elongates the torso and layers well over fabric. |
Pro Tip: Ensure your chain features a soldered jump ring or a fixed bail to hold the three circles. If the rings are threaded directly onto a thick chain (like a 3mm Cuban link), they will slide into the crevices of the links and become stuck or scratched.
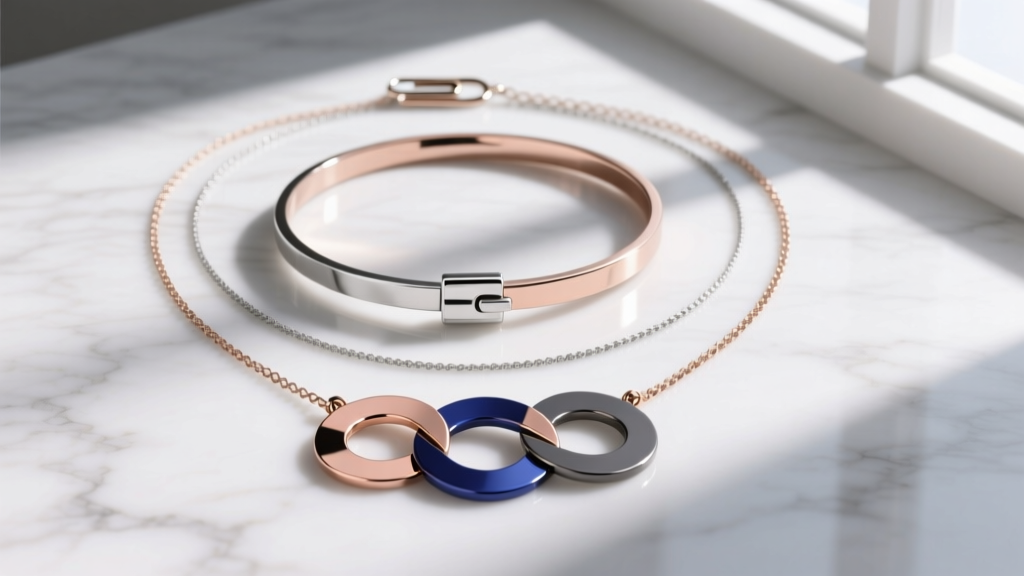
Step 3: The 2-Inch Rule for Flawless Layering
Layering a three circle necklace is highly effective, but the horizontal geometry of the pendant makes it prone to tangling with neighboring chains. To achieve a curated, tangle-free stack, apply the 2-Inch Drop Rule. This means every subsequent necklace in your stack must be exactly two inches longer than the one above it.
Build Your Stack
- Layer 1 (14-inch): A minimalist 1.5mm snake chain or a delicate choker. This frames the face and provides a high anchor point.
- Layer 2 (16-inch or 18-inch): Your three circle necklace. This serves as the visual anchor and centerpiece of the stack.
- Layer 3 (20-inch): A textured chain, such as a 3mm paperclip chain or a rope chain, featuring a simple vertical bar pendant or a single solitaire diamond. The vertical line of the bottom pendant contrasts beautifully with the horizontal lines of the three circles.
By maintaining strict two-inch intervals, you ensure the pendants occupy distinct visual zones, eliminating the friction that causes chains to knot together at the nape of the neck.
Step 4: Preventing Clasp Slippage and Pendant Migration
There is nothing more frustrating than constantly adjusting a necklace because the clasp has migrated to the front of your neck, or the pendant has slid off-center. The three circle pendant, due to its symmetrical weight distribution, can easily slide along a smooth chain like a box or snake chain.
The Silicone O-Ring Hack
To lock your three circle pendant perfectly in the center of your collarbone, purchase a pack of 2mm clear silicone jewelry O-rings (often sold as earring back stoppers). Slide one O-ring onto the chain on the left side of the pendant, and one on the right side. Push them snugly against the jump ring of the pendant. The high-friction silicone grips the metal chain, rendering pendant migration impossible without adding any visible bulk to your neckline.
Upgrade Your Clasp
If your necklace came with a standard spring-ring clasp, swap it for a lobster clasp. Spring rings rely on a tiny internal coil spring that frequently fails or catches on hair. A 5mm or 6mm lobster clasp provides a secure, mechanical locking lever that is vastly superior for chains supporting the dynamic weight of interlocking rings.
Step 5: Deep Cleaning Interlocking Crevices
The overlapping intersections of a three circle necklace act as traps for sebum, dead skin cells, and cosmetic lotions. Over time, this buildup creates a dull, grayish film in the crevices that a simple polishing cloth cannot reach. According to care guidelines from Jewelers of America, regular deep cleaning is essential for maintaining the light-reflective properties of solid gold and sterling silver.
The Step-by-Step Soak Method
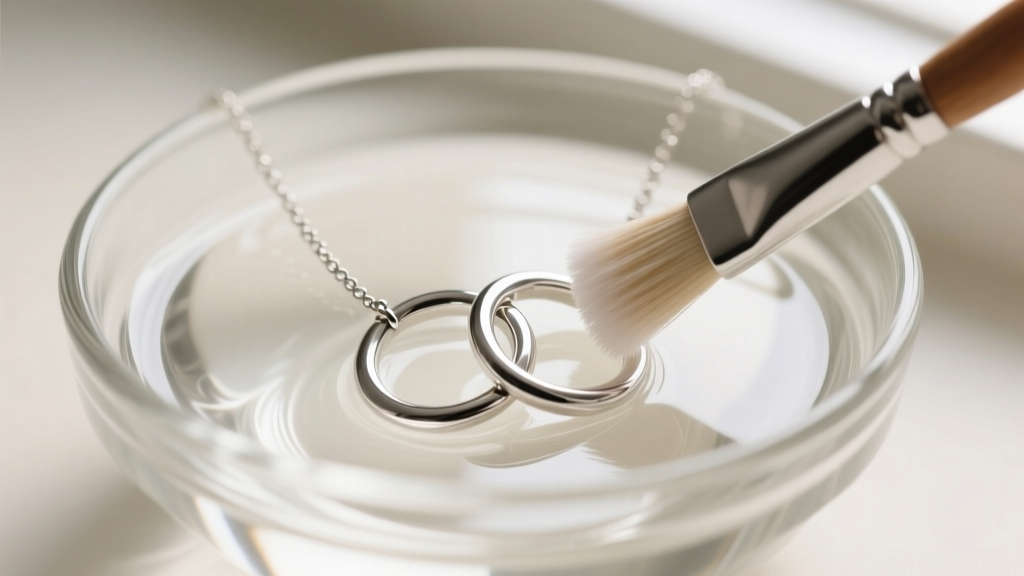
- Prepare the Solution: In a small glass bowl, mix warm water with three drops of mild, phosphate-free dish soap (like Dawn). Avoid harsh chemical dips, which can degrade the alloys in 14k gold.
- Soak: Submerge the three circle necklace for exactly 15 minutes. This loosens the hardened sebum trapped between the interlocking rings.
- Agitate: Using a brand-new, extra-soft baby toothbrush, gently brush the intersections where the circles overlap. Use short, circular motions to dislodge the debris.
- Rinse and Dry: Rinse thoroughly under lukewarm running water. Pat dry with a lint-free microfiber cloth. Never use paper towels, as the wood pulp fibers can cause micro-scratches on high-polish gold.
Troubleshooting: Fixing Warped Rings and Tangled Chains
Even with proper care, accidents happen. If your three circle necklace has been pulled or snagged, the rings may warp into an oval shape. Do not attempt to bend them back into shape with your fingers or standard metal pliers. Standard steel pliers will permanently mar and scratch the precious metal.
Instead, invest in a pair of nylon-jaw pliers (widely available at jewelry supply stores for under $15). The soft nylon pads grip the metal firmly without leaving tool marks. Gently squeeze the warped ring along its longest axis, checking the circumference against a perfect circle template (like a coin or a ring mandrel) until the geometry is restored. If the chain itself has become severely knotted, lay it flat on a hard surface, apply a single drop of baby oil to the knot to reduce friction, and use two sewing needles to gently tease the links apart from the center outward.


