How to Style a Microphone Necklace for Stage & Studio
Learn how to choose, style, and clean a microphone necklace. Expert tips on chain lengths, silver grades, and stage-ready layering for creators.

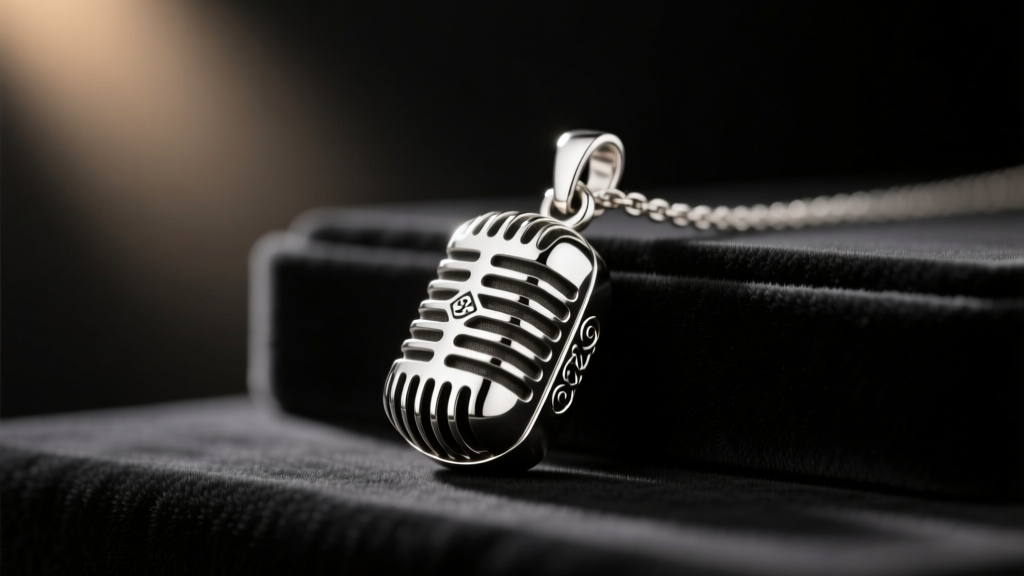
As the creator economy and indie music scenes continue to evolve in 2026, the 'studio-core' aesthetic has firmly transitioned from behind-the-scenes utility to mainstream fashion. At the heart of this trend is the microphone necklace—a wearable badge of honor for podcasters, sound engineers, vocalists, and music journalists. However, wearing a pendant shaped like a vintage Shure 55SH or a modern condenser mic presents unique structural and stylistic challenges. Because of their elongated shape and intricate grill work, microphone pendants require specific chain pairings, strategic styling, and meticulous cleaning routines to maintain their luster and structural integrity.
This comprehensive guide will walk you through the exact steps to select, style, and maintain a microphone necklace, ensuring it looks as professional as your audio output.
The Anatomy and Physics of a Microphone Pendant
Before selecting a chain, you must understand the physical properties of a microphone pendant. Unlike flat, symmetrical pendants (such as coins or gemstone settings), a microphone pendant is inherently top-heavy and three-dimensional. The 'handle' of the mic often acts as the bail, or the pendant features a fixed loop at the very top of the grill.
This vertical orientation means the pendant will swing and rotate more frequently than a standard charm. If the bail hole is too narrow, it will cause excessive friction against the chain, leading to premature wear. Furthermore, the intricate mesh or slotted 'grill' of the microphone design acts as a magnet for skin oils, dust, and stage sweat. Understanding these physical traits is the first step in mastering how to wear this unique piece of jewelry.
Step 1: Selecting the Right Chain and Gauge
The most common mistake audio professionals make is pairing a heavy, solid-cast microphone pendant with a delicate chain. A solid 925 sterling silver vintage mic pendant typically weighs between 14 and 22 grams. If you attempt to hang this on a standard 0.8mm cable chain, the chain will stretch, kink, and eventually snap under the dynamic movement of a live performance or active studio session.
You need a chain that offers high tensile strength and a rigid enough structure to prevent the pendant from constantly flipping backward. Below is a decision matrix for pairing chains with microphone pendants.
| Chain Type | Recommended Gauge | Weight Capacity | Best Use Case |
|---|---|---|---|
| Box Chain | 1.2mm - 1.5mm | Up to 30g | Heavy solid silver mic pendants; daily studio wear. |
| Wheat (Spiga) Chain | 1.0mm - 1.3mm | Up to 25g | Textured look; excellent resistance to pulling and snapping. |
| Rope Chain | 1.5mm - 2.0mm | Up to 40g | Stage performances; high durability and light reflection. |
| Cable Chain | 1.5mm+ | Up to 15g | Lightweight, hollow, or enamel-filled microphone charms only. |
The Importance of Rhodium Plating for Stage Wear
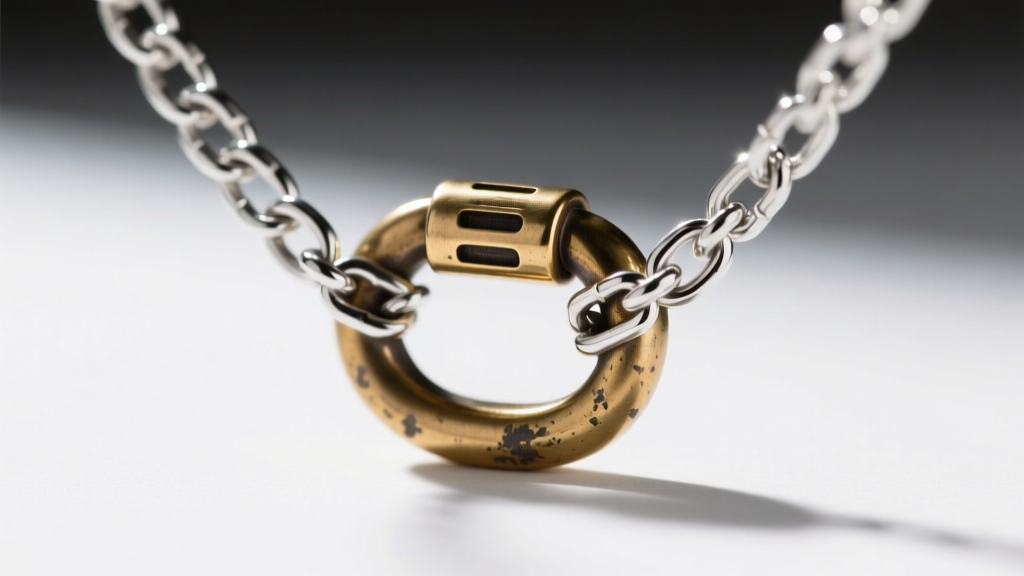
If you plan to wear your microphone necklace during live gigs or intense recording sessions, opt for 925 sterling silver that has been plated with rhodium. Stage sweat is highly acidic and contains salts that will rapidly oxidize raw silver, turning it black and dull. Rhodium, a precious metal in the platinum family, provides a hard, tarnish-resistant barrier. According to the Gemological Institute of America (GIA), rhodium plating not only prevents tarnish but also adds a brilliant, reflective white shine that mimics platinum, making it ideal for stage lighting.
Step 2: Styling for the Stage vs. The Studio
How you style your microphone necklace should dictate its length and layering profile. The environment in which you wear it changes the functional requirements of the piece.
Stage-Ready Configuration (18 to 20 Inches)
When performing on stage, playing an instrument, or moving dynamically, your jewelry must remain secure and out of the way. An 18-inch chain (sitting at the collarbone) or a 20-inch chain (sitting just above the sternum) is optimal. This length prevents the heavy microphone pendant from swinging wildly and striking your guitar, DJ mixer, or drum hardware. Avoid layering on stage; a single, bold microphone pendant on a 1.5mm rope chain provides a striking visual focal point without the risk of tangled chains catching on microphone stands or cables.
Studio and Casual Layering (22 to 24 Inches)
In the controlled environment of the recording studio or for casual streetwear, you can embrace the 'studio-core' layering trend. Pair a 22-inch silver microphone pendant with a 24-inch oxidized silver chain featuring a subtle audio-wave or equalizer bar pendant. This cascading effect draws the eye downward and creates a relaxed, creative aesthetic. When layering, ensure the microphone pendant is the heaviest piece in the stack so it naturally anchors the center of the arrangement.
Step 3: Deep Cleaning the Microphone Grill
The defining feature of a microphone necklace—the acoustic grill—is also its biggest maintenance liability. The tiny slots, mesh patterns, or perforated holes trap dead skin cells, sebum, and environmental dust. Over time, this buildup creates a dark, muddy appearance that ruins the contrast of the metal.
While many jewelry owners rely on ultrasonic cleaners, you must exercise extreme caution. If your microphone pendant features enamel accents (such as a colored on/off switch) or glued-in cubic zirconia 'diamonds' on the grill, the high-frequency vibrations of an ultrasonic cleaner will shatter the enamel and dislodge the stones. For these pieces, manual cleaning is mandatory.
The Step-by-Step Manual Cleaning Protocol
Follow this precise method recommended by industry experts at Jewelers of America to safely restore your pendant's detail:
- Prepare the Solution: Mix three drops of mild, phosphate-free dish soap (like Dawn) into a bowl of lukewarm distilled water. Avoid hot water, which can expand metal settings and loosen glued components.
- Soak Briefly: Submerge the microphone pendant for exactly 3 to 5 minutes. This softens the sebum trapped in the grill without degrading the metal.
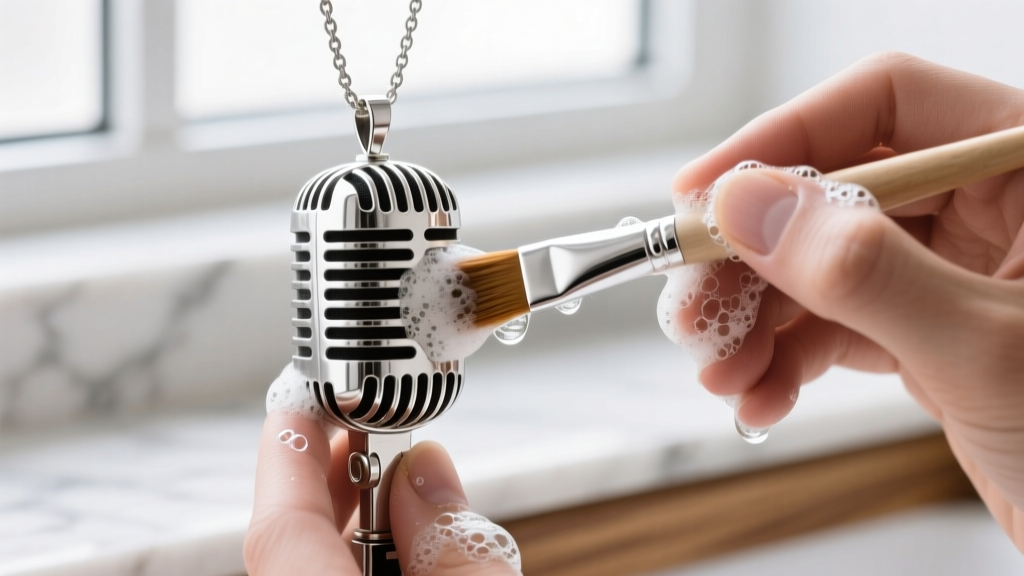
- Agitate the Grill: Using a specialized jewelry brush or an ultra-soft baby toothbrush, gently scrub the grill in a circular motion. Do not use stiff bristles, as they will leave micro-scratches on high-polish silver or gold vermeil.
- Rinse and Dry: Rinse the pendant under a gentle stream of lukewarm water. Immediately pat it dry with a lint-free microfiber cloth. Use a can of compressed air to blow out any remaining water droplets trapped deep inside the grill mesh.
Storage and Long-Term Preservation
When you are not wearing your microphone necklace, proper storage is critical to prevent the chain from tangling and the silver from oxidizing. Because of the pendant's elongated shape, tossing it into a standard jewelry box often results in the chain wrapping tightly around the mic handle.
Always hang the necklace vertically on a jewelry valet or lay it completely flat in a drawer. Place an anti-tarnish silica strip or a piece of treated silver cloth inside the storage compartment. These strips absorb airborne sulfur compounds, which are the primary cause of silver tarnish. By treating your microphone necklace with the same precision and care that you apply to your audio equipment, you ensure it remains a pristine, meaningful symbol of your craft for years to come.
Final Thoughts on Wearable Audio Art
A microphone necklace is more than just an accessory; it is a conversation starter and a testament to your passion for sound. By respecting the physics of the pendant, choosing the correct chain gauge, adapting your styling to your environment, and committing to a rigorous cleaning routine, you elevate this piece from a simple novelty charm to a sophisticated staple of your personal brand. Whether you are stepping up to the mic in a sold-out venue or mixing tracks in a dimly lit studio, your jewelry should reflect the same high fidelity as your work.


