How to Style a Taylor Swift Lightning Bolts Necklace
Learn how to style a Taylor Swift lightning bolts necklace with our step-by-step layering guide, chain gauge tips, and neckline matching for 2026.

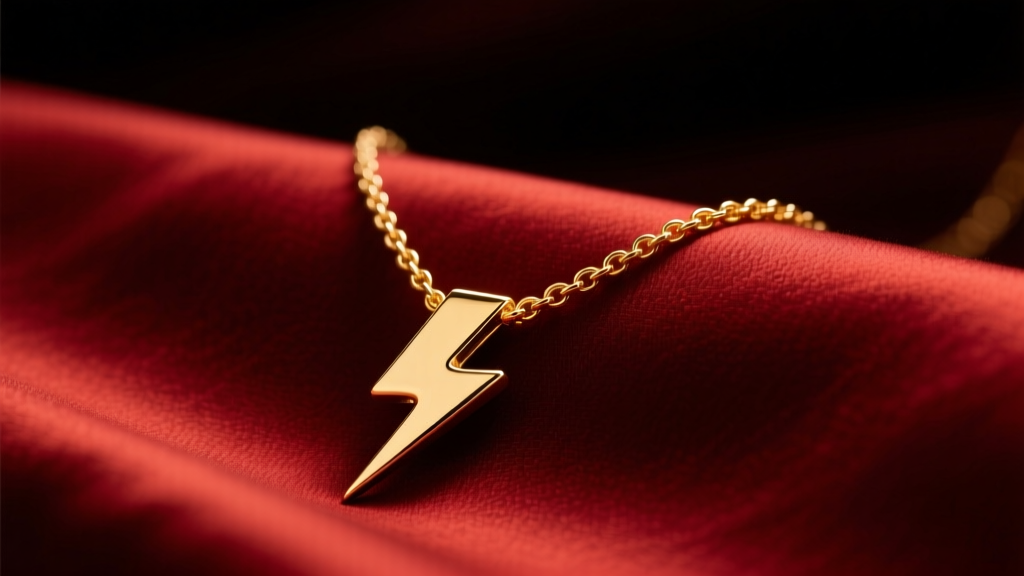
The Evolution of the Lightning Bolt in 2026
The Taylor Swift lightning bolts necklace has transcended its origins as exclusive tour merchandise to become a definitive staple of 2026 pop-culture fashion. Originally popularized during the 'Red' era and cemented as a global phenomenon during the Eras Tour, the sharp, geometric silhouette of the lightning bolt represents a blend of nostalgia and edgy street style. However, transitioning this piece from a concert keepsake to an everyday fine jewelry staple requires a strategic approach to styling, layering, and material care.
Whether you are working with an authentic enamel-brass tour replica or a fine jewelry 14k solid gold interpretation, the way you frame the pendant dictates its impact. This comprehensive, step-by-step guide will walk you through the exact chain gauges, layering frameworks, and neckline pairings needed to elevate your lightning bolt necklace this year.
Step 1: Select the Right Material and Metal Grade
Before you begin styling, you must understand the metallurgy of your specific necklace. The base metal and plating thickness will determine how the piece reacts to your skin's pH levels, how it catches the light, and how it layers with other metals. According to the Gemological Institute of America (GIA), understanding the difference between standard gold plating and gold vermeil is critical for jewelry longevity.
| Material Type | Base Metal | Plating / Finish | Price Range | Best For |
|---|---|---|---|---|
| Tour Merch Replica | Brass or Zinc Alloy | Thin Gold Flash / Enamel | $25 - $45 | Casual wear, concerts, short-term styling |
| Gold Vermeil | Sterling Silver (925) | 2.5+ Microns of 14k/18k Gold | $85 - $160 | Everyday wear, sensitive skin, layering |
| Solid 14k Gold | 14k Gold Alloy | Solid throughout | $350 - $600+ | Lifetime wear, showering, heirloom quality |
Expert Tip: If you are wearing a brass-based enamel bolt, apply a thin layer of clear nail polish to the back of the pendant and the bail. This creates a barrier against sweat and prevents the copper in the brass alloy from oxidizing and turning your skin green.
Step 2: Match the Chain Gauge to the Pendant Weight
The lightning bolt pendant typically weighs between 2.5 and 4 grams, depending on the material. Pairing it with the wrong chain gauge is a common styling mistake that can either make the necklace look cheap or cause the chain to snap.
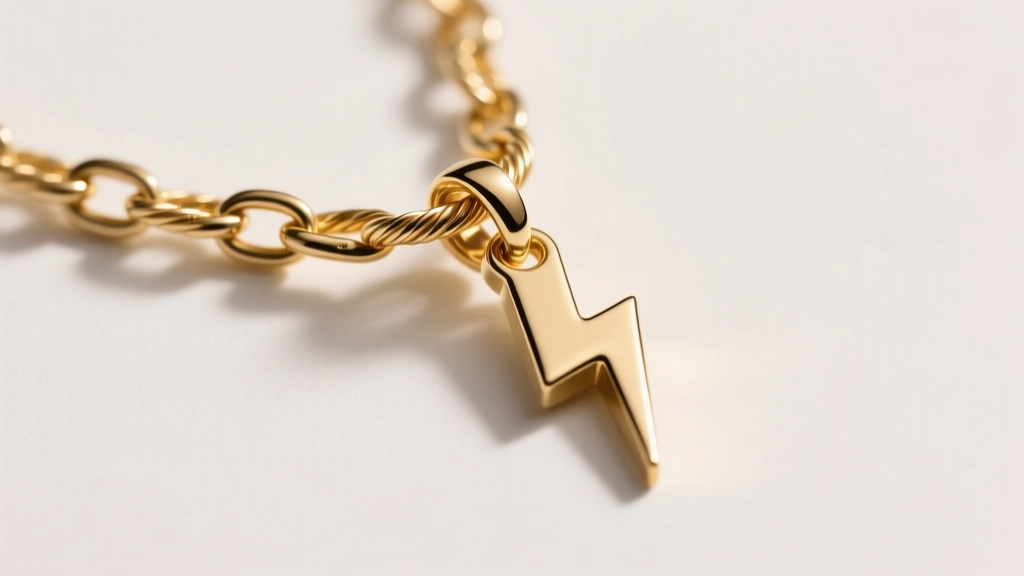
Understanding Chain Gauges and Styles
- 1.0mm - 1.2mm Cable Chain: This delicate gauge offers a minimalist, 'barely-there' aesthetic that lets the bolt float on the collarbone. However, chains under 1.2mm have low tensile strength and are prone to kinking if tangled.
- 1.5mm - 2.0mm Box or Rope Chain: The sweet spot for the Taylor Swift lightning bolts necklace. A 1.5mm box chain provides enough structural integrity to support the pendant's weight without overpowering its sharp geometry. The flat links of a box chain also reflect light beautifully, complementing the angular edges of the bolt.
- 2.5mm+ Cuban or Curb Chain: Reserved for a heavy, streetwear-inspired look. If you choose a thicker chain, ensure the pendant's bail (the loop it hangs from) is wide enough to accommodate the links without resting awkwardly on the clasp.
Clasp Mechanics Matter
Always upgrade a standard spring-ring clasp to a lobster clasp. Spring rings are notoriously difficult to operate with one hand and are the leading cause of lost pendants. A 5mm or 6mm lobster clasp provides a secure, mechanical lock that will keep your lightning bolt safe during active wear.
Step 3: Master the 2026 Layering Techniques
In 2026, jewelry layering has moved away from chaotic, maximalist tangles and toward intentional, structured curation. The sharp, aggressive lines of the lightning bolt require contrasting textures to create a balanced, high-fashion look.
The 'Rule of Thirds' Layering Framework
When building a necklace stack around your lightning bolt, use the Rule of Thirds to space your hemlines. This prevents the chains from tangling and ensures each piece is visually distinct.
- The Anchor (14-15 inches): Start with a delicate, organic-textured choker. A 14-inch freshwater baroque pearl strand or a thin, 1.0mm herringbone snake chain sits flush against the collarbone. The fluid, organic shape of pearls or the liquid-metal look of a snake chain provides perfect visual tension against the rigid geometry of the lightning bolt.
- The Focal Point (17-18 inches): This is where your Taylor Swift lightning bolts necklace lives. A standard 16-inch chain with a 2-inch extender allows you to drop the bolt perfectly into the hollow of the throat or just above the bust line, depending on your outfit.
- The Anchor Drop (22-24 inches): Finish the stack with a matinee-length chain featuring a subtle, minimalist pendant—such as a small bezel-set diamond, a solitary onyx stone, or a simple gold sphere. This draws the eye downward and elongates the torso.
Step 4: Coordinate with Your Neckline
The versatility of the lightning bolt pendant is unmatched, but its impact changes drastically depending on the fabric and cut of your top. Here is how to adjust your chain length and styling based on common necklines.
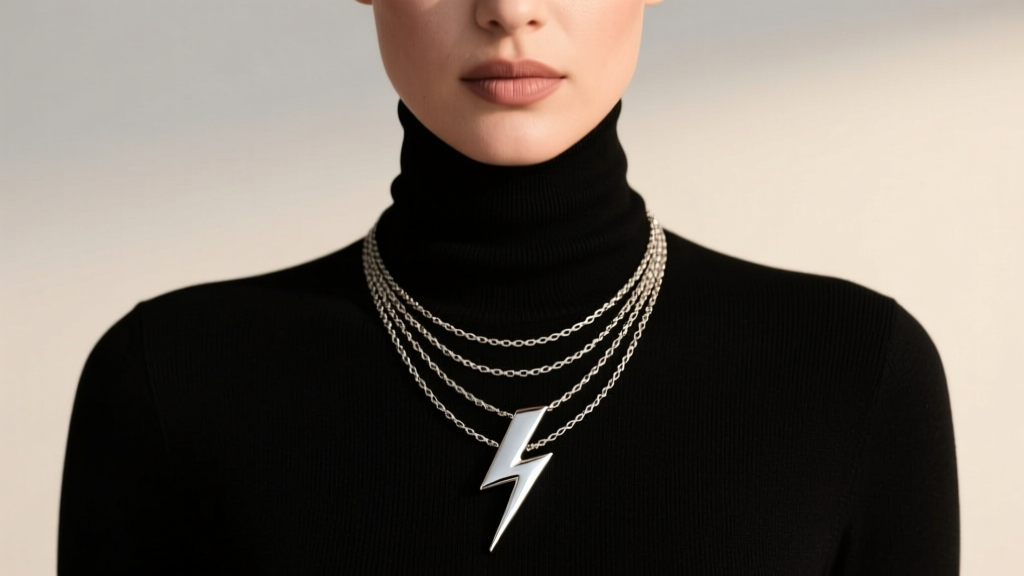
- The V-Neck: The V-neck naturally creates a geometric frame that mimics the downward thrust of the lightning bolt. Use a 16-inch or 18-inch chain so the pendant sits roughly one inch above the apex of the V-neck. This creates a continuous, flattering vertical line.
- The Crew Neck / T-Shirt: For casual cotton tees, the lightning bolt acts as a statement piece. Opt for a slightly thicker 2.0mm rope chain and let the pendant rest boldly on the fabric. The contrast between the casual cotton and the metallic shine creates an effortless off-duty aesthetic.
- The Turtleneck: Winter styling requires longer chains. A 20-inch to 24-inch matinee chain worn over a fitted black or crimson turtleneck transforms the lightning bolt into a sophisticated, avant-garde focal point. The dark, solid fabric acts as a negative-space canvas, making gold or silver vermeil pop dramatically.
Step 5: Proper Care and Tarnish Prevention
Because the lightning bolt design often features deep grooves and, in many replicas, enamel fills, improper cleaning can ruin the piece. Brilliant Earth's jewelry care guidelines emphasize that different materials require vastly different maintenance routines.
What to Avoid
Never use ultrasonic cleaners on enamel-filled lightning bolts. The high-frequency vibrations can cause micro-fractures in the glass or enamel fill, leading to chipping or clouding over time. Similarly, avoid harsh chemical dips or silver polishing cloths on gold vermeil, as the mild abrasives will strip the 2.5-micron gold layer right off the sterling silver base.
The Safe Cleaning Method
To clean your necklace, mix a few drops of mild, phosphate-free dish soap into a bowl of lukewarm water. Use a soft-bristled baby toothbrush to gently agitate the grooves of the lightning bolt, removing trapped skin oils and lotions. Rinse thoroughly under lukewarm water and pat completely dry with a microfiber cloth before storing it in an anti-tarnish pouch. Storing the piece flat, rather than hanging it, will prevent the chain from stretching and the bail from bending under its own weight over time.
Final Thoughts on Styling the Iconic Bolt
The Taylor Swift lightning bolts necklace is more than a fleeting trend; it is a cultural artifact that has earned its place in the modern jewelry box. By paying close attention to chain gauges, utilizing intentional layering frameworks, and matching the pendant to your neckline, you can transform this iconic pop-culture symbol into a sophisticated, everyday style signature. Whether you are heading to a stadium show or a corporate boardroom, the right styling ensures your lightning bolt strikes with precision and elegance.


