How to Style and Wear a Spiked Necklace for Any Occasion
Learn how to style a spiked necklace with our step-by-step guide. Discover the best necklines, metal grades, and layering techniques for edgy elegance.


The spiked necklace has long transcended its rebellious origins. Once confined to the underground punk scenes of the 1970s and the grunge movements of the 1990s, aggressive hardware is now a cornerstone of contemporary luxury and everyday styling. As we navigate the fashion landscape of 2026, the juxtaposition of hyper-feminine silhouettes with structured, pointed metals remains a dominant trend. However, wearing a spiked necklace requires more than just throwing it on; it demands a strategic approach to proportions, metallurgy, and neckline pairings. This comprehensive guide will walk you through the exact steps to style, layer, and maintain spiked jewelry like a seasoned editorial stylist.
The Anatomy of a Spiked Necklace: Materials and Hardware
Before styling, you must understand the build quality of your piece. The weight, drape, and skin-safety of a spiked necklace are dictated by its base metal and the geometry of its spikes.
Base Metals and Grades
- 316L Surgical Stainless Steel: The industry standard for accessible, durable hardware. Unlike 304 steel, 316L contains molybdenum, which drastically increases resistance to corrosion from sweat and perfumes. Expect to pay between $40 and $120 for high-quality PVD-plated or raw 316L pieces.
- 925 Sterling Silver: A classic choice that offers a brighter, whiter luster than steel. However, silver is softer and more prone to scratching at the spike tips. It requires regular polishing and typically ranges from $150 to $400.
- 14k and 18k Solid Gold: Reserved for luxury investment pieces. 14k gold provides the necessary rigidity to prevent spike bending, whereas 18k gold is softer but offers a richer, warmer hue. These pieces often start at $800 and can exceed $3,000 depending on weight.
Spike Geometries and Dimensions
The visual impact of your necklace relies heavily on the shape and size of the spikes.
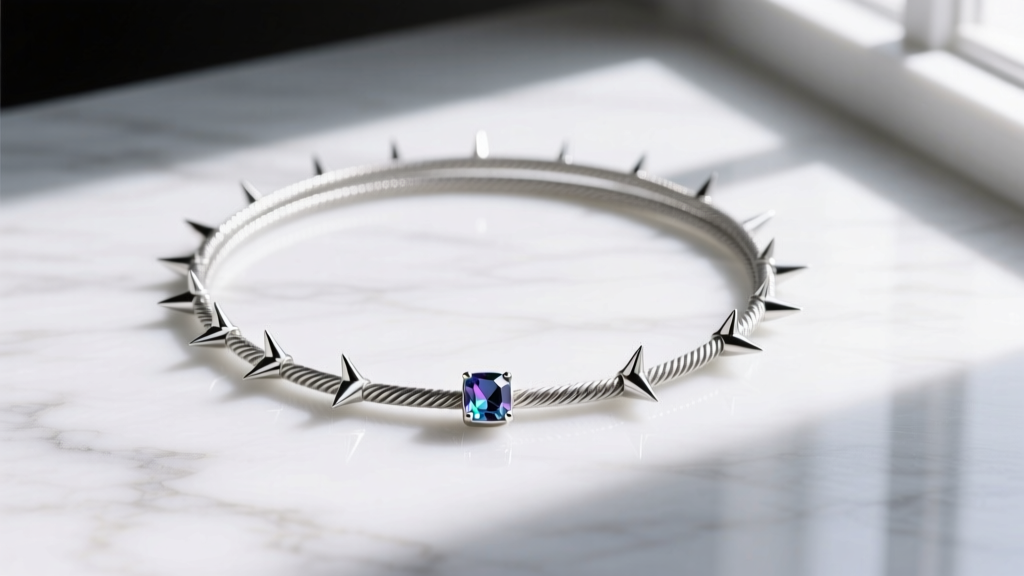
- Conical Spikes (8mm - 15mm): The traditional punk silhouette. Sharp and directional, they draw the eye vertically and create an aggressive, edgy profile.
- Pyramidal Spikes (5mm - 12mm): Featuring a square base that tapers to a point, these offer an architectural, structured look that pairs exceptionally well with tailored menswear or sharp-shouldered blazers.
- Studded/Micro Spikes (3mm - 5mm): Rounded or blunt-tipped, micro spikes provide texture without the hazard of snagging. They are ideal for office-appropriate styling and delicate layering.
Step-by-Step: Matching Spike Lengths to Necklines
The most common styling mistake is ignoring the neckline of the garment. A spiked necklace should complement, not fight, the structural lines of your clothing. According to historical fashion archives documented by the Victoria and Albert Museum, the rebellion of punk jewelry was always deeply tied to the subversion of traditional garment silhouettes. Today, we use those same principles to create harmony.
| Neckline Type | Recommended Necklace Length | Ideal Spike Geometry | Styling Objective |
|---|---|---|---|
| Crew Neck (T-Shirts, Sweaters) | 16-inch Choker | Standard Conical (10mm) | Frame the face and break up heavy fabric blocks. |
| Deep V-Neck (Slip Dresses, Blouses) | 18-inch Princess | Pyramidal (8mm) | Mirror the V-shape, drawing the eye downward elegantly. |
| Off-the-Shoulder / Bardot | 14-inch Wide Collar | Micro Studded (4mm) | Add texture to exposed collarbones without scratching skin. |
| Turtleneck / Mock Neck | 24-inch Opera Length | Spaced Conical (12mm) | Create a long vertical line over heavy winter knits. |
The Layering Protocol: Integrating Spikes with Delicate Chains
Layering a spiked necklace requires a meticulous approach to chain gauges and spatial distribution. If the chains are too disparate in weight, the spiked piece will twist, tangle, and ultimately damage the more delicate companion chains.
Step 1: Establish the Base Layer (14 to 16 Inches)
Begin with a lightweight, non-spiked chain. A 1.0mm to 1.2mm cable chain or a delicate box chain in sterling silver or gold serves as the perfect anchor. This layer should sit high on the collarbone, providing a subtle metallic glint that contrasts with the heavier hardware to come.
Step 2: Introduce the Spiked Focal Point (16 to 18 Inches)
Your spiked necklace should sit exactly 1.5 to 2 inches below the base layer. Opt for a piece where the spikes are concentrated only on the front half of the chain (a front-facing collar) rather than a full 360-degree spike coverage. This prevents the spikes from scratching the back of your neck and reduces unnecessary weight. Ensure the base chain of the spiked piece is at least 1.5mm thick to support the hardware.
Step 3: Balance with a Pendant or Lariat (20 to 22 Inches)
To complete the triad, add a longer chain featuring a single, substantial pendant—such as a raw gemstone, a signet ring on a chain, or a geometric bar. This draws the eye downward and balances the visual weight of the spikes near the face. For more on proper jewelry care and maintaining mixed-metal layers, consult the Gemological Institute of America's jewelry care guidelines.
Hardware Integrity: Clasps and Closures
A spiked necklace is inherently heavier and more prone to catching on fabrics than a standard chain. Therefore, the clasp is a critical point of failure that must be evaluated before purchase.
- Lobster Clasps: Standard on most mid-range pieces. Ensure the lobster clasp is cast from solid metal, not stamped sheet metal, and features a robust internal spring. A weak spring will inevitably lead to lost jewelry.
- Toggle Clasps: The superior choice for heavy, wide-band spiked collars. The T-bar must be at least 20% wider than the interior diameter of the receiving ring to prevent accidental slipping.
- Box Clasps with Safety Figures: Found on high-end luxury pieces. The box mechanism provides a secure, seamless look, while the figure-eight safety wire acts as a fail-safe if the primary latch disengages.
Maintenance and Care for Pointed Hardware
The crevices where the spike meets the base chain are notorious traps for skin oils, lotions, and environmental dust. Over time, this buildup can cause contact dermatitis or accelerate metal oxidation.
The Weekly Cleaning Routine
Do not use ultrasonic cleaners on spiked necklaces, especially if the spikes feature gemstone inlays (like black onyx or mother of pearl) or are secured with industrial adhesives. The high-frequency vibrations can shatter inclusions or weaken glue bonds.
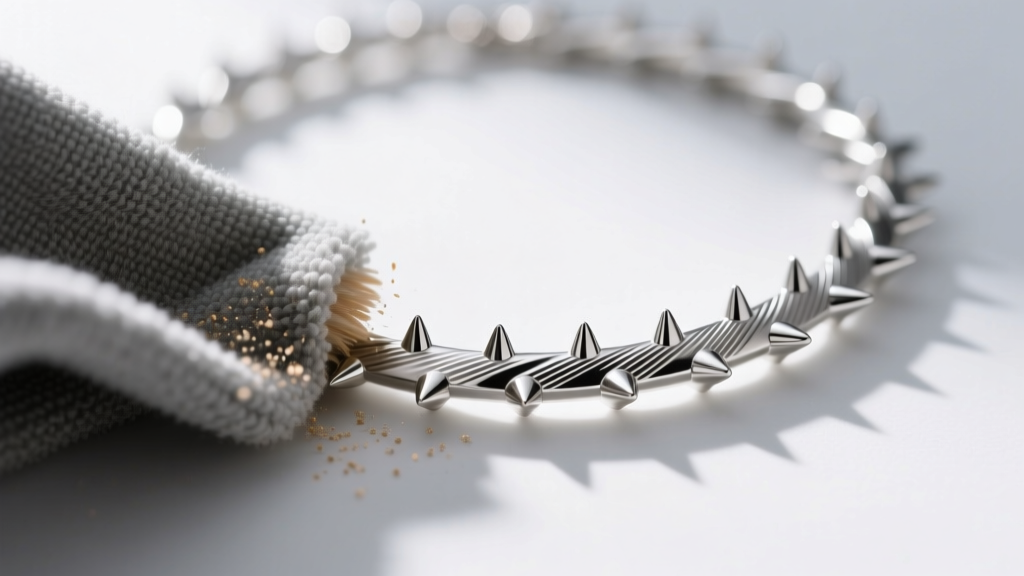
Instead, prepare a lukewarm bath of distilled water and a few drops of pH-neutral dish soap. Submerge the necklace for exactly five minutes. Using a soft-bristled baby toothbrush, gently agitate the base of each spike in a circular motion. Rinse thoroughly under a gentle stream of cool water, and immediately pat dry with a lint-free microfiber cloth. Leaving a spiked necklace to air dry will result in water spots, particularly on 925 sterling silver and raw brass components.
Stylist's Note: Always put your spiked necklace on after applying perfumes, hairsprays, and lotions. The alcohol and volatile organic compounds in cosmetics can strip PVD coatings from stainless steel and accelerate the tarnishing of sterling silver.
Expert Styling Verdict
Mastering the spiked necklace is about controlled contrast. It is the tension between the aggressive, pointed hardware and the softness of your garments or the delicacy of your accompanying layers that creates a compelling visual narrative. By respecting the metallurgy, adhering to neckline proportions, and maintaining your hardware with precision, you elevate a rebellious accessory into a sophisticated hallmark of personal style.