Mastering the Wrapped Crystal Necklace: Wire Gauges & Techniques
Master the art of the wrapped crystal necklace. Explore technical wire gauge charts, hardness scales, and setting techniques for durable jewelry.

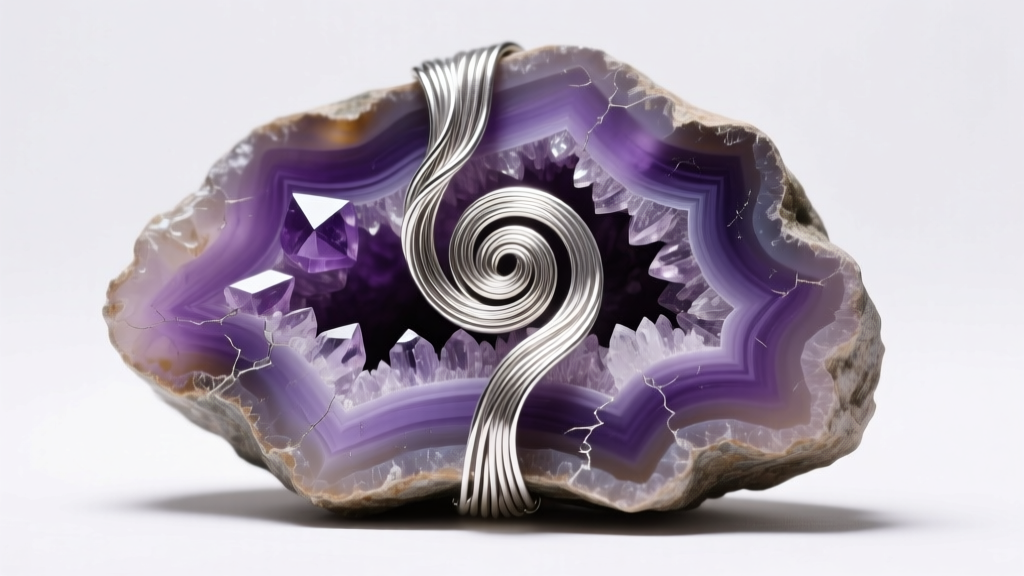
Creating a professional-grade wrapped crystal necklace requires far more than simply twisting wire around a stone. It is an exercise in structural engineering, metallurgy, and lapidary science. While amateur crafters often rely on guesswork, expert jewelers approach wire wrapping with precise calculations regarding wire temper, gauge thickness, and the specific crystalline lattice of the gemstone being set. In 2026, as the demand for bespoke, raw-stone jewelry continues to dominate the artisan market, understanding the technical mechanics behind a secure and aesthetically flawless wrap is essential for any serious designer.
The Metallurgy of Wire: Choosing the Right Alloy and Hardness
The foundation of any durable wrapped crystal necklace lies in selecting the correct wire temper. Wire hardness, or temper, dictates how the metal behaves under stress and how it will work-harden as you manipulate it. According to metallurgical standards outlined by Rio Grande, a premier jewelry supplier, wire is generally categorized into three primary tempers:
- Dead Soft (Annealed): This wire has been heated and cooled to relieve internal stresses. It bends effortlessly and is ideal for intricate weaving, micro-coiling, and wrapping around sharp, irregular crystal edges. However, it lacks structural integrity on its own and will work-harden as you bend it.
- Half-Hard: The workhorse of wire wrapping. Half-hard wire has been drawn through a die, giving it a springy resilience. It is the mandatory choice for structural frames, prongs, and bail construction because it holds its shape under the weight of heavy stones.
- Full-Hard / Spring-Hard: Extremely stiff and difficult to bend without specialized heavy-duty pliers. It is rarely used for wrapping crystals but is essential for forging clasps, ear wires, and jump rings that require high tensile strength.
Beyond temper, the alloy itself dictates the longevity of the piece. While standard .925 sterling silver is a classic choice, it is prone to tarnishing due to its copper content. For a wrapped crystal necklace that will be worn daily against the skin, upgrading to Argentium .935 silver is highly recommended. Argentium replaces some of the copper with germanium, creating a transparent germanium dioxide layer on the surface that drastically slows tarnishing and eliminates the need for frequent chemical polishing, which can damage porous stones.
Wire Gauge Matrix for Crystal Wrapping
Using the wrong wire gauge is the most common point of failure in wire-wrapped jewelry. A gauge that is too thick will overwhelm a delicate crystal, while a gauge that is too thin will warp under the tension required to secure the stone. The American Wire Gauge (AWG) system is inversely proportional to thickness; a higher number means a thinner wire.
| AWG Size | Diameter (mm) | Temper Recommendation | Primary Application in Crystal Wrapping |
|---|---|---|---|
| 18 Gauge | 1.02 mm | Half-Hard | Heavy-duty structural frames for large, raw geodes or stones over 50 grams. |
| 20 Gauge | 0.81 mm | Half-Hard | Standard structural frames, main prongs, and heavy-duty bail cores. |
| 22 Gauge | 0.64 mm | Half-Hard / Dead Soft | Smaller stone frames, woven bail wraps, and structural weaving. |
| 24 Gauge | 0.51 mm | Dead Soft | Primary weaving wire, securing prongs, and binding structural elements together. |
| 26 Gauge | 0.40 mm | Dead Soft | Delicate micro-weaving, coiling over 20g frames, and fine detail work. |
| 28 Gauge | 0.32 mm | Dead Soft | Ultra-fine coiling, weaving through small drilled crystal beads, and filigree accents. |
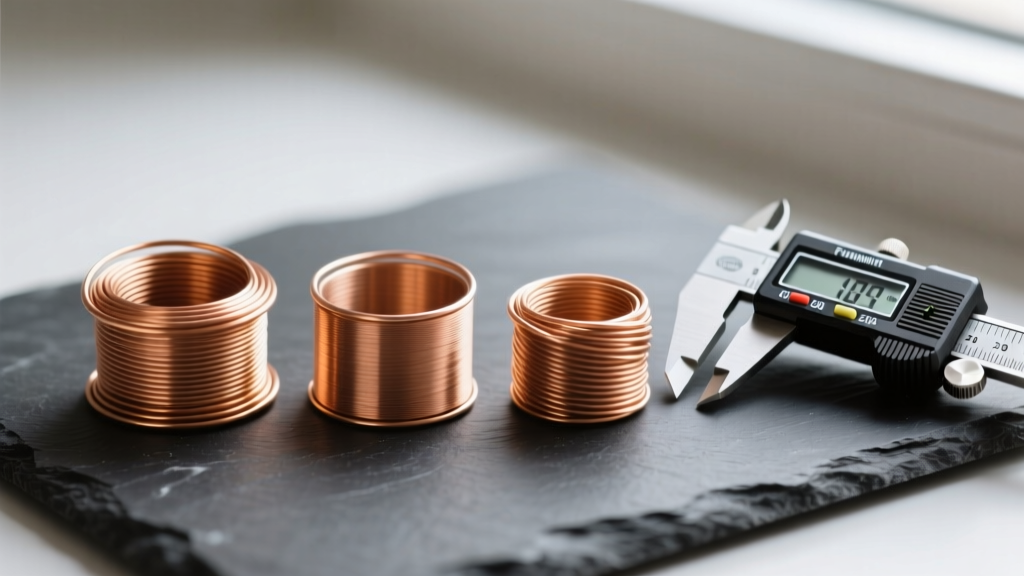
For a standard wrapped crystal necklace featuring a medium-sized quartz point (approx. 20-30 grams), the optimal technical setup is a 20-gauge half-hard wire for the load-bearing frame and prongs, woven tightly with 24-gauge dead soft wire to lock the structure in place.
Crystal Cleavage and Mohs Hardness: Preventing Fractures
A critical mistake made by novices is applying uniform tension to all gemstones. To engineer a secure setting, you must consult the GIA Gem Encyclopedia to understand a stone's Mohs hardness and, more importantly, its cleavage planes. Hardness dictates scratch resistance, but cleavage dictates how the stone will fracture under pressure.
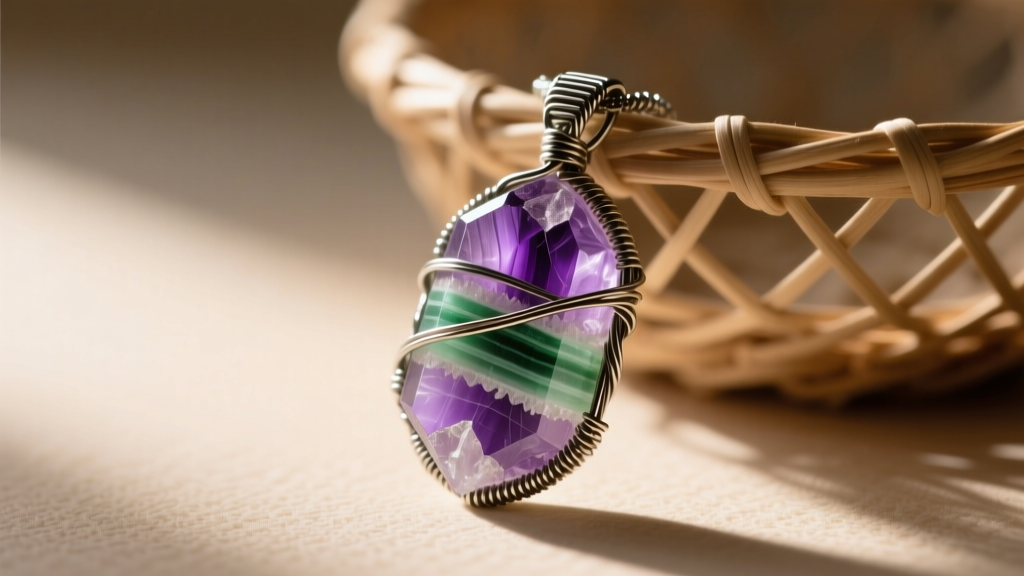
Take fluorite, for example. With a Mohs hardness of 4, it is relatively soft, but its defining characteristic is perfect octahedral cleavage. This means it can split cleanly along specific geometric planes with minimal force. If you attempt to wrap a raw fluorite crystal using a high-tension prong setting—where thick wire is pulled tightly over a sharp edge—the stone will inevitably cleave and snap. For stones with perfect cleavage (fluorite, calcite, topaz), you must engineer a "basket" or "cage" wrap. This technique involves building a rigid wire exoskeleton that cradles the stone from below and gently cups the sides without applying direct downward pressure on vulnerable crystal edges.
Conversely, stones with no cleavage and high hardness, such as quartz (Mohs 7) or beryl (Mohs 7.5-8), can withstand significant point-pressure. These crystals are ideal candidates for tension-based prong settings, where notched wire prongs are snapped firmly over the stone's natural ridges, creating a mechanical lock that requires minimal wire bulk and maximizes the stone's visual exposure.
Advanced Bail Construction and Load-Bearing Mechanics
The bail is the critical junction point between your wrapped crystal pendant and the necklace chain. A poorly constructed bail will warp, bend forward, or snap under the pendulum-like motion of daily wear. For heavy crystals exceeding 40 grams, a simple looped wire bail is structurally insufficient.
Expert wire artists utilize a "V-Bail" or a "Woven Core Bail" to distribute the kinetic load. A woven core bail is constructed by taking three to five strands of 20-gauge half-hard wire, bundling them together, and binding them tightly with 26-gauge dead soft wire in a cobra or basket weave pattern. This creates a composite structure akin to reinforced concrete, where the thick core wires provide tensile strength and the thin binding wire prevents them from splaying apart. When forming the loop, the inner diameter must be calculated based on the chain you intend to use. For a standard 2mm to 3mm rope or box chain, an inner bail diameter of 5mm to 6mm is required to ensure the chain glides smoothly without causing abrasive wear to the inner wire.
Finishing, Patina, and Sealing the Piece
Once the mechanical wrapping is complete, the piece must be finished to protect the metal and enhance the visual depth of the weave. Raw sterling silver and copper wire often bear tool marks and lack visual contrast. Applying a chemical patina, such as Liver of Sulfur (potassium sulfide), oxidizes the metal, turning it dark gray or black. By subsequently polishing the high points of the wire with a micro-mesh pad or a brass brush, you leave the dark oxidation in the recesses of the weave. This high-contrast finish not only highlights the technical complexity of the wrap but also mimics the natural, rugged inclusions found within raw crystals.
However, chemical patinas can be highly destructive to porous or water-soluble stones like selenite, malachite, or turquoise. If you are wrapping these delicate materials, you must mask the stone with a temporary protective barrier, such as liquid latex peel-off mask, before submerging the wire setting in the patina solution. Finally, to lock in the oxidation and prevent the wire from tarnishing further against the wearer's skin chemistry, seal the metal components with a microcrystalline wax, such as Renaissance Wax. This museum-grade conservation wax provides a hard, invisible barrier that outlasts standard lacquer sprays and will not yellow or crack over time, ensuring your wrapped crystal necklace remains a durable, heirloom-quality artifact.


