How to Tie a Shark Tooth Necklace: The Ultimate Gifting Guide
Learn how to tie a shark tooth necklace for the perfect ocean-inspired gift. Master sliding knots, cord choices, and occasion matching for surfers.

Why Shark Tooth Necklaces Make the Perfect Gift
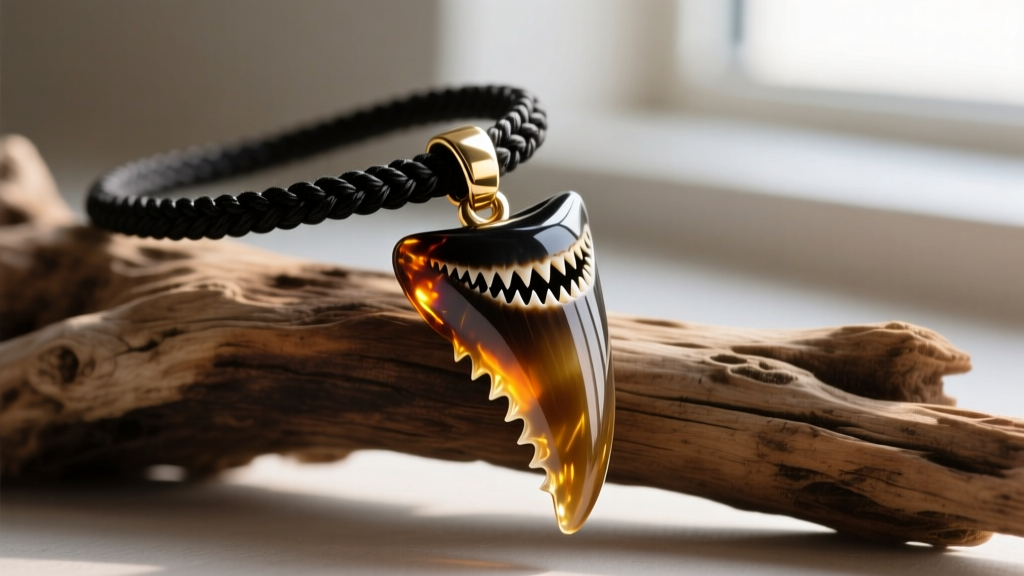
Gifting a shark tooth necklace is a deeply personal gesture. Historically worn by surfers and ocean enthusiasts as a talisman for protection and strength, these pendants bridge the gap between rugged outdoor gear and meaningful fine jewelry. However, the difference between a thoughtful, heirloom-quality gift and a cheap tourist trinket often comes down to one critical factor: the cord and the knotwork. Understanding exactly how to tie a shark tooth necklace ensures your gift is durable, adjustable, and tailored to the recipient's lifestyle. Whether you are gifting this to a marine biology graduate, an avid surfer, or a partner who loves coastal aesthetics, mastering the assembly elevates the present from a simple object to a customized experience.
Selecting the Right Cord Material and Gauge
Before you begin knotting, you must select a cord that matches the weight of the tooth and the wearer's environment. Shark teeth vary wildly in mass; a modern, bleached white shark tooth might weigh under 5 grams, while a fossilized megalodon or mako tooth can easily exceed 30 grams. According to jewelry supply experts at Rio Grande, matching cord tensile strength to pendant weight is the first rule of durable assembly.
Waxed Cotton (0.8mm to 1.2mm)
Waxed cotton is the gold standard for shark tooth necklaces. The wax coating repels saltwater and sweat, preventing the cord from rotting or developing mildew. For standard-sized teeth, a 1.0mm gauge is ideal. It is thick enough to support the weight but thin enough to pass through a standard 2mm drilled bail or wire-wrap loop twice.
Paracord (Type III 550)
For the extreme sports enthusiast or deep-sea diver, 550 paracord offers unmatched tensile strength (rated for 550 lbs). However, its 4mm thickness requires a wire-wrapped bail with a large loop, as it will not fit through a directly drilled tooth. Paracord is highly abrasion-resistant but can feel bulky against the collarbone.
Leather (1.5mm to 2.0mm Round)
Leather offers a premium, rustic look perfect for casual or bohemian styling. However, leather is highly susceptible to saltwater degradation and friction burns. If you choose leather, you must use a different closure knot (like a simple overhand loop and toggle) rather than a friction-based sliding knot, which will shred the leather hide over time.
Step-by-Step: How to Tie a Shark Tooth Necklace
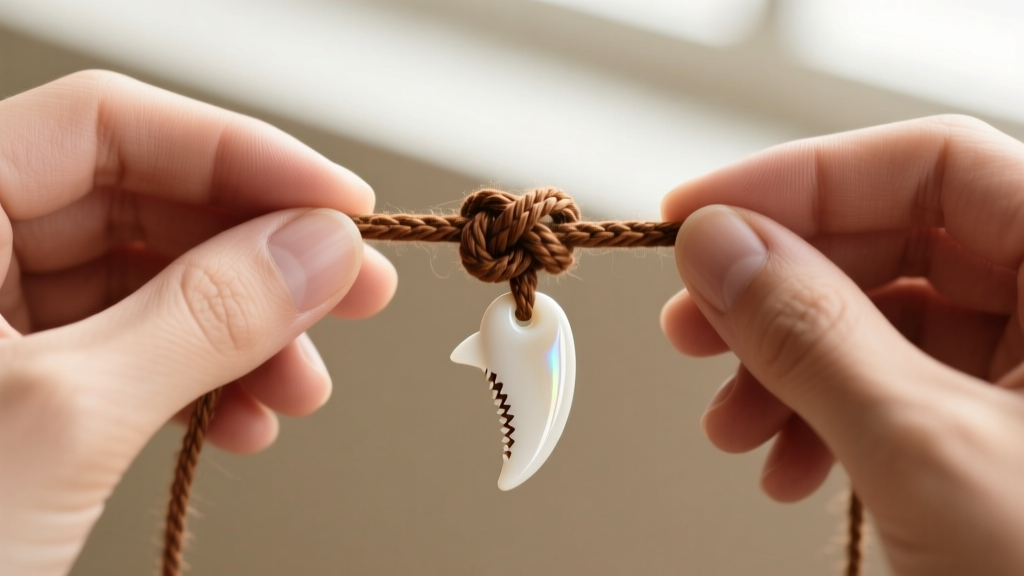
To create a professional, adjustable necklace that fits any neckline, we will use a two-part knotting system: the Lark's Head Hitch for pendant attachment, and the Sliding Square Knot for the adjustable closure.
Part 1: The Lark's Head Hitch (Pendant Attachment)
The Lark's Head (also known as a Cow Hitch) secures the tooth cleanly without the need for metal jump rings, which can corrode in ocean water.
- Fold the Cord: Cut a 40-inch length of 1.0mm waxed cotton. Fold it exactly in half to find the center point.
- Feed the Loop: Pass the folded loop through the drilled hole of the shark tooth from front to back (or through the top of your wire-wrapped bail).
- Cinch the Hitch: Pull the two loose tail ends of the cord down and through the folded loop you just pushed through the tooth.
- Tighten: Pull the tails firmly. The knot will slide up and cinch tightly against the top of the tooth. Apply a tiny drop of flexible jewelry adhesive (like E6000) to the back of the knot to prevent it from loosening during active wear.
Part 2: The Adjustable Sliding Square Knot (Closure)
The sliding square knot allows the wearer to adjust the necklace from a 16-inch choker length to a 24-inch sweater length. As detailed by the experts at Animated Knots, the square knot is essentially two alternating overhand knots that grip the underlying cords through friction.
- Overlap the Ends: Lay the two long tail ends of your necklace parallel to each other, overlapping by about 6 inches.
- First Half Knot: Take the left cord and pass it over the right cord, then under both cords, and up through the loop on the right side. Pull tight.
- Second Half Knot: Now take the right cord and pass it over the left cord, then under both cords, and up through the loop on the left side. Pull tight.
- Repeat: Alternate this left-over-right, right-over-left pattern for 4 to 6 repetitions. The resulting barrel knot will slide smoothly along the two main cord strands when pulled, but will lock in place when tension is released.
- Finish the Tails: Tie a simple overhand knot at the very end of each tail cord and melt the tips slightly with a lighter (if using synthetic blends) or trim and glue (if using pure cotton) to create stoppers that prevent the sliding knot from coming off.
Occasion Matching: Styling the Knot and Cord
When gifting, the presentation and material choices should reflect the specific occasion and the recipient's personal style. Use the matrix below to select the perfect combination for your gift.
| Occasion | Recipient Profile | Recommended Cord | Cord Gauge | Accent Bead Addition |
|---|---|---|---|---|
| Surf Trip / Graduation | Active, ocean-bound, casual | Black Waxed Cotton | 1.0mm | Single matte onyx bead above the tooth |
| Anniversary / Romantic | Refined, bohemian, stylish | Natural Hemp or Silk | 0.8mm | Small turquoise or lapis lazuli spacer |
| Extreme Sports / Diving | Rugged, high-impact lifestyle | 550 Paracord | 4.0mm (Wire bail required) | None (keep it streamlined) |
| Fossil Collector / Academic | Appreciates history and geology | Braided Leather | 2.0mm | Sterling silver corrugated bead caps |
Common Tying Mistakes and Failure Modes
Even with the right materials, improper technique can lead to a broken necklace and a lost pendant. Avoid these common pitfalls when learning how to tie a shark tooth necklace:
- Friction Melt on Synthetics: If you are using a nylon-blend waxed cord, pulling the sliding square knot too aggressively can generate enough friction heat to melt the cord fibers, causing them to fuse and lock permanently. Always pull the knot smoothly and steadily.
- Sharp Drill Holes: Many commercially sold shark teeth have rough, unpolished drill holes. If you pull a cotton cord tightly against a sharp internal edge, it will act like a saw and sever the cord within weeks. Always inspect the bail hole and smooth it with a diamond reamer file before stringing.
- Ethical Sourcing Oversights: When gifting, provenance matters. The NOAA Fisheries department heavily regulates modern shark trade. Ensure your gift features either ethically sourced fossilized teeth (which are millions of years old and unregulated) or teeth from sustainably managed bycatch fisheries, and include a certificate of authenticity in your gift packaging.
Presentation and Packaging Tips
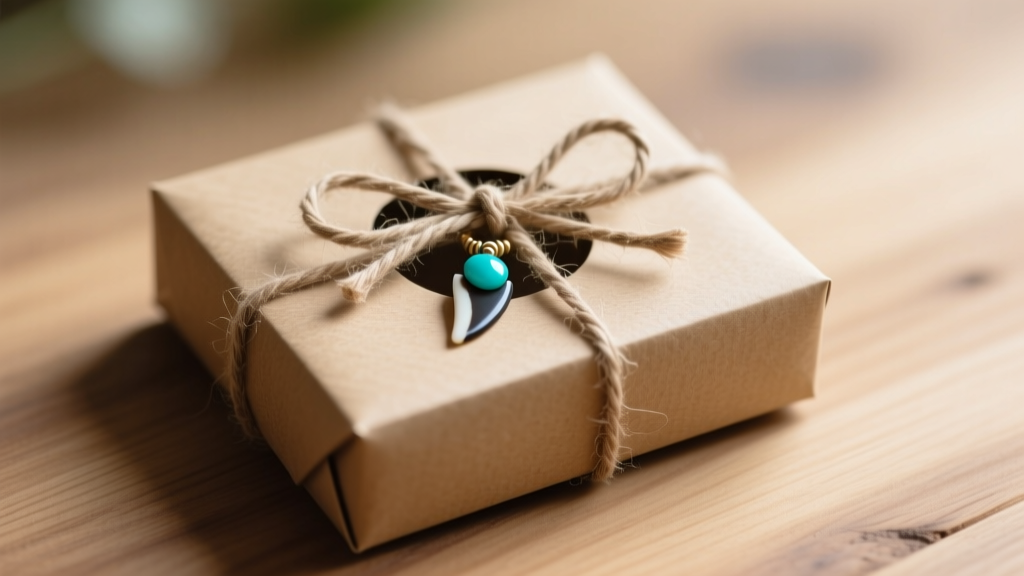
Because a shark tooth necklace is inherently adjustable, packaging it can be tricky; it doesn't lay flat in a standard hinged jewelry box. Instead, lean into the organic, coastal nature of the gift. Wrap the coiled necklace in a small piece of raw linen or muslin fabric, and secure it with a simple jute twine bow. Place it inside a kraft paper sliding box along with a small, handwritten note detailing the type of shark, the era of the fossil (if applicable), and the symbolic meaning of the tooth. By taking the time to master the knotwork and thoughtfully curate the materials, you transform a simple piece of nature into a deeply meaningful, wearable artifact that the recipient will cherish for years to come.


