How to Tie a Sliding Knot for Necklace: Step-by-Step Guide
Learn how to tie a sliding knot for necklace cords with our step-by-step guide. Master adjustable macrame knots using waxed cotton or nylon.

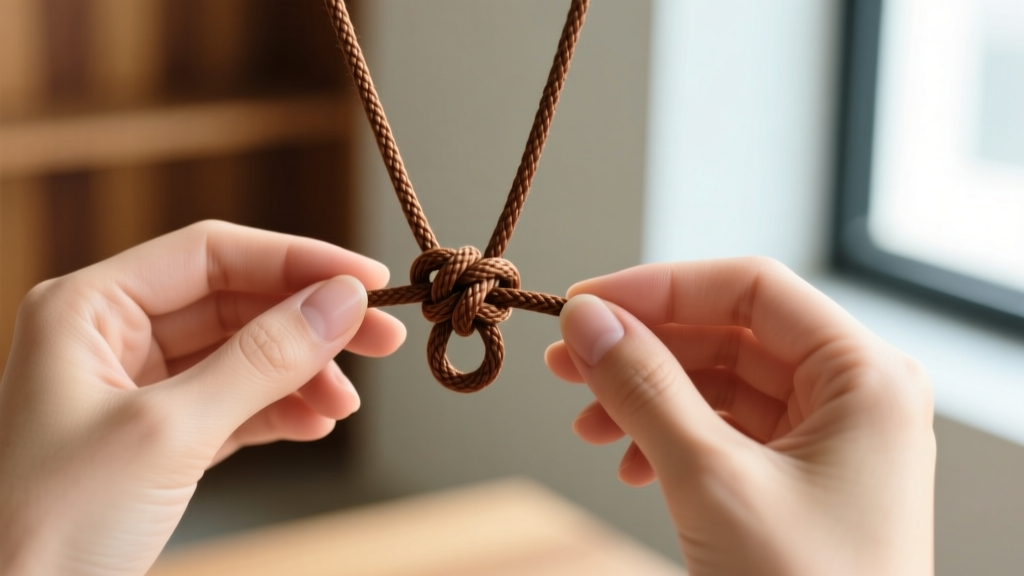
The Mechanics of Adjustable Jewelry
Mastering the art of the adjustable cord is a fundamental skill in modern jewelry making. When you learn how to tie a sliding knot for necklace designs, you eliminate the need for bulky metal clasps, allowing the wearer to seamlessly adjust the pendant's drop length from a choker (14 inches) to a long lariat (32 inches). The secret to a flawless sliding knot lies in the balance between static friction (which holds the knot in place on the chest) and kinetic friction (which allows it to glide when pulled).
Unlike fixed macrame patterns, a sliding knot relies on a central core of cords wrapped tightly by a working end. If the wraps are too loose, the necklace slips under the weight of the pendant. If they are too tight, or if the wrong cord material is used, the knot jams, rendering the adjustable feature useless. This guide provides the exact material specifications, cord twist physics, and step-by-step instructions required to create professional-grade sliding knots.
Choosing the Right Cord Material
Not all cords are engineered for sliding knots. The surface texture and diameter of the cord dictate the friction coefficient. According to the Fire Mountain Gems Jewelry-Making Encyclopedia, selecting the correct diameter is just as critical as the material itself.
| Material | Ideal Diameter | Friction Level | End Finishing Method |
|---|---|---|---|
| Waxed Cotton | 1.0mm - 1.5mm | High (Excellent Grip) | Cyanoacrylate (CA) Glue |
| Chinese Knotting Nylon | 0.8mm - 1.0mm | Medium (Smooth Glide) | Heat Melting (Lighter/Torch) |
| Leather (Round) | 1.5mm - 2.0mm | Variable (Prone to Jamming) | Metal Crimp Ends / Glue |
| Silk Cord | 1.0mm | Low (Too Slippery) | French Wire & Crimp Beads |
Expert Recommendation: For beginners and advanced jewelers alike, 1.0mm waxed cotton or 1.0mm nylon are the gold standards. Cords thicker than 1.5mm create excessive bulk in the wrapping zone, while cords thinner than 0.8mm lack the surface area required to generate adequate static friction, leading to constant slipping.
Tools and Preparation
Before beginning, gather the following specialized tools:
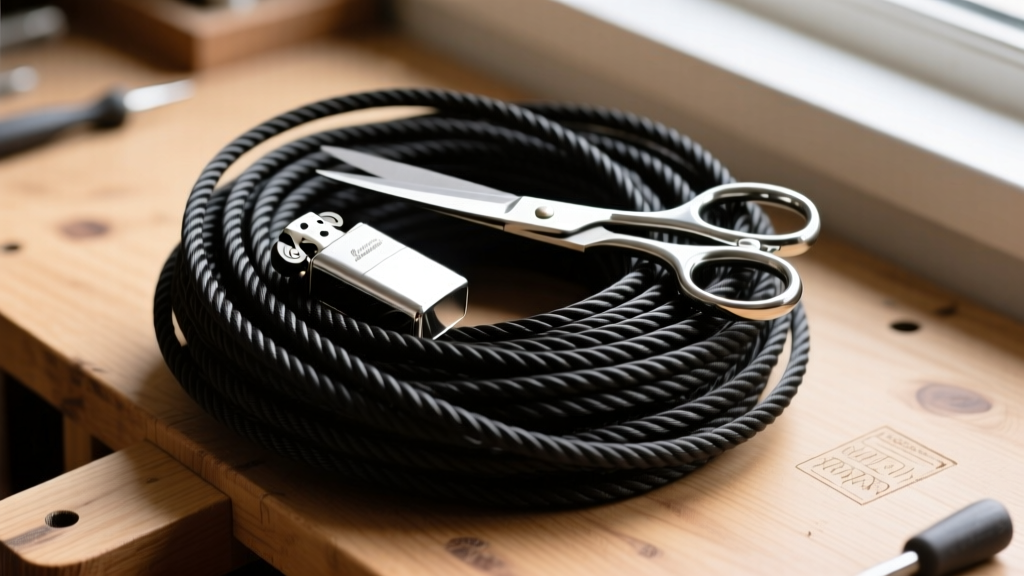
- Sharp Embroidery Scissors: For flush cuts without fraying the cord ends.
- Butane Lighter or Micro-Torch: Essential for melting nylon. Avoid standard candle lighters, as soot will embed in the molten plastic.
- Cyanoacrylate (CA) Glue & Toothpick: For securing waxed cotton ends.
- Clipboard or Masking Tape: To secure the base cords to your work surface, maintaining consistent tension.
Step-by-Step: How to Tie a Sliding Knot for Necklace
The most reliable sliding knot for jewelry is the Double Overhand Sliding Knot (often referred to as a macrame square sliding knot). Reference guides like Animated Knots by Grog highlight the importance of uniform wraps for structural integrity.
Step 1: Establish the Base
Lay your necklace cord out in a U-shape. Overlap the two ends by about 4 inches. Secure the overlapping section to your work surface using tape or a clipboard clip. The two parallel cords in the center are your "base cords."
Step 2: The Anchor Loop
Take the left working cord and cross it over the two base cords, leaving a 2-inch tail pointing to the right. This tail will eventually be pulled through to lock the knot.
Step 3: The Wrapping Phase
Bring the left working cord under the base cords and up through the loop you just created. Pull it tight against the base cords. Now, begin wrapping the working cord tightly around both base cords.
Critical Detail - Cord Twist Direction: Most commercial cords have a Z-twist or S-twist. You must wrap in the direction that tightens the cord's natural spiral. If your wraps look fuzzy and resist laying flat, you are wrapping against the twist. Reverse your wrapping direction, and the cord will bind smoothly.
Step 4: Count Your Wraps
For a 1.0mm cord, exactly 5 to 7 wraps are optimal. Fewer wraps will not generate enough friction to hold a heavy pendant. More than 8 wraps will create a knot so long and tight that it becomes impossible to slide. Keep the wraps perfectly parallel; never let them overlap one another.
Step 5: Lock the Knot
After your final wrap, pass the working cord through the small loop (the anchor loop) that was left at the very beginning of the process. Pull the tail of the anchor loop firmly. This will pull the working end inside the wraps, hiding it and locking the entire structure in place.
Step 6: Repeat on the Opposite Side
Flip the necklace over and repeat the exact same process on the opposite end, using the right working cord to wrap around the base cords. Ensure both knots have the same number of wraps for symmetrical tension.
The Science of Knot Tension and Friction
Why do some sliding knots glide like butter while others require two hands and brute force? The answer lies in the surface coating of the cord. Waxed cotton is coated in beeswax or paraffin. This wax creates high static friction, meaning the knot stays firmly in place when resting on the collarbone. However, when you apply lateral pulling force, the wax slightly yields, allowing kinetic movement.
Pro Tip: If your waxed cotton knot is too stiff to slide, do not loosen your wraps. Instead, take a clean, dry microfiber cloth and vigorously rub the base cords where the knot slides. This burnishes the wax, creating a smoother, more polished track for the knot to travel along without sacrificing the grip.
Troubleshooting Common Mistakes
Even experienced jewelers encounter issues when tying adjustable knots. Here is how to diagnose and fix the most common failure modes:
- The Knot Spins but Won't Slide: You likely caught one of the base cords inside your wraps. Ensure both base cords lay perfectly flat and parallel before every single wrap.
- The Knot Slips Under Pendant Weight: The cord diameter is too small, or you have used a slippery material like silk. Switch to 1.5mm waxed cotton or add a small silicone bead stopper inside the knot wraps before locking it.
- Fraying During Wrapping: You are wrapping against the cord's twist direction, or your hands are too dry. Lightly moisturize your fingers or apply a microscopic amount of beeswax to the working cord to bind the fibers together.

Finishing Techniques for Professional Results
A sliding knot is only as good as its end stops. If the cords pull completely out of the knot, the necklace is ruined. You must finish the tails properly.
For Nylon Cords (Heat Melting)
Nylon (polyamide) melts at approximately 220°C (428°F). Trim the tail leaving about 2mm protruding from the knot. Apply a clean butane flame to the tip for exactly 1.5 seconds. Pull the flame away and let it cool for 3 seconds. Once it is semi-solid but no longer liquid, press it flat against a ceramic tile or glass surface to form a smooth, rounded bead stop that is wider than the knot's central channel.
For Waxed Cotton (Chemical Bonding)
Cotton cannot be melted. Trim the tail flush with the edge of the knot. Dip the tip of a toothpick into cyanoacrylate (CA) glue and touch it to the cut end. The glue will wick into the cotton fibers via capillary action and cure rigid. Never use standard craft glues like PVA or E6000, as they remain flexible and will peel off the waxed surface over time. Apply the CA glue sparingly to avoid "blooming," which is the white crusty residue that CA glue can leave on dark cords.
Final Thoughts on Necklace Adjustability
Learning how to tie a sliding knot for necklace cords elevates your jewelry designs from amateur crafts to professional, market-ready pieces. By respecting the physics of friction, choosing the correct 1.0mm diameter cords, and executing 5 to 7 precise wraps, you create an elegant, clasp-free closure that adapts to any neckline. Whether you are stringing a heavy brass pendant or a delicate resin geode, the sliding knot remains the most versatile and user-friendly finishing technique in modern jewelry design.


