Troubleshooting Your Baseball Bead Necklace Kit: Fixes & Tips
Fix snapping strings, fading beads, and sizing issues in your baseball bead necklace kit. Expert troubleshooting for durable, game-day-ready DIY jewelry.

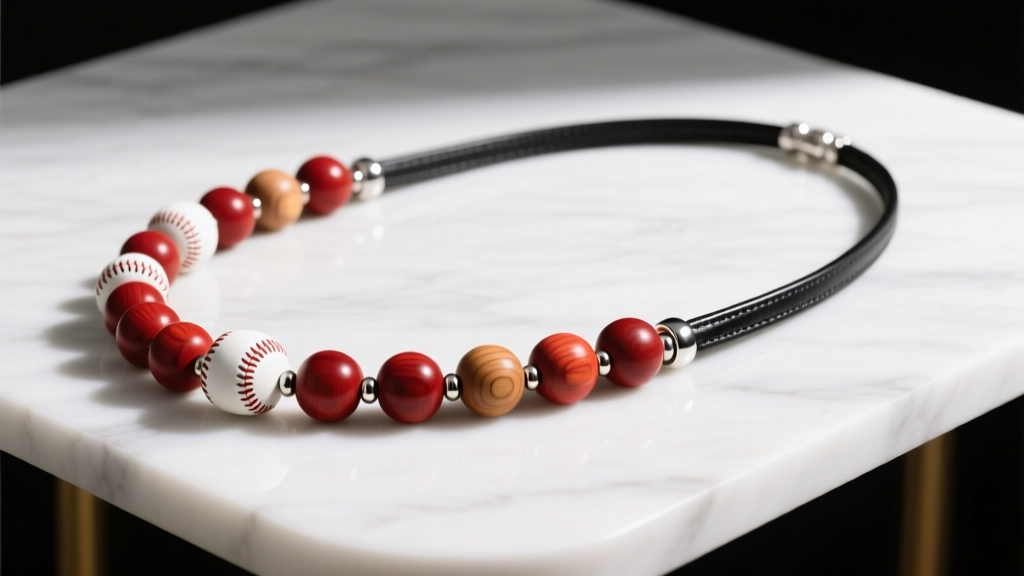
Creating team gifts or personal sports memorabilia using a baseball bead necklace kit is a beloved tradition for Little League parents, sports moms, and DIY jewelry enthusiasts. However, the excitement of crafting custom team-colored necklaces often turns into frustration when cheap components fail. Snapped elastic, color-bleeding beads that ruin white jerseys, and ill-fitting lengths are incredibly common issues with mass-produced craft kits.
As jewelry makers, we need to approach these kits not just as simple crafts, but as functional sports accessories that must withstand sweat, UV exposure, and physical impact. This comprehensive troubleshooting guide will help you diagnose and fix the most frequent failures in your baseball bead necklace kit, ensuring your final pieces are durable, professional, and game-day ready.
The Anatomy of a Baseball Bead Necklace Kit (And Where They Fail)
Before we can fix the problems, we must understand the typical components included in a standard baseball bead necklace kit and their inherent structural weaknesses:
- The Beads: Usually 4mm to 8mm dyed wooden beads or low-grade acrylic in team colors (red, navy, white). Failure point: Wood beads absorb moisture and bleed dye; cheap acrylic chips upon impact.
- The Cord: Often thin (0.5mm) cotton string or low-elasticity rubber bands. Failure point: Cotton frays and snaps under tension; rubber degrades rapidly when exposed to the acidic pH of human sweat.
- The Hardware: Base-metal lobster clasps and split rings. Failure point: Base metals tarnish quickly and the jump rings easily pull apart when the necklace is tugged.
Troubleshooting String & Cord Failures (The Snap Factor)
The most critical point of failure in any beaded sports necklace is the stringing material. Human sweat has a pH ranging from 4.5 to 7.0, which is highly corrosive to standard elastic cords found in budget kits. If your necklaces are snapping during games or shortly after, the cord is to blame.
Upgrading Your Stringing Material
Ditch the kit's provided string. For a durable baseball bead necklace, you must upgrade to materials designed for high-tension and moisture resistance:
- For Elastic (Slip-On) Styles: Use Beadalon Stretch Magic in 0.8mm or 1.0mm thickness. This is a polyurethane elastomer that resists UV degradation and sweat acidity far better than standard rubber.
- For Clasp Styles: Upgrade to a 1mm to 1.5mm genuine leather cord or a waxed cotton braided cord (like Griffin Silk-N-Steel). Leather provides a rugged, masculine aesthetic perfect for baseball themes and offers immense tensile strength.
The Surgeon's Knot and Glue Protocol
If you are using elastic, a standard overhand knot will inevitably slip and untie under the tension of stretching. You must use a Surgeon's Knot (wrapping the cord around itself three times before pulling tight). After pulling the knot taut, apply a micro-drop of G-S Hypo Cement directly into the knot. Hold the tension for 60 seconds while the cement cures. This creates a chemical weld that prevents the elastic from reverting to its original shape and untying.
Solving Bead Degradation and Color Bleeding
There is nothing more devastating to a baseball player than taking off a red and white beaded necklace only to find a pink stain permanently dyed into their white home jersey. The wooden beads included in most baseball bead necklace kits are surface-dyed, meaning the color sits on the porous exterior and washes off with sweat or rain.
Material Comparison: Choosing the Right Bead
To solve this, you must either treat the existing beads or replace them. Below is a troubleshooting matrix to help you decide how to handle bead degradation.
| Bead Material | Sweat & Water Resistance | Colorfastness | Impact Durability | Troubleshooting Fix |
|---|---|---|---|---|
| Dyed Wood (Kit Standard) | Very Poor (Absorbs moisture) | Poor (Bleeds heavily) | High (Won't shatter) | Seal with 2 coats of clear polyurethane spray before stringing. |
| Opaque Acrylic | Excellent | Excellent (Color is solid) | Medium (Can crack if hit by a ball) | Use as a direct 1:1 replacement for wood beads. |
| Glass (Czech/Miyuki) | Excellent | Excellent | Low (Will shatter on hard impact) | Avoid for active youth players; reserve for coach gifts or display. |
| Anodized Aluminum | Good | Good (Can scratch) | High | Use 6mm metal rounds for a premium, heavy-duty upgrade. |
Pro-Tip from the Bench: If you must use the wooden beads from your kit to match a specific team Pantone color, seal them by tumbling them in a ziplock bag with a small amount of clear Mod Podge or jewelry-grade resin, then let them dry on a wire rack for 24 hours before stringing.
Sizing Framework: Adjusting for Little League to Adult
A frequent complaint regarding pre-packaged kits is that they only provide enough cord for a single, generic 18-inch necklace. This results in necklaces that are choking hazards for 6-year-olds or uncomfortably tight for broad-shouldered teenagers. Proper sizing is critical for safety and comfort.
The Baseball Necklace Sizing Chart
Use this framework to measure and cut your upgraded cord before you begin stringing:
- Ages 4-7 (Tee Ball / Coach Pitch): 13 to 14 inches. (Add a 2-inch extender chain for growth).
- Ages 8-12 (Little League Majors): 15 to 16 inches.
- Ages 13-15 (Babe Ruth / High School Freshman): 17 to 18 inches.
- Ages 16+ (Varsity / Adult): 19 to 21 inches (Baseball players often have thicker necks and trapezius muscles; standard women's jewelry lengths will not fit comfortably over a jersey).
Upgrading Hardware: Clasps and Crimps That Actually Hold
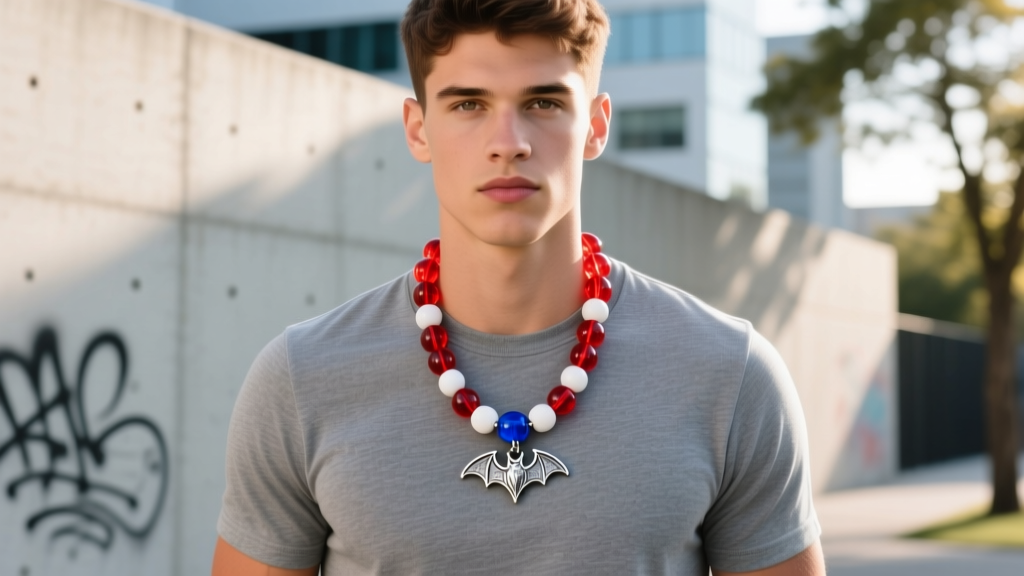
If you are transitioning from an elastic slip-on design to a leather cord with a clasp, the hardware included in your baseball bead necklace kit is likely inadequate. Base-metal lobster clasps often have weak internal springs, and the provided crimp beads are usually too small for leather cord, leading to slippage.
The Correct Crimping Technique
According to jewelry manufacturing experts at Halstead Bead, using the wrong pliers is the primary reason crimps fail. To secure a 1mm leather cord:
- Use a 2x2mm sterling silver or copper crimp tube (do not use round crimp beads, as tubes provide more surface area for friction).
- Thread the leather through the tube, loop it through the clasp, and thread it back through the tube, leaving a 1mm gap so the leather can flex.
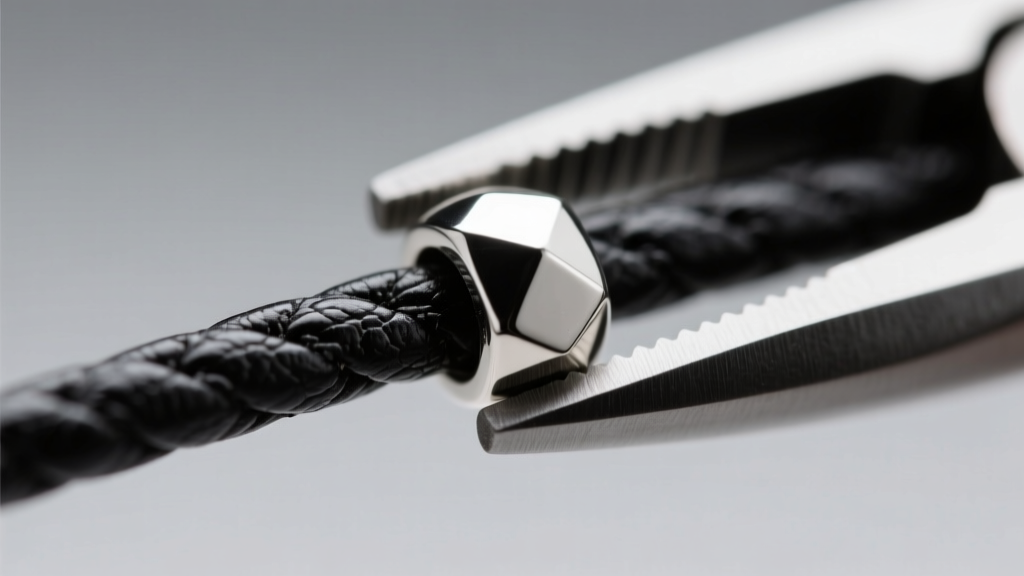
- Use flat-nose pliers (not crimping pliers or round-nose pliers) to compress the tube completely flat. The flat compression bites into the leather's texture, preventing it from sliding out under tension.
Final Game-Day Durability Checklist
Before distributing your finished necklaces to the team, run each piece through this rapid troubleshooting checklist to ensure quality control:
- The Tug Test: Pull the necklace firmly from both ends. If the crimp slides or the knot slips, redo it.
- The Damp Cloth Test: Rub a damp, warm paper towel vigorously against the red and blue beads. If any color transfers to the paper towel, the beads are not properly sealed and will ruin the players' uniforms.
- The Clasp Spring Test: Open and close the lobster clasp 10 times. The spring should snap back instantly with an audible click. If it feels sluggish, replace the clasp with a stainless steel alternative.
By treating your baseball bead necklace kit as a starting point rather than a finished solution, you elevate a simple craft project into a piece of high-quality, durable sports jewelry. Upgrading the cord, sealing the beads, and utilizing proper jewelry-making techniques ensures that your custom team necklaces will survive the season, from the first pitch to the championship trophy presentation.
For more advanced stringing techniques and material sourcing, explore the extensive educational resources available at Fire Mountain Gems, which offer deep dives into tensile strengths and material compatibilities for active-wear jewelry.


