Troubleshooting Chain Lengths Necklace Fit and Layering Tangles
Solve common necklace fit issues. Learn how to troubleshoot chain lengths necklace proportions, stop pendants from flipping, and prevent tangles.

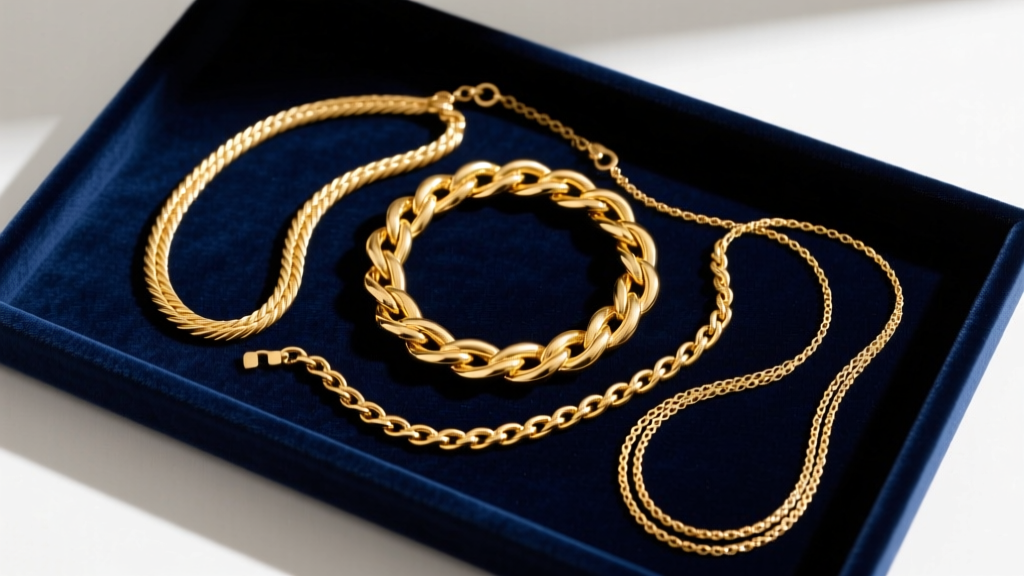
There are few things more frustrating in jewelry than unboxing a beautiful piece, only to find it sits awkwardly on your collarbone, constantly tangles with your other layers, or features a clasp that insists on migrating to the front of your neck. The jewelry industry relies on standardized measurements, but human anatomy does not. When evaluating chain lengths necklace styles, it is crucial to understand that a standard 16-inch chain will act as a choker on a 15-inch neck, while a heavy pendant on a 22-inch chain will swing wildly and flip backward.
In this comprehensive troubleshooting guide, we break down the exact mechanics of necklace fit, diagnose the five most common chain length disasters, and provide actionable, bench-jeweler-approved hardware fixes to salvage your favorite pieces.
The Anatomy of a Bad Fit: Why Standard Sizing Fails
Most mass-market jewelers grade their chains in two-inch increments (16', 18', 20', 22'). However, understanding how chain lengths necklace proportions work requires factoring in your specific neck circumference and torso drop. The average woman's neck measures between 13.5 and 14.5 inches, while the average man's neck measures between 15 and 16.5 inches.
If you have a 15-inch neck, a 16-inch chain leaves only 0.5 inches of 'drop' on each side of your neck before it hits the clavicle. This creates a restrictive, choker-like fit that can cause skin irritation and accelerate wear on the chain links due to constant tension. According to fabrication experts at Rio Grande, continuous tension on delicate chains (under 1.0mm in gauge) can stretch the links and weaken the solder points at the clasp over time.

Troubleshooting the 5 Most Common Chain Length Disasters
1. The Strangling Choker (Too Tight)
The Problem: Your 16-inch or 18-inch chain feels restrictive, leaves red marks, or sits above the collarbone rather than resting on it.
The Fix: You need to increase the drop without replacing the entire chain. Soldering a 2-inch 14k gold extender chain (typically a 1.2mm rolo or cable chain) to the existing clasp costs between $25 and $45 at a local bench jeweler. If the chain is sterling silver, ensure the jeweler uses a laser welder or low-temperature solder to avoid melting the delicate links near the jump ring.
2. The Wandering Pendant (Flipping and Sliding)
The Problem: A lightweight pendant on a longer chain (20 inches or more) constantly flips backward, showing the back of the bail, or slides off-center.
The Fix: This happens when the pendant's bail is too wide for the chain gauge, or the chain is too heavy relative to the pendant. Upgrade the bail to a V-bail or a silicone-lined bail that grips the chain. Alternatively, add a tiny 2mm silicone O-ring inside the existing bail to create friction against the metal chain, anchoring the pendant in place.
3. The Layering Rat's Nest (Tangling)
The Problem: You layer a 16-inch and an 18-inch necklace, but within an hour, they are twisted into an inseparable knot.
The Fix: The golden rule of layering is the Two-Inch Minimum Gap. If your chains are 16' and 18', they occupy the same anatomical curve of the neck and will inevitably cross paths. Furthermore, mixing chain textures causes friction. A 1.5mm box chain layered with a 1.5mm snake chain will tangle instantly because the smooth snake chain slips through the box links. Always pair a smooth chain (like a snake or herringbone) with a highly textured, open-link chain (like a figaro or paperclip) with at least a 2-inch length difference.
4. The Back-Heavy Clasp Migration
The Problem: The clasp of your necklace constantly slides around to the front, resting next to your pendant.
The Fix: This is a physics issue. If your pendant weighs 8 grams, but your spring-ring clasp and jump rings only weigh 1 gram, the heavy front will pull the chain down, forcing the lightweight clasp up and around your neck. The Gemological Institute of America (GIA) notes that balancing jewelry weight distribution is critical for structural longevity. Solve this by adding a 'counterweight'—a small, decorative 3mm gold bead or a slightly heavier lobster clasp on the back of the neck to anchor the chain.
5. The Collarbone Gap (Awkward Mid-Length)
The Problem: An 18-inch chain sits exactly on the hollow of the collarbone, causing the pendant to catch on shirt necklines or flip outward.
The Fix: Shorten the chain to 16.5 inches to sit above the collarbone, or lengthen it to 20 inches to drop below the clavicle into the 'crew neck' zone. Avoid the 17-to-19-inch danger zone if you frequently wear crew-neck t-shirts or button-down collars.
The Master Measurement Matrix
Use this troubleshooting matrix to diagnose your current chain lengths necklace fit and determine the exact alteration needed based on your neck circumference.
| Your Neck Size | Desired Style | Standard Chain Bought | Actual Length Needed | Troubleshooting Action |
|---|---|---|---|---|
| 13.5 inches | Choker | 14 inches | 14.5 - 15 inches | Add 1-inch extender chain |
| 14.5 inches | Collarbone | 16 inches | 17 - 17.5 inches | Add 1.5-inch extender chain |
| 15.5 inches | Crew Neck | 18 inches | 19 - 20 inches | Add 2-inch rolo extender |
| 16.5 inches | Princess | 18 inches | 20 - 21 inches | Re-string or add long drop |
| 17.0+ inches | Matinee | 22 inches | 24 - 25 inches | Custom order or add chain |
Pro Tip: Never measure your neck with a rigid ruler. Use a soft tailor's tape measure, wrap it snugly (not tightly) around the base of your neck where a standard collar sits, and add 2 inches to that number to find your absolute minimum comfortable chain length.
Hardware Fixes: Modifying Your Existing Chains
If you have identified the problem but want to avoid a trip to the jeweler, there are several high-quality hardware modifications you can perform at home to fix your chain lengths necklace issues.
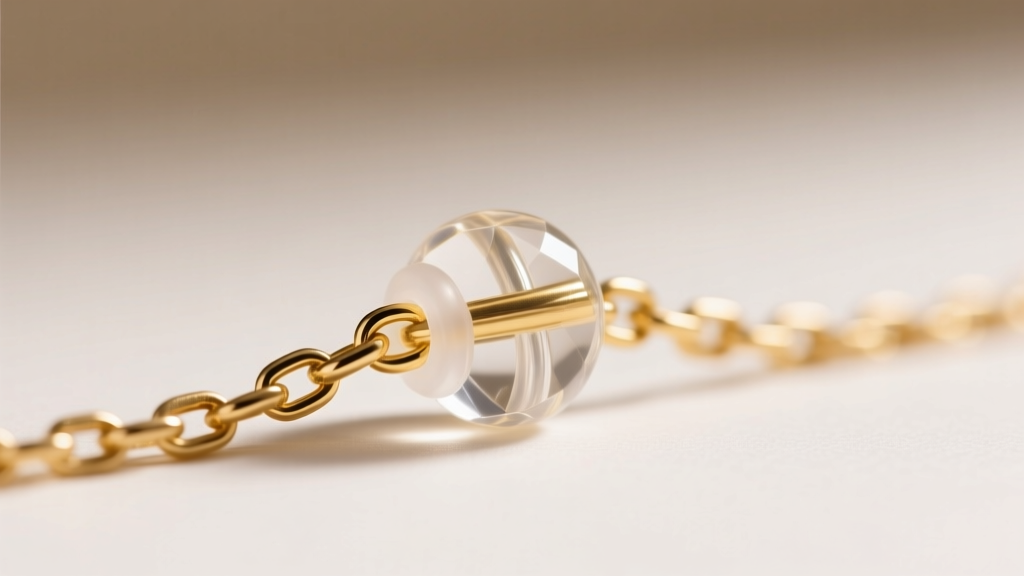
- Silicone Necklace Stoppers: For wandering pendants or chains that are slightly too long, thread the chain through a 2mm clear silicone stopper bead before attaching the clasp. Slide the bead to the desired tightness. These cost under $10 for a pack of 20 and are invisible against the skin.
- Lobster Claw Swaps: If your spring ring clasp is failing or causing weight imbalance, use two 4mm flat-nose pliers to gently pry open the jump ring connecting the clasp. Swap the lightweight spring ring for a 9mm or 11mm solid 14k gold lobster claw. The lobster claw adds roughly 0.8 grams of counterweight to the back of the neck and is significantly more secure for heavy pendants.
- Pendant Bails with Silicone Grips: If your pendant slides to the side on a 20-inch chain, replace the standard metal bail with a specialized silicone-grip bail. These feature an internal rubberized channel that creates high friction against smooth chains like snake or box chains, locking the pendant dead-center without damaging the metal.
- The 'Paperclip' Layering Hack: To prevent tangling when layering, attach a small 5mm decorative paperclip link to the end of your shorter chain. This creates a physical barrier and alters the drape angle, forcing the two chains to lay in parallel tracks rather than crossing over one another.
Final Thoughts on Chain Proportions
Troubleshooting necklace fit is rarely about the chain being 'defective'; it is almost always a mismatch between standardized manufacturing and individual anatomy. By understanding the physics of weight distribution, respecting the two-inch layering rule, and utilizing inexpensive hardware modifications like silicone stoppers and counterweight clasps, you can transform an unwearable piece into a perfectly draped staple. Always measure your neck before purchasing, and remember that a $5 extender chain can save a $500 pendant from sitting in your jewelry box.


