Troubleshooting Your Silver Ring Necklace: Tarnish & Breaks
Is your silver ring necklace tarnishing, breaking, or flipping? Discover expert troubleshooting tips to clean, repair, and maintain your sterling jewelry.

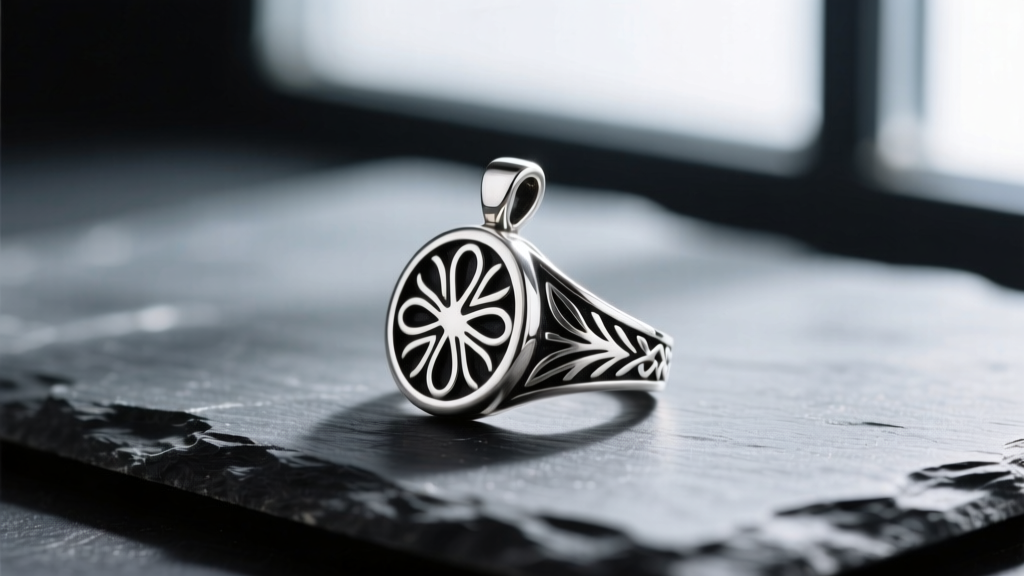
The Anatomy of a Silver Ring Necklace Failure
A silver ring necklace presents a unique set of structural and chemical challenges compared to standard flat pendants. Because a ring is a rigid, three-dimensional object with a centralized weight distribution, it acts as a heavy pendulum. This dynamic places disproportionate stress on the bail, the jump ring, and the chain links immediately adjacent to the clasp. Furthermore, the high surface area and intricate crevices of a ring design make it a magnet for silver sulfide buildup (tarnish) and skin-oil accumulation. According to the Gemological Institute of America (GIA), sterling silver requires specific environmental controls to prevent rapid oxidation. In this guide, we will systematically troubleshoot the four most common failure points of a silver ring necklace: severe tarnish, structural breakage, pendant flipping, and skin discoloration.
Troubleshooting Tarnish: Beyond Basic Polishing Cloths
Standard microfiber polishing cloths are sufficient for light surface oxidation, but they fail when tarnish settles into the stamped hallmarks, milgrain edges, or interior band of a ring pendant. Tarnish is chemically known as silver sulfide (Ag2S), which forms when silver reacts with sulfur compounds in the air, cosmetics, or sweat.
The Electrochemical Reduction Method (Deep Cleaning)
For heavy, blackened tarnish, mechanical polishing will remove microscopic layers of silver over time. Instead, use an electrochemical reduction bath to convert the silver sulfide back into pure silver without abrasion.
- Line a glass or ceramic bowl with aluminum foil (shiny side up). The aluminum will act as the sacrificial anode.
- Add 1 tablespoon of baking soda (sodium bicarbonate) and 1 tablespoon of non-iodized salt to create an electrolyte solution.
- Pour 1 cup of boiling water into the bowl to activate the electrolytes.
- Submerge your silver ring necklace completely, ensuring it touches the aluminum foil. You will see bubbles and smell a faint sulfur (rotten egg) odor as the sulfur transfers from the silver to the aluminum.
- Leave it for 3 to 5 minutes, then remove with plastic tongs, rinse in distilled water, and pat dry.
Warning: Do not use this method on oxidized (antiqued) silver rings, as the bath will strip the intentional black patina from the recessed design elements. It is also unsafe for ring necklaces featuring porous gemstones like turquoise, opal, or pearls.
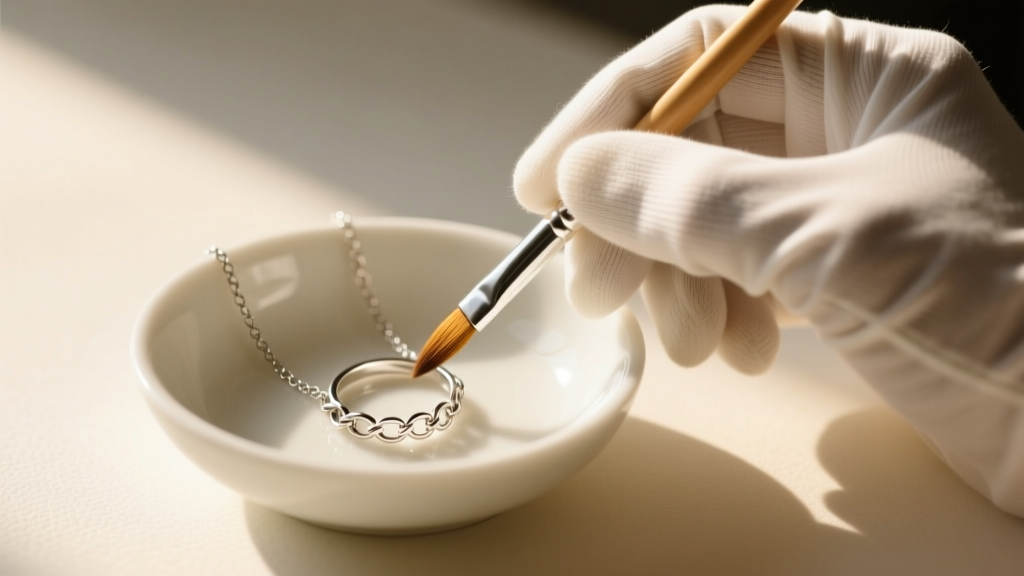
When to Avoid Ultrasonic Cleaners
While ultrasonic cleaners are excellent for dislodging dirt from chain links, they are highly risky for silver ring necklaces. The high-frequency cavitation bubbles can loosen prong settings if the ring features gemstones, and the vibration can cause micro-fractures in older, work-hardened solder joints connecting the bail to the ring.
Fixing Chain and Jump Ring Breakages
The most frequent point of catastrophic failure on a silver ring necklace is the jump ring connecting the pendant bail to the chain. Because the ring swings and catches on clothing, the jump ring experiences repetitive torsional stress. If the jump ring is simply twisted shut (unsoldered), it will eventually pull apart.
Jump Ring Gauge and Weight Tolerances
To prevent breakage, you must match the wire gauge (thickness) of the jump ring to the weight of the silver ring pendant. The Fire Mountain Gems Encyclopedia recommends hard-soldering jump rings for any pendant exceeding 10 grams. Below is a structural tolerance chart for sterling silver jump rings:
| Wire Gauge | Thickness (mm) | Recommended Inner Diameter | Max Pendant Weight | Soldering Requirement |
|---|---|---|---|---|
| 20-Gauge | 0.81mm | 4.0mm - 5.0mm | Up to 5 grams | Optional (for light wear) |
| 18-Gauge | 1.02mm | 5.0mm - 6.0mm | Up to 12 grams | Highly Recommended |
| 16-Gauge | 1.29mm | 6.0mm - 8.0mm | Up to 25 grams | Mandatory |
| 14-Gauge | 1.63mm | 8.0mm+ | 25+ grams (Heavy) | Mandatory (Laser or Torch) |
If your ring necklace repeatedly breaks at the clasp, the issue is likely work-hardening. Sterling silver (.925) becomes brittle when repeatedly bent. Have a jeweler anneal (heat-treat) the clasp spring mechanism or upgrade to a lobster clasp with a built-in swivel to absorb the rotational energy of the swinging ring.
Solving the "Flipping Pendant" Dilemma
A common annoyance with silver ring necklaces is the pendant constantly flipping backward, hiding the front design against the wearer's chest. This is a physics problem related to the center of gravity and the bail-to-chain ratio.
If your chain is 1.5mm thick, but the interior diameter of the ring's bail is 4.5mm, there is 3.0mm of empty space. This "play" allows the heavy bottom of the ring to swing forward and flip over.
Troubleshooting Solutions:
- Upgrade the Chain: Switch to a thicker chain, such as a 2.5mm to 3.0mm sterling silver rope or wheat chain. The thicker chain fills the bail, restricting the ring's ability to rotate on its Y-axis.
- Install a Rubber O-Ring: For a cheap, non-destructive fix, thread a small, clear silicone jewelry o-ring onto the chain before attaching the pendant. This acts as a spacer, centering the bail and reducing lateral movement.
- Solder a Fixed Bail: A jeweler can remove the existing looping bail and solder a fixed, low-profile "V-bail" directly to the top of the ring, permanently locking its forward-facing orientation.
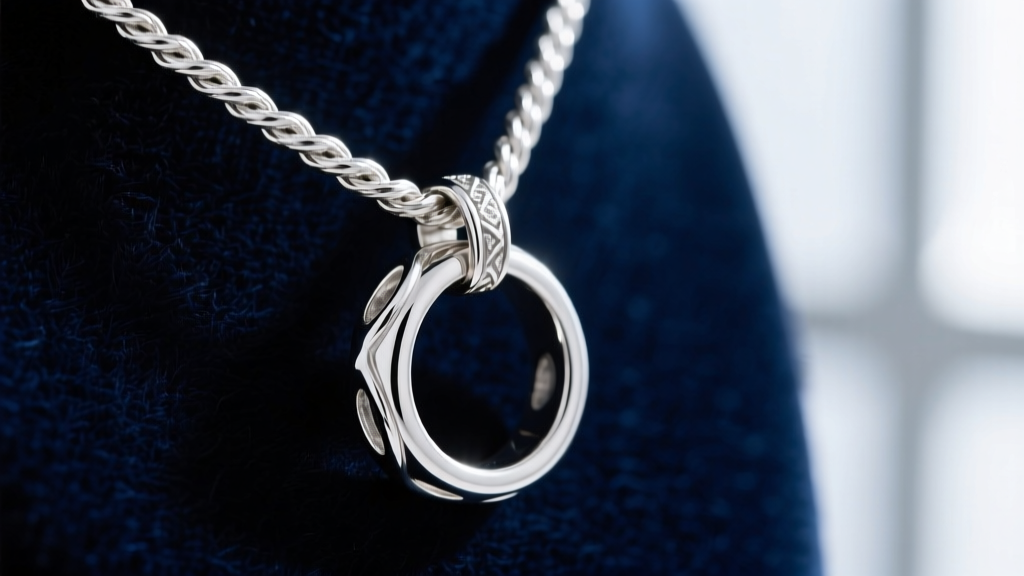
Preventing Skin Discoloration from 925 Sterling Silver
If your silver ring necklace leaves a green or black smudge on your sternum, the silver itself is not to blame. By definition, verified by The Assay Office, 925 sterling silver contains 92.5% pure silver and 7.5% alloy metals—almost always copper. It is the copper reacting with the chlorides and sulfides in your sweat that creates copper chloride, a green salt that transfers to the skin.
How to stop the reaction:
- Rhodium Plating: Have a jeweler plate the back of the ring pendant and the chain with rhodium. This platinum-group metal is hypoallergenic, highly tarnish-resistant, and creates a permanent barrier between the copper alloy and your skin. Expect to pay between $40 and $80 for professional plating.
- Clear Coat Barrier: For a budget-friendly, at-home fix, paint the back of the ring pendant with a thin layer of clear, non-yellowing polyurethane or specialized jewelry shield. Reapply every 3 to 4 months as friction wears the coating away.
- Purity Upgrade: If you are commissioning a custom piece, request the ring be cast in .999 fine silver. While too soft for finger rings, a thick .999 silver pendant lacks copper entirely, eliminating both tarnish and skin discoloration.
Expert Maintenance Schedule
To keep your silver ring necklace in pristine condition, implement this bi-annual maintenance routine:
- Weekly: Wipe the ring pendant with a treated anti-tarnish cloth (impregnated with silver polish) to remove daily sebum and cosmetic residue.
- Monthly: Inspect the jump ring and bail under a 10x jeweler's loupe. Look for thinning metal or gaps in the solder seam.
- Bi-Annually: Wash the chain in warm water with a few drops of phosphate-free dish soap to remove trapped dead skin cells that accelerate chain-link friction and wear.
By understanding the metallurgical and mechanical realities of your jewelry, you can transform a problematic silver ring necklace into a durable, lifelong staple in your collection.


