How to Turn a Necklace Into a Ring: Step-by-Step Guide
Learn how to turn a necklace into a ring with our expert step-by-step guide. Discover tools, metal prep, and sizing techniques for custom jewelry.

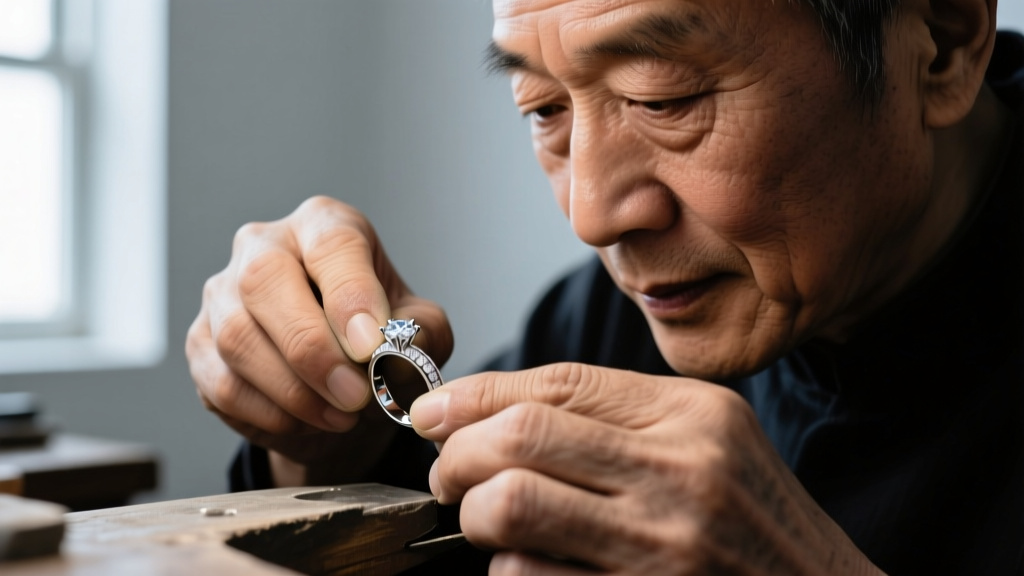
Why Repurpose a Necklace Chain into a Ring?
Jewelry upcycling is more than just a sustainable trend; it is a deeply personal way to preserve sentimental value. When a cherished necklace chain breaks, or a pendant is lost, the remaining chain often ends up forgotten in a jewelry box. Learning how to turn a necklace into a ring breathes new life into these dormant pieces, transforming a broken memory into a wearable, everyday staple. According to master jewelers and resources like Rio Grande, repurposing precious metals not only saves hundreds of dollars in raw material costs but also allows for bespoke, emotionally resonant designs that mass-produced jewelry cannot replicate.
However, converting a flexible chain into a rigid ring band requires an understanding of metallurgy, structural integrity, and precise sizing. A necklace is designed to drape and move; a ring must withstand lateral pressure, impact, and constant friction. This guide will walk you through the exact metallurgical preparations, sizing mathematics, and fabrication techniques required to successfully execute this conversion.
Essential Tools and Materials for the Conversion
Before you begin cutting or bending, you must assemble the correct bench tools. The tools you need will vary slightly depending on whether you choose to solder the seam (for a permanent, professional finish) or use a cold-connection wire-wrap method (for a rustic, tool-light approach).
| Tool / Material | Purpose | Recommended Specification |
|---|---|---|
| Steel Ring Mandrel | Sizing and shaping the band | Graduated, 1-15 US sizes, polished steel |
| Rawhide Mallet | Shaping metal without marring | Dead-blow or solid rawhide, 4oz head |
| Flush Cutters | Cleaning cutting the chain | High-carbon steel, capable of cutting 14g wire |
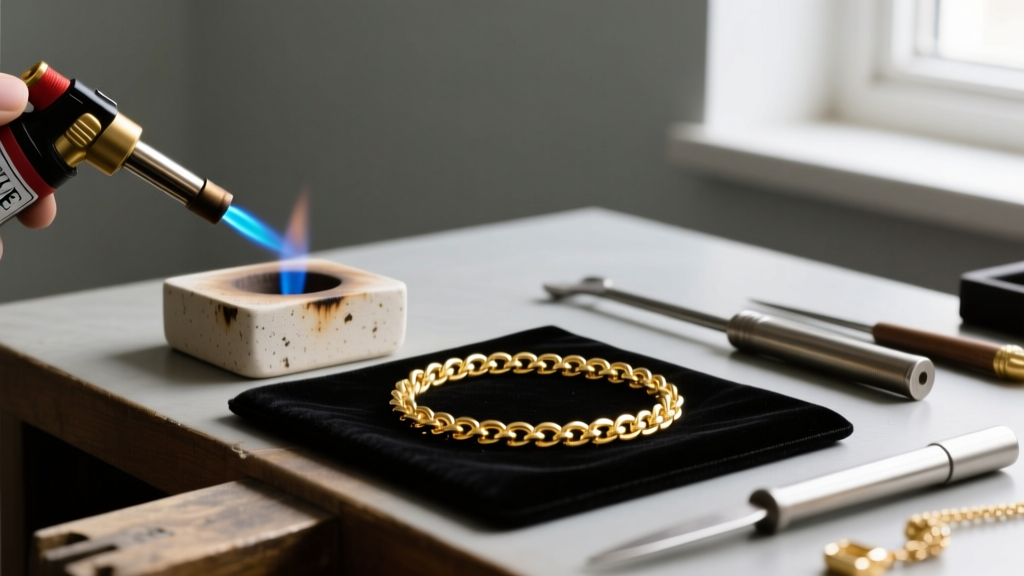
| Butane Micro-Torch | Annealing and soldering | Piezo ignition, 1300°C max flame temp |
| Hard Silver Solder | Fusing the chain ends | Flow temp ~1450°F, ideal for structural seams |
| Pickle Solution | Removing oxidation post-soldering | Warm sodium bisulfate or citric acid bath |
Step 1: Assessing and Prepping the Necklace Chain
Not all chains are suitable for ring making. The structural integrity of the finished ring depends heavily on the chain's link style and metal hardness.
Best Chain Styles for Rings
- Cable & Figaro Chains: Excellent for ring bands. Their flat or slightly rounded profiles sit comfortably against adjacent fingers and provide a wide, stable surface area for soldering.
- Rope Chains: Beautiful but challenging. The twisted links work-harden very quickly and can kink if bent too sharply around a small mandrel. They require careful annealing.
- Box & Wheat Chains: Generally avoid these for beginners. The tight, interlocking geometric links make it nearly impossible to get solder to flow into the seam without flooding the adjacent links and freezing the chain's articulation.
Cleaning and Annealing
Body oils, lotions, and environmental tarnish will interfere with solder flow. Ultrasonically clean the chain or boil it in a mild dish soap solution. If you are working with sterling silver or gold that has been previously worn and bent, the metal has likely become work-hardened. Bending work-hardened metal around a tight ring radius will cause it to snap. You must anneal the chain first. Heat the sterling silver with your torch until it glows a dull cherry red in dim lighting (approximately 1100°F), then quench it in water. This realigns the crystalline structure of the metal, returning it to a "dead-soft" state that is pliable enough for shaping.
Step 2: Sizing and Shaping on a Ring Mandrel
The most common failure point in DIY jewelry making is incorrect sizing. A necklace chain has a specific thickness, which alters the mathematical formula used to determine the cut length.
The Circumference Calculation
A standard US Size 7 ring has an inner diameter of 17.3mm, which translates to an inner circumference of roughly 54.4mm. However, because the chain itself has thickness (let's assume a 2.5mm thick Figaro chain), the outer circumference must be larger to accommodate the metal's volume. Use this formula to find your exact cut length:
Cut Length = (Inner Diameter + Chain Thickness) × π (3.14)
Example for Size 7 with 2.5mm chain: (17.3 + 2.5) × 3.14 = 62.1mm.
Cut your chain to 62.1mm using flush cutters, ensuring the cut is made exactly through the center of a link so that both ends mirror each other perfectly.
Shaping the Band
Wrap the cut chain around the steel ring mandrel at your desired size mark. Using your rawhide mallet, gently tap the chain into a perfect circle. The rawhide transfers kinetic energy without denting or scratching the precious metal. If the chain resists bending and begins to kink, stop immediately; the metal has work-hardened again and requires a second annealing cycle.
Step 3: Securing the Ring Band
Once shaped, the two ends of the chain must be permanently joined. You have two primary methods: soldering (heat-based) or wire-wrapping (mechanical).
Method A: Soldering the Seam (Professional Standard)
Soldering creates a seamless, structural bond. According to fabrication guidelines featured in Interweave Jewelry Making, using the correct solder grade is critical. Always use Hard or Medium solder for the initial chain seam. If you use Easy solder and later need to resize the ring or polish it heavily, the low-temperature seam will melt and fail.
- Apply a thin layer of self-pickling flux to the meeting links.
- Place a microscopic pall (chip) of hard silver solder directly over the seam.
- Heat the entire ring band evenly with a sweeping flame. Do not focus the flame directly on the solder; heat the surrounding metal until it reaches the solder's flow temperature, which will cause the solder to wick into the joint via capillary action.
- Quench in water, then drop into a warm pickle bath for 10 minutes to dissolve the flux and copper oxides.
Method B: The Wire-Wrap Cold Connection (No-Torch Alternative)
If you lack a torch or are working with a base metal that cannot be easily soldered, use a mechanical wrap. Cut a 4-inch piece of 20-gauge dead-soft sterling silver or gold-filled wire. Align the two end-links of the chain tightly together. Wrap the 20g wire tightly around the joint 5 to 6 times, pulling each wrap taut with chain-nose pliers. Snip the excess wire and use a burnishing tool to tuck the sharp ends flush against the chain so they do not snag on clothing.
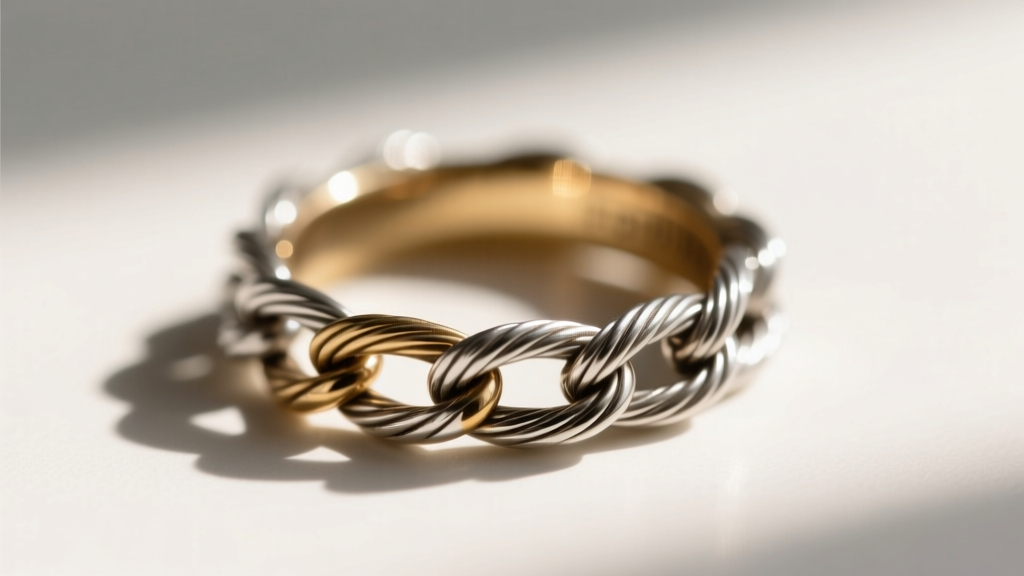
Finishing and Polishing Your New Ring
A freshly soldered and pickled ring will have a matte, frosted appearance. To achieve a jewelry-store finish, you must progress through abrasive compounds.
- Deburring: Use a fine-grit sanding stick (400 then 600 grit) to level the soldered joint so it is perfectly flush with the surrounding chain links.
- Magnetic Tumbling: Place the ring in a rotary tumbler with stainless steel shot, a drop of dish soap, and water. Tumble for 45 minutes. This process burnishes the metal, compressing the surface molecules to create a high shine and slightly work-hardening the ring for durability.
- Final Polish: For mirror finishes, use a rouge cloth or a flex-shaft with a felt wheel charged with Zam or Rouge polishing compound. Be careful not to catch the felt wheel in the chain links, as this can tear the links apart.
Troubleshooting Common Chain-to-Ring Failures
Even experienced bench jewelers encounter issues when manipulating chain. Here is how to troubleshoot the most common problems:
Solder Flooding
The Problem: The solder flows into the adjacent chain links, freezing them together and ruining the flexibility of the band near the seam.
The Fix: You used too much flux or too much heat. Next time, use a finer solder chip and apply an anti-flux agent (like titanium dioxide) to the links immediately adjacent to the seam to prevent solder adhesion.
Brittle Cracking During Shaping
The Problem: The outer edge of the chain links cracks or splits when wrapped around the mandrel.
The Fix: The metal was heavily work-hardened from years of wear as a necklace. You must fully anneal the chain before shaping. Additionally, ensure you are not forcing a thick chain (over 3mm) into a very small ring size (under US 5), as the bend radius exceeds the metal's physical limits.
Clasp Interference
The Problem: The original necklace clasp (like a lobster claw or spring ring) is too bulky and creates an uncomfortable bump on the finger.
The Fix: Always remove the original clasp and jump rings before measuring and cutting your chain. Incorporate the clasp into a different project, or melt it down for casting grain. A ring band should be a continuous, uniform texture for maximum comfort.


