Turning a Ring Into a Necklace: Beginner's DIY Guide
Learn the safest methods for turning a ring into a necklace. This beginner guide covers bail types, chain gauges, and metal-matching tips.

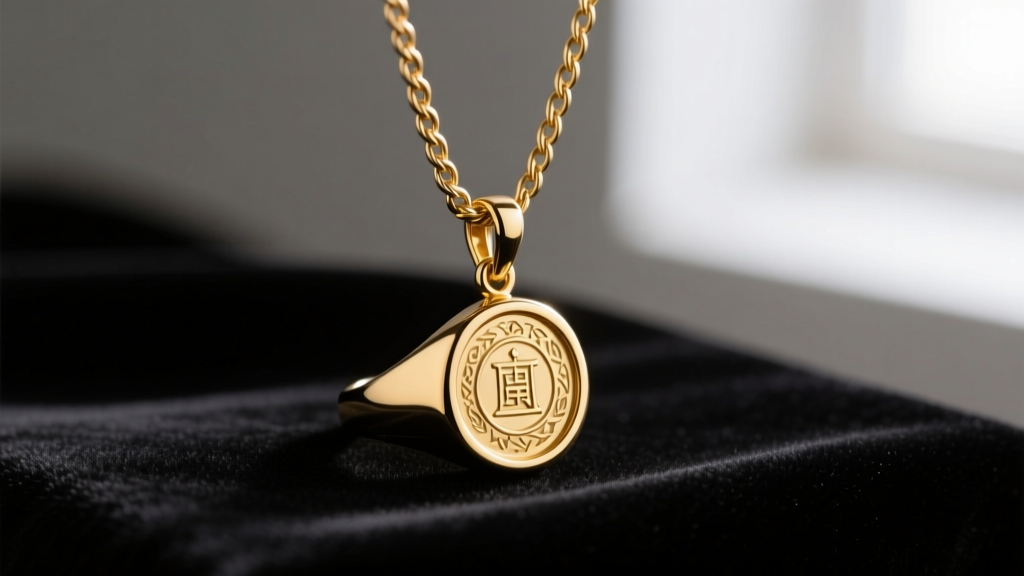
Why Convert a Ring Into a Pendant?
Fingers change size, styles evolve, and sometimes a cherished ring no longer fits or aligns with your daily wardrobe. Turning a ring into a necklace is one of the most popular upcycling projects in jewelry. Whether you are repurposing an inherited wedding band, a vintage signet ring, or a gemstone cocktail ring that feels too heavy for your hand, converting it into a pendant breathes new life into the piece. However, the line between a beautiful, secure conversion and a damaged heirloom is defined by the hardware and techniques you use.
The Golden Rule: Never Drill or Solder (Unless You Are a Pro)
The biggest mistake beginners make when turning a ring into a necklace is attempting to permanently alter the shank. Drilling a hole through the band compromises its structural integrity and instantly destroys its resale and appraisal value. Similarly, attempting to solder a jump ring or bail directly onto the band requires a torch. According to the Gemological Institute of America (GIA), exposing many gemstones—especially emeralds, opals, and tanzanite—to the high heat required for soldering will cause catastrophic thermal shock, shattering the stone or boiling the oils inside it. Always opt for non-destructive, mechanical findings.
Choosing the Right Bail for Your Ring
The bail is the crucial finding that connects your ring to the chain. Selecting the correct bail depends entirely on the ring's profile, weight, and stone setting. Here is a breakdown of the best beginner-friendly bails available from jewelry suppliers like Rio Grande.
1. Pinch Bails (Best for Gemstone & Bezel Rings)
Pinch bails feature small prongs that snap into the groove of a bezel setting or grip the edges of a flat ring. They are ideal for cocktail rings or vintage pieces where the band is too thick for other clips. Use nylon-jaw pliers to gently squeeze the prongs shut, preventing metal marring.
2. Clip-On or Alligator Bails (Best for Heavy Bands)
These bails feature a spring-loaded mechanism or a tight hinged clip lined with micro-teeth. They are the undisputed champions for heavy signet rings or thick wedding bands. Ensure the clip's inner width matches the exact millimeter width of your ring's shank for a friction-tight fit.
3. Glue-On Pad Bails (Best for Flat, Stone-Free Bands)
If you are converting a simple, flat wedding band, a glue-on pad bail is a sleek option. You will need a jewelry-grade adhesive like G-S Hypo Cement or a two-part epoxy. Avoid superglue (cyanoacrylate), which becomes brittle and degrades when exposed to skin oils and UV light.
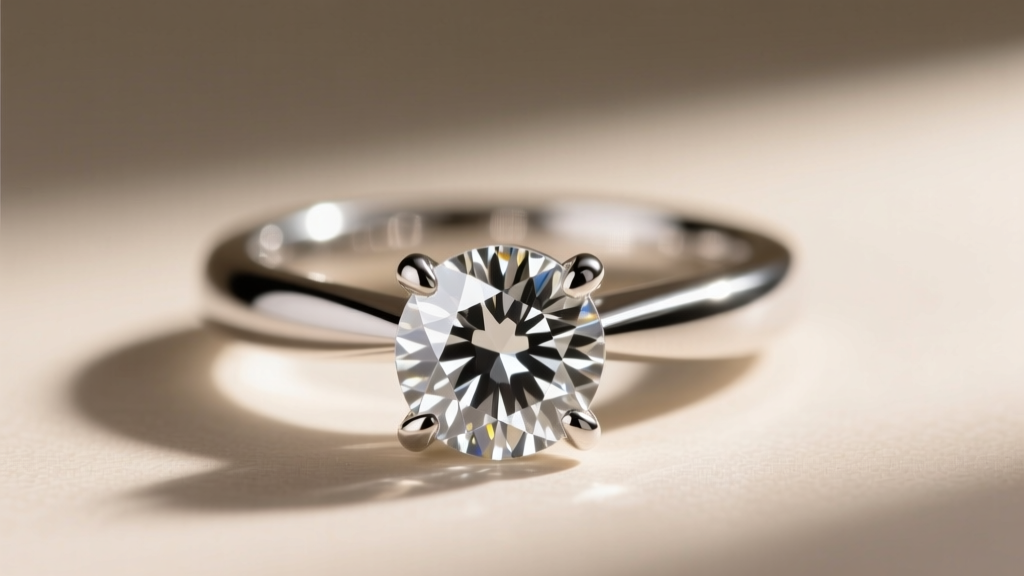
Bail Selection Comparison Chart
| Bail Type | Best Ring Style | Security Level | Required Tools |
|---|---|---|---|
| Pinch Bail | Bezel-set gems, flat vintage rings | High (Mechanical) | Nylon-jaw pliers, caliper |
| Clip/Alligator Bail | Heavy signets, thick plain bands | Very High (Friction/Spring) | Fingers or flat-nose pliers |
| Glue-On Pad Bail | Flat, stone-free wedding bands | Medium (Chemical) | G-S Hypo Cement, rubbing alcohol |
| Wire-Wrapping | Irregular shapes, raw stones | Variable | 20-gauge dead-soft wire, mandrel |
Selecting the Perfect Chain: Gauge, Length, and Metallurgy
When turning a ring into a necklace, the chain must support the pendant's weight without stretching or snapping. A standard 18-inch chain is the most versatile length for pendants, resting comfortably on the collarbone.
Matching Metal Hardness and Color
Never mix metal types that have vastly different hardness levels or galvanic properties. For example, pairing a soft 24k gold ring with a harsh stainless steel chain will result in the steel slowly wearing away the gold due to friction and galvanic corrosion. Match your chain metal to your ring metal: use 14k gold chains for 14k rings, and .925 sterling silver chains for silver rings.
Chain Gauge vs. Ring Weight
Wire gauge dictates chain strength. Remember that in wire gauge, a lower number means a thicker, stronger wire.
- Lightweight Rings (Under 5 grams): A 1.0mm to 1.5mm chain (approx. 18 to 20 gauge) is sufficient. Cable or box chains work beautifully here.
- Medium Rings (5 to 12 grams): Opt for a 2.0mm to 2.5mm chain (approx. 16 gauge). Curb or rope chains offer excellent tensile strength.
- Heavy Signets & Statement Rings (Over 12 grams): You need a minimum 3.0mm to 4.0mm chain (approx. 14 to 12 gauge). A thick Cuban link or heavy rope chain is mandatory to prevent the chain from snapping at the clasp.
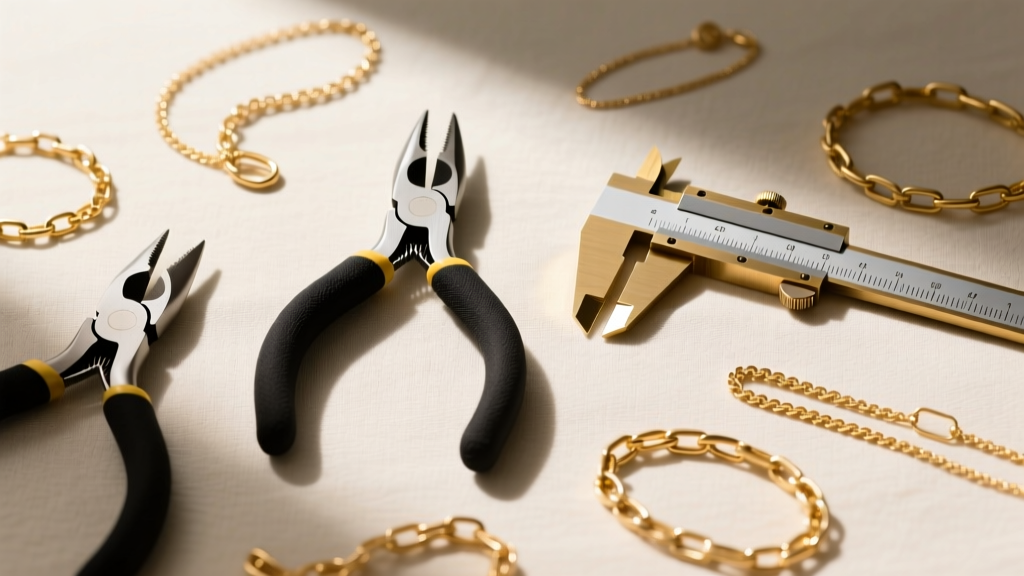
Step-by-Step: Turning a Ring Into a Necklace at Home
Pro Tip: Always work over a soft microfiber mat or a shallow tray lined with a towel. If a tiny prong or jump ring slips from your pliers, it will bounce safely onto the soft surface rather than vanishing into the carpet.
- Measure the Band: Use a digital caliper to measure the exact width and thickness of the ring's shank. This dictates the inner dimensions of the bail you purchase.
- Clean the Contact Area: Wipe the section of the ring where the bail will attach with isopropyl alcohol to remove skin oils, lotions, and dust.
- Attach the Bail: Snap on your clip bail, or gently squeeze the prongs of your pinch bail using nylon-jaw pliers. Ensure the bail sits perfectly centered and perpendicular to the ring face.
- Secure the Jump Ring: If your bail requires a jump ring to connect to the chain, use a split ring (which looks like a tiny keychain ring) or a heavy-gauge (16g) soldered jump ring. Standard open jump rings will pull apart under the pendulum weight of a ring.
- Thread and Test: Slide your chosen chain through the bail. Hold the necklace by the clasp and gently swing it to test the security of the bail and the drape of the chain.
Common Mistakes to Avoid
Even with the right tools, beginners often stumble on a few specific hardware failures:
- Using Weak Jump Rings: A standard 20-gauge open jump ring has a tensile failure point of just a few pounds. A heavy ring swinging as you walk generates dynamic force that will pull a thin jump ring open, dropping your heirloom. Always use split rings or heavy-gauge closed rings.
- Ignoring the Ring's Center of Gravity: Some rings, especially those with asymmetrical stone settings or heavy shoulders, will flip upside down when hung from a single top bail. If your ring refuses to hang straight, you may need a specialized "Y-bail" or a custom wire-wrap harness to distribute the weight evenly.
- Over-Tightening Prongs: When using a pinch bail on a ring with a gemstone, squeezing the prongs too hard can transfer pressure to the stone's girdle, causing it to chip or crack. Apply only enough pressure to prevent the bail from sliding.
When to Take It to a Professional Jeweler
While turning a ring into a necklace is highly achievable at home, certain scenarios demand a professional's touch. If your ring is crafted from platinum, its high melting point and density require specialized laser welding for any permanent additions. Furthermore, if the ring features micro-pavé diamonds wrapping around the shank, mechanical clip bails might crush the tiny stones or obscure the design. In these cases, a master jeweler can design a custom soldered basket or a hidden halo bail that preserves the ring's integrity while ensuring it hangs flawlessly as a pendant.


