Expert Guide: How to Untangle Necklace Chain Knots Safely
Learn how to untangle necklace chain knots safely using household items. Expert tips for delicate gold, silver, and beaded chains without breaking.

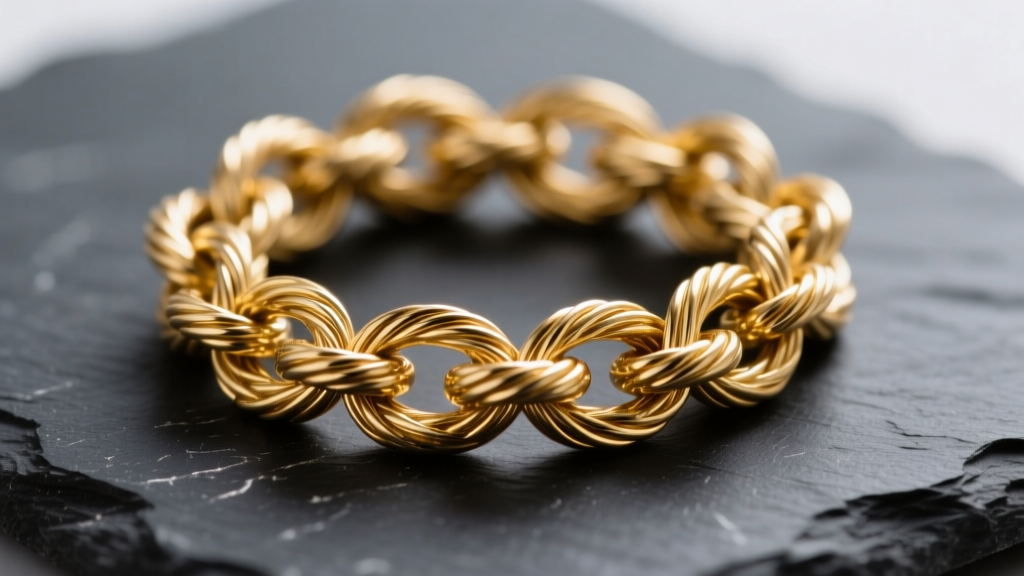
The Physics of Chain Tangles: Why Delicate Gauges Knot
There are few things more frustrating in jewelry care than reaching for your favorite accessory and pulling out a metallic bird's nest. If you are wondering how to untangle necklace chain knots without causing permanent damage, you must first understand why they happen. Tangles are primarily a function of chain architecture and gauge thickness. Delicate chains ranging from 0.5mm to 1.2mm in thickness—particularly cable, box, and curb styles—have a high link-to-length ratio. This means the individual loops are large enough relative to the wire thickness to fold back on themselves and slip through adjacent links when subjected to the friction of a jewelry box or pocket.
Conversely, snake chains and herringbone styles rarely tangle in the traditional sense; instead, they kink. When bent past their structural tolerance, the tightly interlocked metal plates collapse, creating a rigid, creased weak point. Understanding your chain's specific architecture is the first step in applying the correct untangling methodology. Pulling blindly on a 0.8mm 18k gold cable chain can subject the microscopic solder points to tensile stress that exceeds their yield strength, resulting in a snapped chain and an expensive trip to the jeweler's bench.
The Untangler’s Toolkit: Household Items That Actually Work
You do not need an expensive, specialized jewelry repair kit to fix a tangled chain. In fact, professional jewelers often rely on simple, low-cost household items that manipulate the friction coefficient between metal links. Before you begin, gather the following tools:
- Sewing Needles: Opt for size 9 or 10 'Sharps' or 'Betweens' (quilting needles). These are thin enough to slide into micro-knots but rigid enough to push metal links apart without bending.
- Magnification: A 10x jeweler's loupe or a well-lit magnifying desk lamp is crucial for identifying the core of the knot.
- Friction Reducers: Talc-free baby powder (cornstarch-based), mineral oil, or extra-virgin olive oil.
- Work Surface: A flat, hard, non-porous surface like a glass table or white ceramic plate. Avoid fabric or paper towels, as microscopic fibers can snag on open chain links or prongs.
Material Compatibility: Powders vs. Oils
Choosing the right lubricant depends entirely on the metal and any gemstones present. According to the Gemological Institute of America (GIA), porous gemstones require vastly different care than solid metals. Using the wrong agent can ruin a stone's finish or strip specialized platings.
| Chain Material / Gemstone | Recommended Agent | Why It Works / Warnings |
|---|---|---|
| Solid Gold, Platinum, Stainless Steel | Mineral Oil or Olive Oil | Provides deep lubrication for severe knots. Requires post-cleaning with mild dish soap. |
| Sterling Silver (No Stones) | Talc-Free Baby Powder | Dry lubrication prevents moisture-induced tarnishing. Easily brushed away post-untangling. |
| Pearls, Turquoise, Opal, Coral | Talc-Free Baby Powder ONLY | Oils will permanently stain and degrade the porous surface of organic and soft gemstones. |
| White Gold (Rhodium Plated) | Baby Powder or Mild Soapy Water | Avoid harsh chemical solvents or aggressive rubbing that can wear away the rhodium flash. |
Step-by-Step: How to Untangle Necklace Chain Knots
Patience is your most valuable tool. Follow this precise methodology to safely dismantle even the most stubborn multi-layered tangles.
Step 1: Unclasp and Remove Pendants
Never attempt to untangle a closed loop. Unclasp the chain completely. If your necklace features a heavy pendant or a complex clasp mechanism (like a lobster claw or fishhook), carefully remove it if possible. This reduces the overall weight and bulk, giving the chain links more room to shift.
Step 2: Apply the Friction Reducer
Lay the chain flat on your ceramic or glass workspace. If using baby powder, sprinkle a generous amount directly over the center of the knot. Gently tap the surface so the powder settles into the microscopic gaps between the links. If using oil, apply a single drop using the tip of a toothpick directly to the knot's core. Allow the oil to penetrate for 60 seconds.
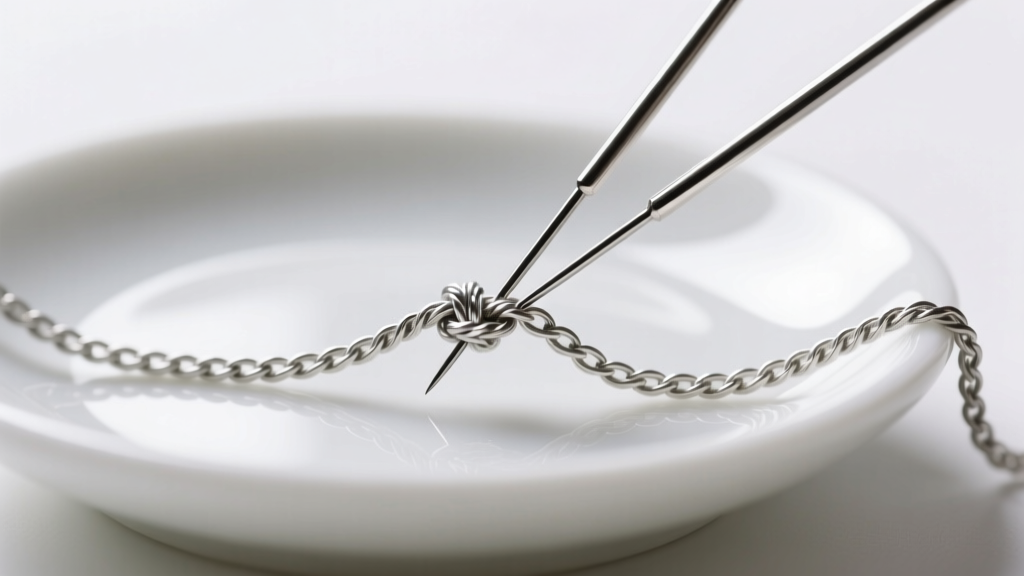
Step 3: The Pin-and-Pull Core Expansion
This is where most people fail. Do not pull on the outer edges of the knot; this only tightens the core. Instead, take your two size 9 needles and insert them directly into the center of the knot. Gently push the needles outward, away from each other, to expand the core. You are not trying to pull the chain out; you are trying to create slack in the center loop. Once the center loosens, use the needles to gently tease the outer links through the newly created gaps.
Step 4: The Shake-and-Loosen Technique
Once the primary knot is loosened but still snarled, pick up the chain by one end and let it dangle. Give it a very gentle, rapid shake. Gravity and the reduced friction from your powder or oil will often cause the remaining loose loops to fall through and untangle themselves.
Post-Untangling Care: Removing Residue and Restoring Shine
Once the chain is fully untangled, you must remove the lubricant to prevent dirt accumulation. The Jewelers of America recommends a gentle cleaning approach for delicate chains. Mix a few drops of mild, phosphate-free dish soap (like Dawn) into a bowl of lukewarm water. Submerge the chain for five minutes, then gently agitate it with a soft-bristled baby toothbrush. Rinse thoroughly under distilled water to prevent hard water spots, and pat dry with a lint-free microfiber cloth. Never use ultrasonic cleaners on hollow chains, opals, or emeralds, as the high-frequency vibrations can shatter inclusions or collapse hollow tubing.
What NOT to Do: Common Mistakes That Ruin Chains
- Using Your Teeth or Fingernails: Fingernails lack the precision to target micro-links and often result in blunt-force pulling that stretches gold and silver links into ovals.
- Applying WD-40 or Harsh Solvents: Industrial lubricants contain petroleum distillates that can degrade the alloys in lower-karat gold and permanently cloud the finish of polished gemstones.
- Forcing a Kinked Snake Chain: If a snake chain has kinked, do not try to 'untangle' it. Lay it flat on a hard surface and gently roll a smooth, heavy glass bottle over the kinked area to coax the metal plates back into alignment. If the metal has fatigued, it must be soldered by a professional.
Proactive Storage Solutions to Prevent Future Knots
The best way to handle tangles is to prevent them entirely. Chain necklaces tangle due to kinetic movement in a shared space. When traveling or storing your jewelry, utilize the 'Straw Method': thread one end of the chain through a plastic or silicone drinking straw and clasp it. This keeps the chain rigid and physically prevents it from looping back on itself.
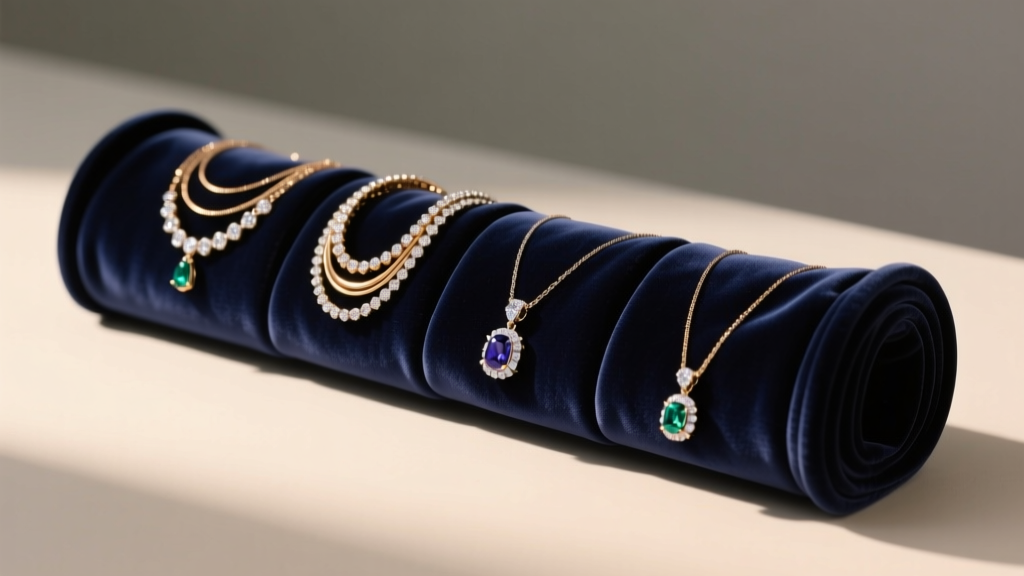
For long-term storage, invest in a jewelry box with individual, padded compartments or a roll-up travel case with snap-down tabs that secure the clasp. By isolating each chain and keeping it taut, you eliminate the kinetic friction required to form a knot, ensuring your necklaces remain pristine and ready to wear at a moment's notice.


