How to Get a Knot Out of a Necklace Chain Without Breaking It
Learn how to get a knot out of a necklace chain safely. Expert troubleshooting for delicate gold, silver, and platinum chains using household lubricants.

The Physics of Chain Tangles: Why Delicate Links Snag
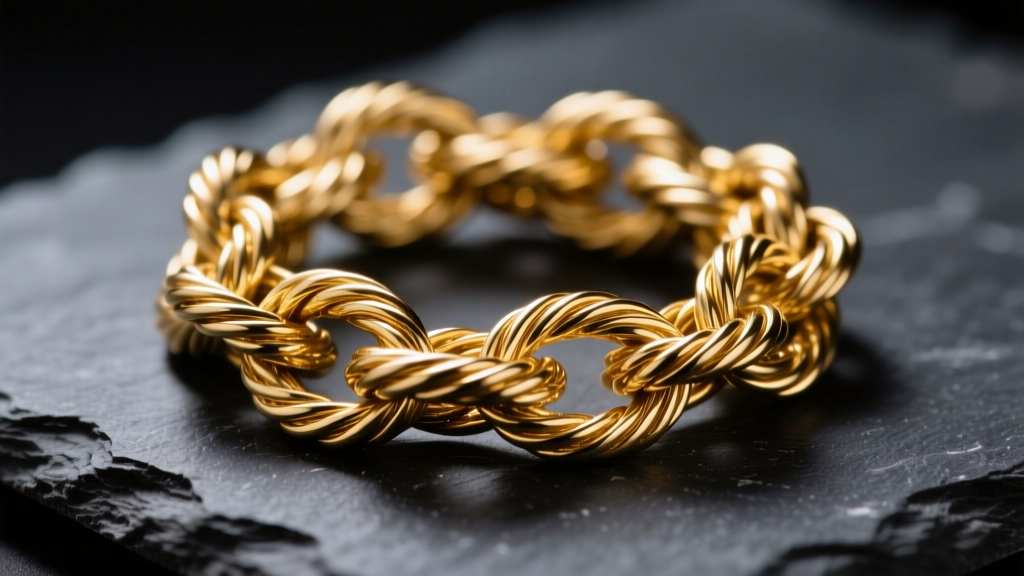
There are few things more frustrating in jewelry care than pulling a favorite piece from your box, only to find it fused into a microscopic bird's nest. Understanding how to get a knot out of a necklace chain begins with understanding why it happened in the first place. Delicate chains—typically ranging from 0.8mm to 1.2mm in gauge—possess a high surface-area-to-volume ratio. When subjected to kinetic movement (like tossing a necklace into a drawer), the individual jump rings or woven links act as tiny hooks.
According to the Gemological Institute of America (GIA), the structural integrity of fine chains is highly dependent on their solder points. When a knot forms, the natural instinct is to pull. This introduces severe tensile stress, leading to metal fatigue and ultimately snapping the chain at its weakest soldered joint. To safely resolve this, we must eliminate friction and mechanically separate the links without applying lateral tension.
Essential Tools and Lubricants for Untangling
Before attempting to untangle any precious metal, you must gather the correct tools. Using your fingernails or standard household tweezers often results in scratched gold or crushed silver links.
The Toolkit
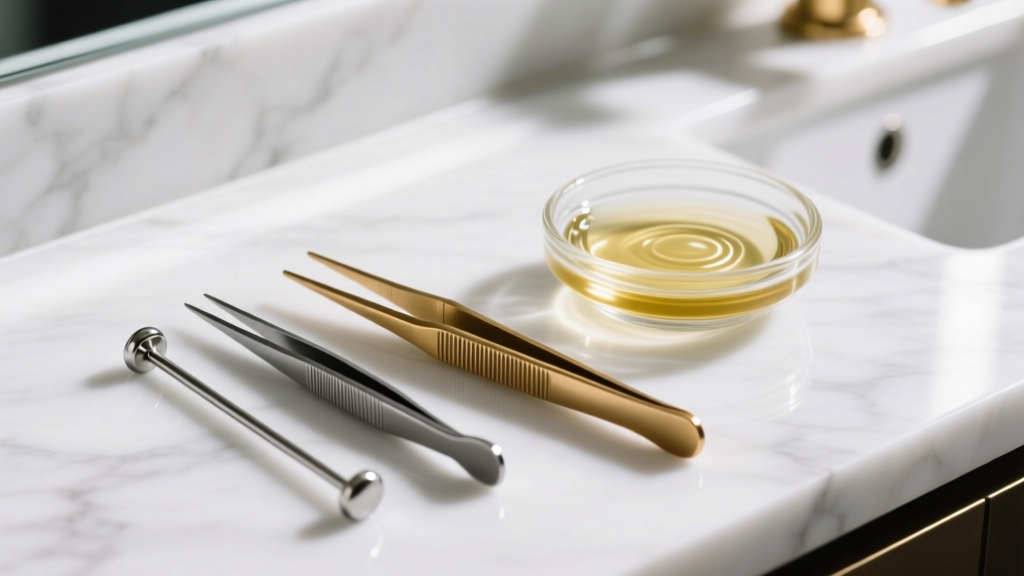
- Stainless Steel T-Pins (Size 17 or 20): The ultra-fine, sharp points can slip between links measuring less than a millimeter without widening the gaps.
- Brass or Titanium-Tipped Tweezers: Standard steel tweezers are harder than 14k gold and sterling silver, meaning they will easily gouge the metal. Brass-tipped tweezers provide grip without scratching.
- A Flat, High-Contrast Surface: A piece of dark slate for gold, or a white microfiber cloth for silver and platinum, provides the visual contrast needed to see overlapping links.
Choosing the Right Lubricant
Lubrication is non-negotiable. However, not all oils are safe for jewelry. Organic oils (like olive or coconut oil) can turn rancid over time, leaving a sticky residue that attracts dust and degrades porous gemstones. Furthermore, aerosol penetrants like WD-40 contain harsh solvents that can strip rhodium plating from white gold and ruin the luster of pearls.
| Lubricant | Viscosity | Best For | Warnings |
|---|---|---|---|
| Baby Oil (Mineral) | Low | Gold, Silver, Platinum chains without gems | Avoid on porous stones (turquoise, pearls) |
| Powdered Graphite | N/A (Dry) | Chains with delicate gemstone pendants attached | Messy; requires thorough post-cleaning |
| Talcum / Baby Powder | N/A (Dry) | Sterling silver chains prone to tarnish | Can clump if exposed to humidity |
| Dish Soap (Diluted) | Medium | Platinum and diamond-set chains | Requires rinsing; less slip than oil |
Step-by-Step: How to Get a Knot Out of a Necklace Chain
Patience is your primary tool. Follow this systematic approach to loosen the tension and free the links.
Phase 1: Preparation and Isolation
First, unclasp the necklace. Attempting to untangle a looped chain restricts your movement and increases the chance of accidental pulling. Lay the chain flat on your contrasting surface. Gently isolate the knot by sliding the loose ends away from the center mass, ensuring you are only working on the tangled node.
Phase 2: Lubrication and Massage
Apply a single drop of baby oil or a light dusting of talcum powder directly to the center of the knot. Using the pads of your index finger and thumb, gently massage the knot. Do not pull. Instead, use a rolling motion to encourage the oil to penetrate the microscopic gaps between the links. You are trying to relax the metal's tension, not force it apart.
Phase 3: The Pin-and-Pry Technique
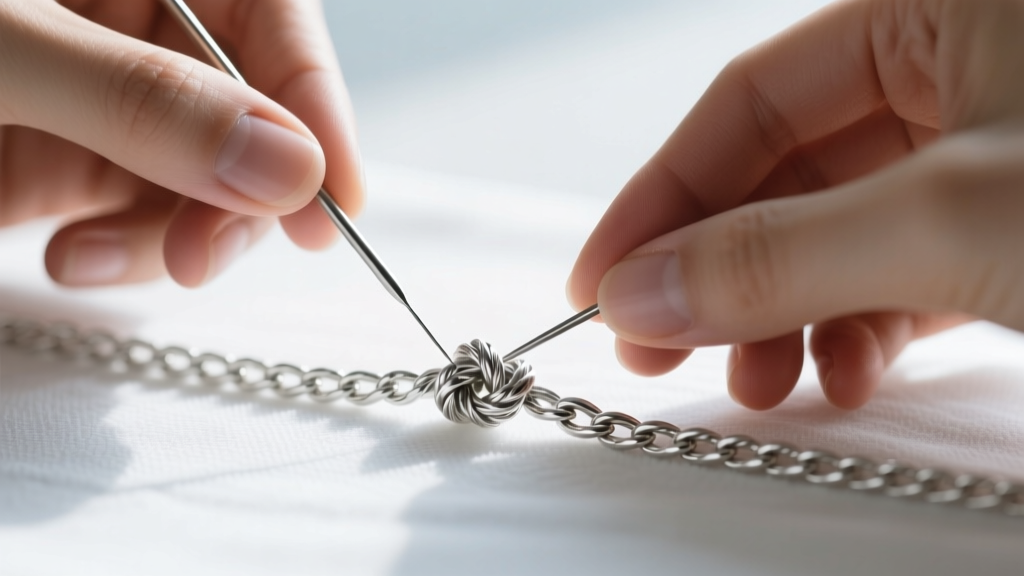
Once lubricated, take your Size 17 T-pin or a fine sewing needle. Identify the absolute center link of the knot—the one that seems to be bearing the most tension. Insert the point of the pin into the center of this link and gently push upward.
Expert Tip: Never use two pins to pull links in opposite directions. This mimics the exact tensile force that breaks chains. Instead, use one pin to push a link up and out of the pile, creating slack, then use your brass tweezers to gently pull the newly freed end through the gap.
Work from the outside of the knot inward. As outer loops loosen, the central core will naturally expand, making the final separation effortless.
Troubleshooting Specific Chain Weaves
Different chain manufacturing techniques dictate how they tangle and how they must be handled. The Jewelers of America notes that weave complexity directly correlates to snagging risk.
- Box Chains: These geometric, square links tend to lock into one another at rigid 90-degree angles. If forced, the links will bend and lose their symmetrical shape, catching light poorly. Use the pin to lift the top link straight up, rather than sliding it sideways.
- Herringbone Chains: Herringbone is notorious for kinking rather than knotting. If your herringbone appears knotted, it is likely severely kinked. Lay it flat, apply oil, and use the smooth side of a metal spoon to gently burnish (rub) the kink flat against the table. Never pull a herringbone knot, as the flat links will permanently crease.
- Snake Chains: The tightly interlocking bands of a snake chain act like scales. If they catch, they can unravel. Always work a snake chain knot backward, against the 'grain' of the metal scales, to prevent peeling the links apart.
- Rope Chains: The twisted, helical nature of rope chains means they often wrap around themselves multiple times. Find the 'tail' of the twist and simply unspool it rather than prying individual links.
Post-Knot Chain Care and Restoration
Once the chain is free, it requires immediate cleaning to remove the lubricant. Mineral oil left on a chain will attract skin cells and environmental dust, creating a grey sludge that dulls the metal.
Prepare a bowl of warm water with a few drops of mild, ammonia-free dish soap. Let the chain soak for 10 minutes. Use an extra-soft baby toothbrush to gently sweep the links, paying special attention to the interior of the jump rings. Rinse thoroughly under lukewarm water, pat dry with a lint-free cloth, and allow it to air dry completely before storage.
Preventing Future Tangles: Storage and Wear Rules
Now that you know how to get a knot out of a necklace chain, the best troubleshooting method is prevention. Tangles occur due to kinetic energy and static electricity.
- The Clasp Rule: Never store a necklace unclasped. Fastening the clasp creates a closed loop, which physically prevents the chain from wrapping around itself or other items.
- The Straw Trick: For ultra-fine chains (under 1mm), thread one end of the chain through a plastic drinking straw before clasping it. The rigid straw prevents the chain from bending tightly enough to form a knot during travel.
- Anti-Tarnish Pouches: Store individual chains in small, zip-lock anti-tarnish polyethylene bags. Squeeze the air out before sealing. This limits movement and prevents the oxidation that increases surface friction.
- Hang Them: If you have the space, invest in a jewelry armoire with individual hooks. Gravity keeps the chains pulled taut and separated.
By combining the right lubricants, precision tools, and a methodical approach, you can rescue even the most severely tangled fine jewelry without causing structural damage to the metal.