How to Use a Necklace Detangler on Delicate Chains
Learn how to use a necklace detangler on delicate chains. Follow our step-by-step guide to safely remove knots without breaking fine gold or silver.

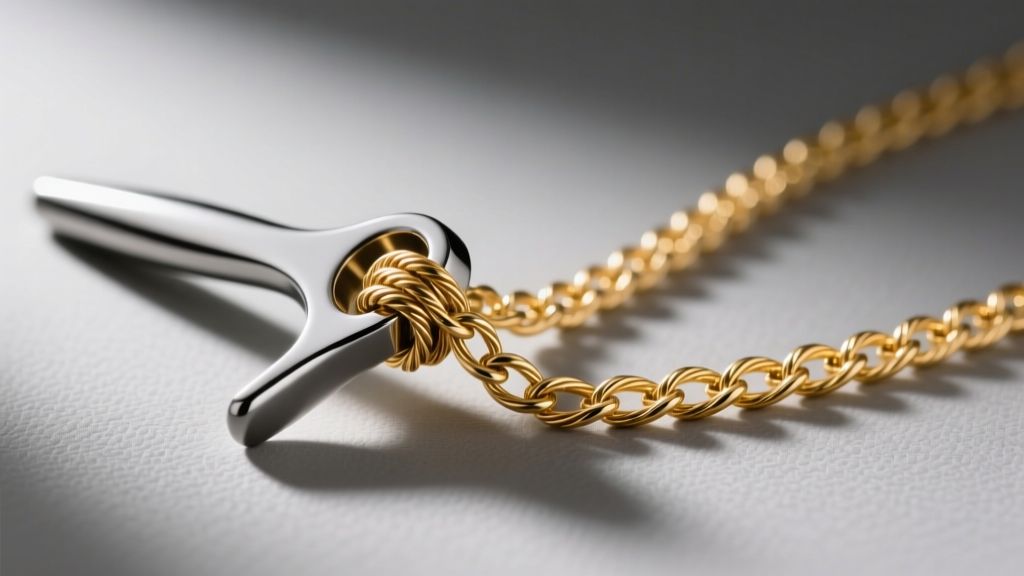
There are few things more frustrating in jewelry care than pulling a delicate 0.5mm box chain from your travel pouch, only to find it transformed into a microscopic bird's nest. When dealing with fine jewelry, brute force is the enemy. Yanking on a knot can permanently stretch the links, weaken the solder points, or snap the chain entirely. This is where a dedicated necklace detangler becomes an essential tool in your 2026 jewelry maintenance kit.
In this comprehensive guide, we will break down the physics of chain tangling, compare commercial detangling devices with precision manual methods, and provide a step-by-step framework for rescuing your most fragile pendants and chains without causing structural damage.
The Physics of Chain Tangling: Why Delicate Chains Knot
Before applying a necklace detangler, it helps to understand why chains tangle. The culprit is usually a combination of friction, electrostatic charge, and the 'whip effect.' When a necklace is stored loosely, the clasp (especially bulky spring ring clasps) acts as a pendulum weight. As the chain shifts, the clasp whips through the open links, creating a slipknot.
Chains with high surface-area-to-volume ratios—such as herringbone, snake, and box chains under 1.2mm in thickness—are notoriously prone to this. The flat surfaces of a herringbone chain generate more friction against itself than a smooth, rounded rope chain, causing knots to cinch tighter when pulled. Furthermore, environmental factors like humidity can cause microscopic oxidation on sterling silver links, increasing surface roughness and making them grab onto adjacent links more aggressively.
Commercial Necklace Detangler vs. DIY Methods
The market offers several commercial solutions, but household items can be equally effective if used correctly. Below is a comparison of the most reliable methods for breaking down micro-knots.
| Method | Best For | Risk Level | Cost Estimate |
|---|---|---|---|
| Vibrating Necklace Detangler Mat | Multiple chain tangles, travel | Very Low | $25 - $45 |
| Manual Rolling Pin Detangler | Thicker knots on cable chains | Low | $15 - $20 |
| Talc-Free Powder & Sewing Needles | Severe, tight micro-knots | Medium | $5 (Household) |
| Mineral Oil Lubrication | Stubborn herringbone/snake chains | Medium-High (Requires cleaning) | $8 (Household) |
Step-by-Step: Using a Commercial Necklace Detangler
Modern vibrating necklace detangler tools have evolved significantly. Instead of relying on manual prying, these devices use high-frequency, low-amplitude vibrations to loosen the friction holding the knot together.
Step 1: Preparation and Placement
Lay the tangled portion of the chain flat in the center of the detangler's silicone mat. Ensure the clasp and any heavy pendants are hanging off the edge of the mat so they do not interfere with the vibration frequency.
Step 2: The Vibration Cycle
Turn the device on for 30-second intervals. The vibrations cause the metal links to micro-shift, breaking the static friction. After each cycle, gently massage the knot with your thumb and forefinger. Never pull the ends of the chain while the machine is running, as this can cinch the knot tighter.
Step 3: The Final Tease
Once the knot has expanded into a loose loop, use the included plastic stylus (or a wooden toothpick) to gently tease the center link out. Avoid metal tweezers, which can scratch soft 18k gold or sterling silver.
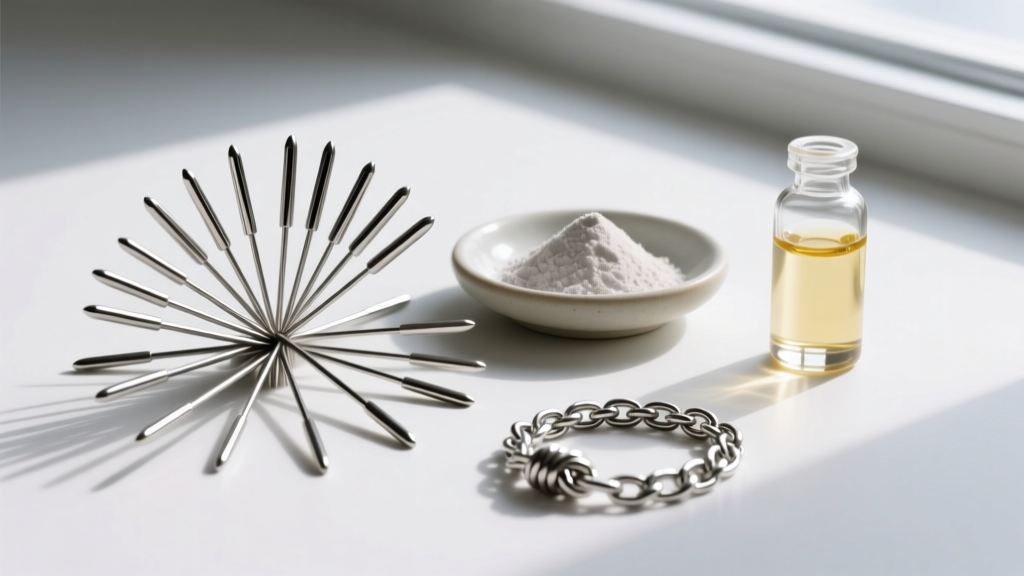
The Manual Method: Powder, Oil, and Precision Needles
If you do not have a commercial device, you can build a highly effective manual necklace detangler kit using household items. This method relies on reducing the coefficient of friction between the metal links.
- Apply a Dry Lubricant: Generously dust the knot with talc-free baby powder or cornstarch. Talc can sometimes leave a stubborn, waxy film on porous gemstones like pearls or turquoise, so cornstarch is the safer 2026 standard.
- Work the Powder In: Gently tap the knot against a hard surface to force the powder into the microscopic gaps between the links.
- Insert the Needles: Take two standard sewing needles (approximately 0.6mm to 0.8mm in thickness, equivalent to a 22-gauge wire). Insert the tips into the center of the knot from opposite sides.
- Wiggle, Don't Pry: Gently wiggle the needles back and forth to create space. Slowly push the needles apart to expand the knot's core.
- Tease the Links: Once a gap is visible, use one needle to hook the offending link and pull it through the loop.
Expert Tip: If the knot is entirely seized, apply a single drop of mineral oil to the center. Unlike olive oil or coconut oil, mineral oil will not oxidize, go rancid, or degrade the metal over time. After detangling, wash the chain in warm water with a few drops of Dawn dish soap to remove the oil residue.
Material-Specific Precautions
Not all chains react the same way to detangling friction or lubricants. According to jewelry care guidelines from Blue Nile, understanding your metal composition is critical before applying pressure or chemicals.
- Solid 14k or 18k Gold: Highly malleable. The primary risk during detangling is stretching the links out of their original geometric shape. Use the vibration method first.
- Sterling Silver (925): Prone to work-hardening. If you bend a silver link too many times while prying at a knot, it will become brittle and snap. Annealing (heating) is required to fix this, meaning you must be incredibly gentle.
- Gold Vermeil & Plated Chains: Aggressive rubbing with needles or coarse powders will strip the microscopic gold layer (often only 0.5 to 2.5 microns thick) right off the brass or silver base. Use only mineral oil and your fingertips for these pieces.
If your chain features a pendant with porous gemstones (like opals, emeralds, or pearls), avoid the mineral oil method entirely. Oil can seep into the stone's natural inclusions, causing permanent clouding or color shifts. Stick strictly to the dry cornstarch and needle method for these pieces.
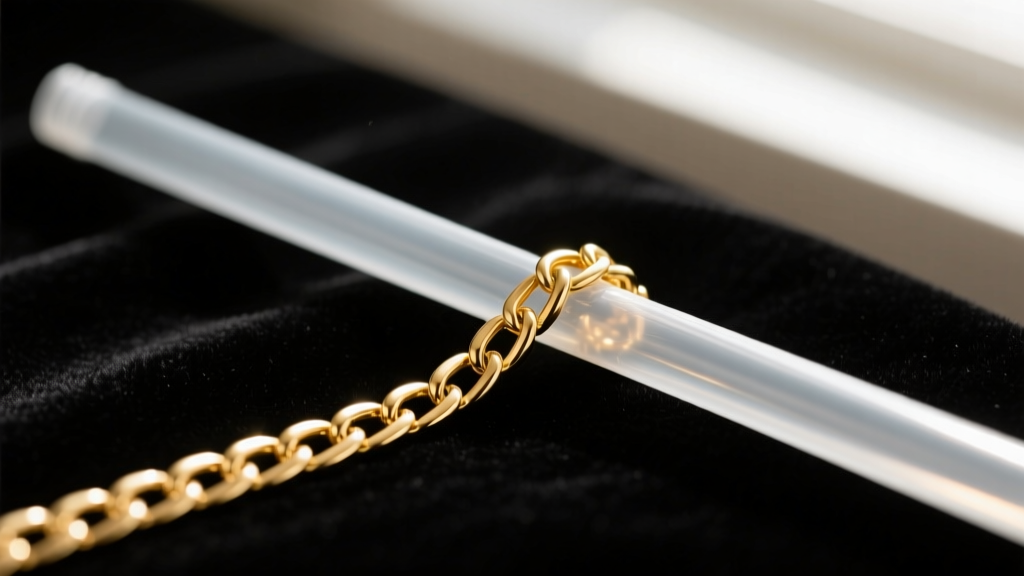
Prevention Protocols: Storage and Clasp Upgrades
The best way to use a necklace detangler is to never need one. Implementing proper storage and hardware upgrades will eliminate 95% of tangling issues.
The Straw Threading Technique
For chains under 1.5mm, unclasp the necklace and thread one end through a standard plastic drinking straw. Clasp it closed. The rigid straw prevents the chain from folding in on itself, making it physically impossible for a slipknot to form during travel.
Upgrade Your Clasps
As noted in the manufacturing standards highlighted by Tiffany & Co., the hardware dictates the longevity and behavior of the piece. Spring ring clasps are lightweight and prone to catching on open links. Upgrading to a lobster claw clasp or a magnetic neodymium clasp adds just enough weight and bulk to keep the clasp resting flat against the back of your neck, neutralizing the 'whip effect' that causes tangles in the first place.
Individual Pouch Storage
Never store multiple delicate chains in the same compartment. The static electricity generated by synthetic jewelry box linings will cause chains to cling to one another. Store each piece in an individual anti-tarnish polyethylene ziplock bag, pressing the air out before sealing to minimize movement.
Final Thoughts on Chain Maintenance
Patience is the ultimate necklace detangler. Whether you are utilizing a high-frequency vibrating mat or a pair of precision sewing needles, the goal is to reduce friction and gently coax the links apart. By understanding the mechanics of your specific chain weave and respecting the material limits of your gold or silver, you can keep your delicate pendants pristine and ready to wear for years to come.


