How to Know If a Necklace Is Real Silver: 5 Expert Tests
Learn how to know if a necklace is real silver with 5 expert tests. Discover hallmark secrets, magnet tricks, and acid testing for 925 sterling.

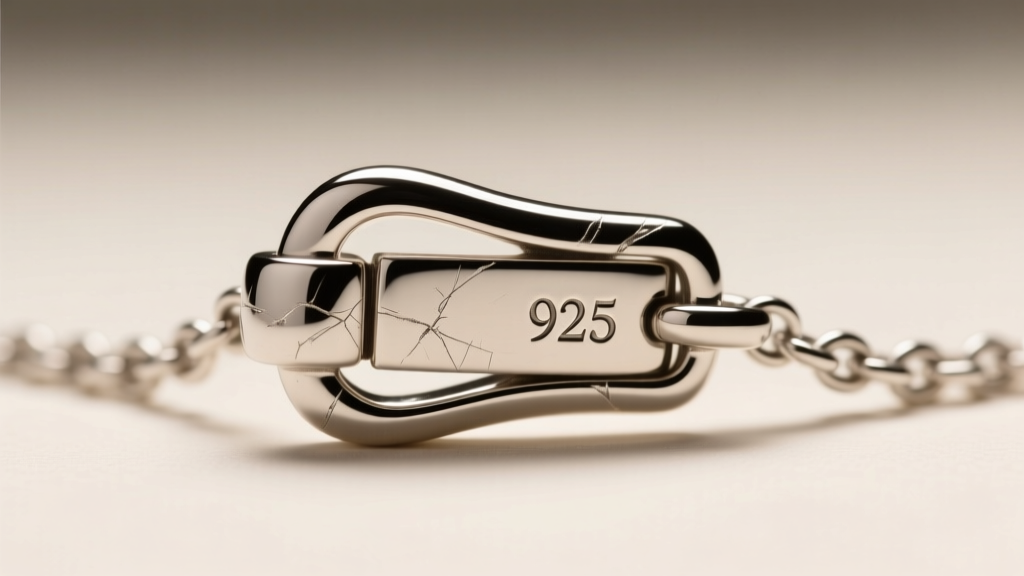
The secondary jewelry market is flooded with convincing silver-plated imitations, making it increasingly difficult for consumers to verify their purchases. Whether you inherited a vintage piece, bought a chain from an online marketplace, or are simply auditing your current collection, knowing how to know if a necklace is real silver is an essential skill. While sophisticated counterfeits can mimic the look of sterling, they cannot replicate the unique chemical and physical properties of genuine silver.
In this comprehensive guide, we move beyond basic visual inspections. We will walk you through five definitive, step-by-step tests used by bench jewelers and gemologists to separate authentic 925 sterling silver from base metals, silver-plated brass, and nickel alloys.
The Anatomy of Authentic Silver: 925 vs. 999 vs. Plated
Before testing, you must understand what you are looking for. Pure silver is incredibly soft and malleable, which makes it unsuitable for durable necklace chains that require tensile strength. To solve this, metallurgists created specific alloys:
- Sterling Silver (925): Composed of 92.5% pure silver and 7.5% copper or zinc. This is the global standard for high-quality silver necklaces, offering the perfect balance of luster and durability.
- Fine Silver (999): 99.9% pure silver. Rarely used for chains due to its softness, but occasionally found in solid cast pendants or bezel settings.
- Coin Silver (900): 90% silver, 10% copper. Common in antique American jewelry and vintage flatware repurposed into pendants.
- Silver-Plated (EPNS/SP): A thin microscopic layer of silver electroplated over a base metal core like brass, copper, or nickel. These will eventually wear off, revealing the dull base metal beneath.
The Federal Trade Commission (FTC) strictly regulates jewelry marking in the United States, requiring that any item sold as "silver" without a qualifier must meet the 925 standard. However, unregulated online marketplaces often bypass these rules, making at-home testing crucial.
Step 1: The Hallmark and Stamp Inspection
Your first step is a meticulous visual inspection using a 10x or 30x jeweler’s loupe. Authentic silver necklaces are almost always stamped with a quality mark.
Where to Look
Inspect the area directly adjacent to the clasp, the jump rings connecting the chain to the pendant, and the flat back of any solid charms. You are looking for stamps such as "925", "STER", "STERLING", or "999".
Pro-Tip: Beware of forged stamps. Counterfeiters often stamp "925" onto brass chains. If the stamp looks sloppy, deeply uneven, or is stamped over a visible seam, treat the piece with suspicion and proceed to the physical tests below.
Conversely, if you see stamps like "EPNS" (Electroplated Nickel Silver), "A1", or "IS" (International Silver), you are holding a silver-plated item, not solid silver.
Step 2: The Neodymium Magnet Test
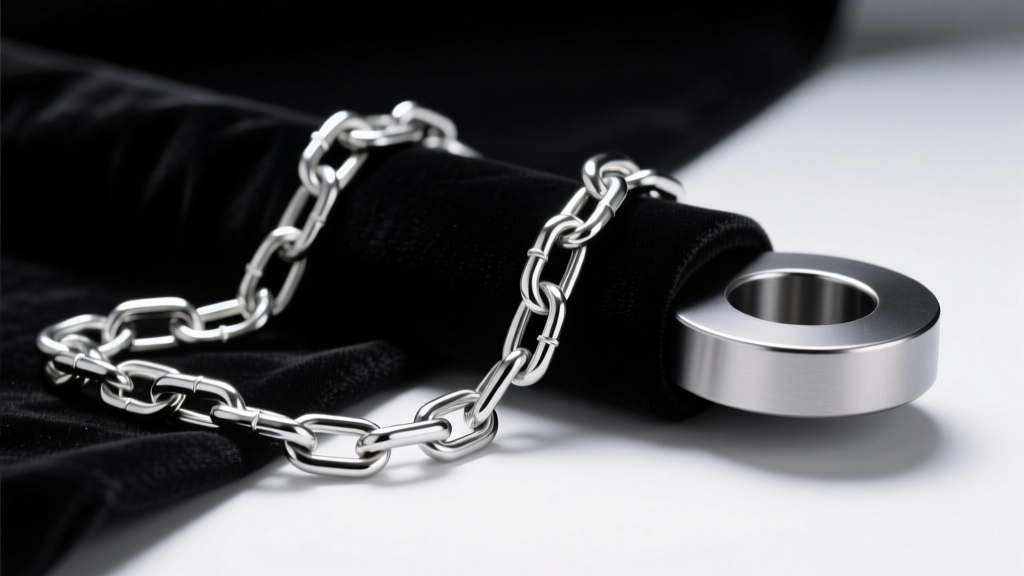
Silver is diamagnetic, meaning it exhibits a very weak, practically unnoticeable repulsion to magnetic fields. It will never stick to a magnet. To perform this test accurately, you need a strong rare-earth magnet, specifically an N52-grade neodymium magnet. Standard refrigerator magnets are too weak to yield reliable results.
Executing the Test
- Lay the necklace flat on a non-metallic surface.
- Bring the N52 magnet close to the middle of the chain links.
- Observe the reaction. If the chain snaps to the magnet or exhibits strong pull, it has a ferromagnetic core (like steel or iron) and is definitively not solid silver.
The Clasp Caveat: Do not test the clasp itself. Many genuine sterling silver necklaces use a tiny steel spring inside the "spring ring" or "lobster clasp" mechanism to provide tension. The clasp may stick to the magnet, but the chain links should not.
Step 3: The Ice Cube Thermal Conductivity Test
Silver possesses the highest thermal conductivity of any common metal, measuring at an impressive 429 W/(m·K). This means it transfers heat away from its surface almost instantaneously. This physical property provides a brilliant, non-destructive at-home test.
Take an ice cube straight from the freezer and place it directly on the silver pendant or a thick section of the chain. Genuine silver will cause the ice cube to begin melting immediately, far faster than it would on a room-temperature countertop or a piece of brass. The silver will also become ice-cold to the touch within seconds as it rapidly draws heat from your skin and the surrounding air to melt the ice. If the ice melts at a standard, sluggish rate, the metal is likely stainless steel or a copper alloy.
Step 4: The Smell and Friction Test
Pure silver and properly alloyed sterling silver are entirely odorless. Base metals, however, react with the oils and sweat on your skin to produce distinct metallic odors.
Pick up the necklace and rub it vigorously between your fingers for about 15 seconds to generate friction and heat. Then, smell your fingers and the metal. If you detect a sharp, brassy, or "penny-like" sulfur smell, the necklace is likely made of copper or brass with a thin silver plating. The friction wears through the microscopic top layer, exposing the odorous base metal beneath. Real silver will smell like absolutely nothing.
Step 5: Acid Testing (The Professional Standard)
When visual and physical tests leave room for doubt, bench jewelers turn to acid testing. This is a mildly destructive test, so it should be performed on a discreet area, such as the inside of a jump ring or the back of a pendant.
The Procedure
You will need a commercial silver testing acid kit (typically a mixture of nitric and muriatic acid). Use a small jeweler’s file to scratch a tiny notch through the top layer of the metal. This is critical; if you only test the surface, you might get a false positive from a silver-plated item. Apply a single drop of the testing acid directly into the filed notch and observe the color change.
| Acid Reaction Color | Indication | Meaning |
|---|---|---|
| Dark Red / Brownish-Red | 925 Sterling Silver | Authentic standard silver alloy. |
| Bright Red | 999 Fine Silver | Authentic pure silver (rare for chains). |
| Dark Brown / Black | 800 or Coin Silver | Authentic, but lower purity alloy. |
| Green | Base Metal / Plated | Copper, brass, or nickel core. Fake. |
| Blue | Nickel Silver / EPNS | Contains no actual silver. Fake. |
Safety Note: Always wear nitrile gloves and eye protection when handling testing acids, and neutralize the acid with baking soda and water immediately after observing the result.
Troubleshooting False Negatives
Sometimes, authentic silver behaves unexpectedly during at-home tests. Here is why your real necklace might fail:
- Rhodium Plating: Many modern sterling silver necklaces are plated with rhodium (a platinum-group metal) to prevent tarnishing. Rhodium is highly unreactive and can sometimes interfere with surface-level acid tests or alter the thermal conductivity just enough to slow the ice test. Always file a notch before acid testing.
- Heavy Tarnish: Silver sulfide (black tarnish) acts as an insulator. A heavily tarnished chain might fail the ice test until it is professionally polished.
- Solder Points: The tiny joints where links connect are often sealed with silver solder that contains lower amounts of silver and higher amounts of zinc or cadmium. Testing exactly on a solder joint may yield a green or black acid reaction, even on a genuine chain.
When to Trust a Professional Gemologist
If you are evaluating a high-value antique necklace or a piece with complex, multi-metal casting, at-home tests may not provide the nuance required. In these cases, take the piece to a certified gemologist or a reputable local jeweler.
Professionals utilize X-ray Fluorescence (XRF) spectrometers. An XRF gun fires X-rays into the metal and reads the fluorescent light emitted, providing an exact, non-destructive elemental breakdown of the alloy down to the decimal percentage. According to the Gemological Institute of America (GIA), XRF testing is the gold standard for verifying precious metal purity without damaging the structural integrity or antique patina of the jewelry. While an XRF test may cost between $25 and $50 at a local appraisal shop, it is a worthwhile investment for heirloom pieces or high-end designer chains.


