Crafting a Viking Weave Necklace: Wire Gauges and Techniques
Master the viking weave necklace with our expert guide on wire gauges, aspect ratios, metal choices, and draw plate techniques for flawless results.

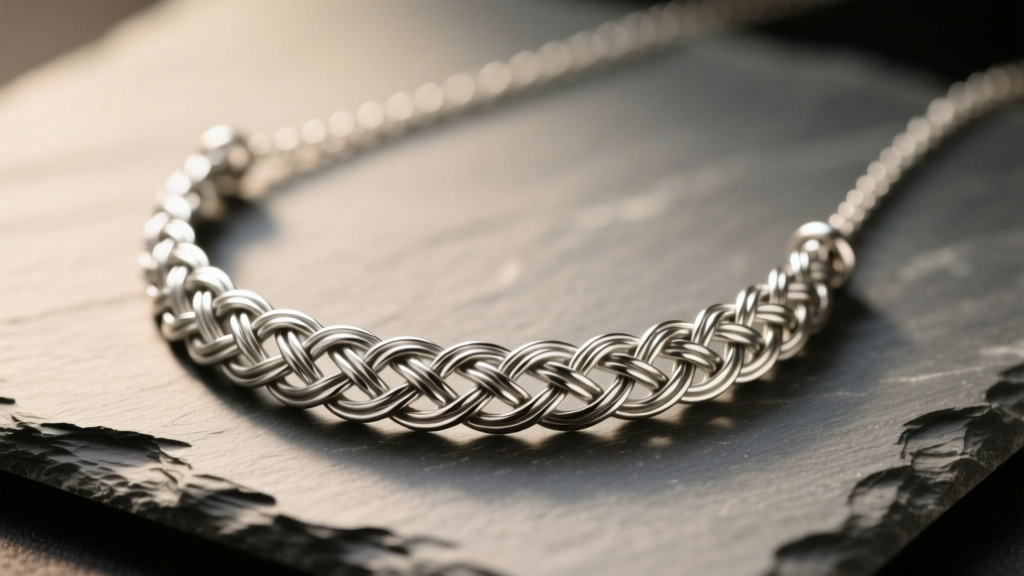
The Anatomy of a Viking Weave Necklace
The term 'viking weave necklace' is frequently used in the jewelry community to describe the ancient Viking knit technique—a continuous wire-looping method that creates a supple, tubular chain. While true chainmaille weaves (like Byzantine or Persian) rely on individual jump rings, the Viking weave relies on a single, continuous strand of wire woven around a mandrel. As of 2026, this technique remains a cornerstone of wire jewelry design, prized for its fluid drape and intricate, braided aesthetic. Understanding the structural mechanics of this weave is critical for transitioning from a hobbyist to a master wire artist.
According to historical archives documented by Ganoksin, the original Viking knit chains were often pulled through a bone or wooden draw plate to compress the loops, creating a dense, rope-like cable. Today, we replicate this using precision-machined steel draw plates, but the underlying physics of wire tension, aspect ratio, and work-hardening remain exactly the same. To achieve a flawless viking weave necklace, you must master the interplay between wire gauge, mandrel diameter, and metal temper.
Wire Gauge and Aspect Ratio (AR) Matrix
The success of your viking weave necklace hinges on the Aspect Ratio (AR)—the relationship between the inner diameter (ID) of your loop and the thickness of your wire. If the AR is too low, the chain will be stiff and impossible to pull through a draw plate. If the AR is too high, the loops will collapse, resulting in a sloppy, uneven chain. The Maille Artisans International League (MAIL) emphasizes that maintaining a consistent AR is the single most important factor in wire weaving.
Below is a technical matrix for the standard Tricot (double-loop) Viking weave, which is the industry standard for a durable, high-quality necklace.
| Wire Gauge (AWG) | Diameter (mm) | Mandrel Size (mm) | Aspect Ratio (AR) | Best Application |
|---|---|---|---|---|
| 24 AWG | 0.51 mm | 4.0 mm | 7.8 | Heavy statement collars, bold pendants |
| 26 AWG | 0.40 mm | 3.0 mm | 7.5 | Standard necklaces, highly durable daily wear |
| 28 AWG | 0.32 mm | 2.5 mm | 7.8 | Delicate chains, lightweight layering pieces |
| 30 AWG | 0.25 mm | 2.0 mm | 8.0 | Micro-weave, intricate focal components |
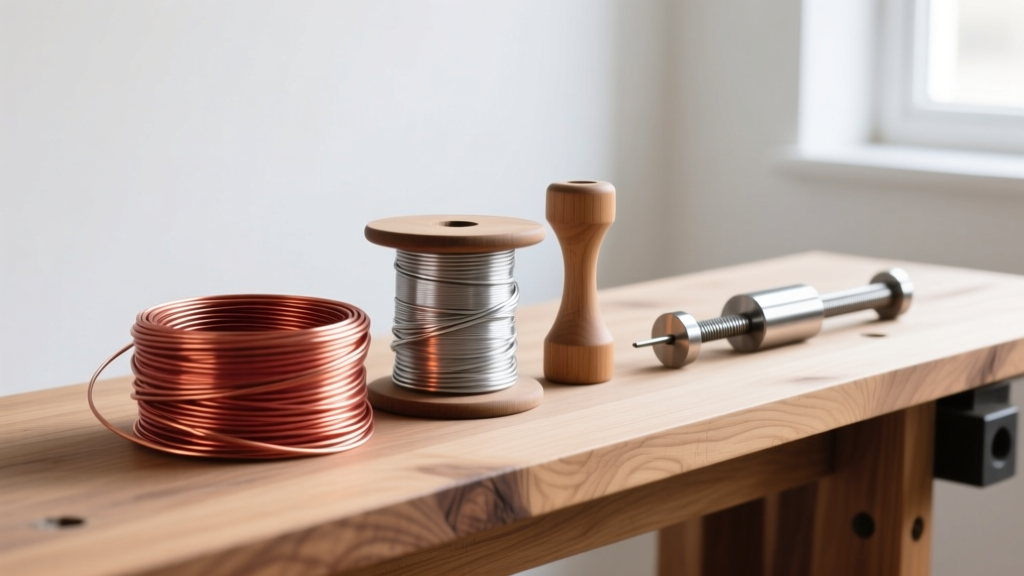
Metallurgy: Dead Soft vs. Half-Hard Wire
Selecting the correct metal temper is non-negotiable when crafting a viking weave necklace. You must exclusively use dead soft wire for the weaving process. Half-hard or full-hard wire lacks the ductility required to make the tight, repetitive loops around the mandrel and will snap under the tension of the weave.
Alloy Selection and Work-Hardening
- Fine Silver (.999): Highly ductile and resists work-hardening longer than sterling. Excellent for beginners practicing the Tricot stitch, but it lacks the tensile strength for a finished necklace clasp mechanism.
- Sterling Silver (.925): The premium standard. It work-hardens predictably, allowing the chain to become rigid and durable after passing through the draw plate. Requires occasional annealing if you weave too slowly.
- Gold-Filled (14/20): Behaves similarly to sterling but has a thicker outer layer of gold than standard plating. The brass core provides excellent structural memory post-drawing.
- Copper & Brass: Ideal for prototyping. Copper work-hardens rapidly and will require frequent annealing with a butane torch to prevent micro-fractures in the loops.
The Draw Plate: Sizing and Compression
The draw plate is where a loose, hollow tube of wire transforms into a dense, professional-grade viking weave necklace. The physics of the draw plate compresses the outer loops inward, locking the structure and increasing the chain's length by up to 30%. According to technical guides from Rings & Things, improper drawing technique is the leading cause of chain failure.
Always start with a hole that is only slightly smaller than your woven tube. Use a wooden dowel to push the end of the chain through the plate, then grip the protruding wire with nylon jaw pliers. Never use steel chain-nose pliers directly on the wire, as the teeth will gouge the metal and create stress fractures. Pull steadily and parallel to the plate. If the chain kinks, stop immediately, reverse it, and move to a larger hole to ease the compression gradient.
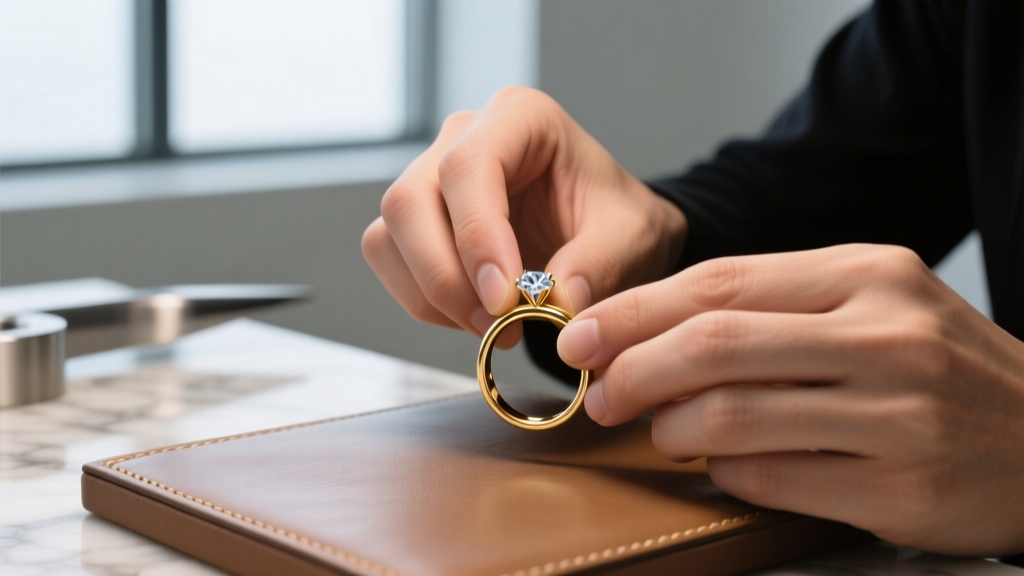
Finishing Techniques and End Caps
A viking weave necklace is only as strong as its terminations. The ends of the chain consist of raw, cut wire loops that must be secured to prevent unraveling. The industry standard method involves gathering the terminal wires, inserting them into a ribbed metal end cap (bell cap), and securing them with both adhesive and mechanical friction.
Expert Tip: Do not rely on glue alone. Before inserting the gathered wires into the end cap, slide a 2mm or 3mm crimp tube over the bundle and crush it flat with chain-nose pliers. Apply a drop of two-part jeweler's epoxy (avoid cyanoacrylate/super glue, which becomes brittle and degrades over time) inside the cap, then push the crimped bundle in. This creates a dual-lock mechanical and chemical bond that will withstand decades of wear.
Troubleshooting Common Weave Failures
Even experienced jewelers encounter structural anomalies when weaving. Here is a diagnostic framework for the most common issues:
- Micro-Fractures in the Loops: Caused by excessive work-hardening. If you hear a faint 'clicking' sound while weaving, the metal is fatiguing. Anneal the chain immediately with a soft flame, quench in water, and pickle before continuing.
- Asymmetrical Chain Twist: Occurs when your tension varies from loop to loop, or if you accidentally skip a step in the Tricot sequence. Maintain a consistent downward pressure on the wire against the mandrel with your thumb while pulling the loop taut with your forefinger.
- Draw Plate Snapping: If the chain snaps while being pulled, your starting hole was too small, or you pulled at an upward angle. Always keep the pliers perfectly flush with the face of the steel plate to distribute the shear force evenly across all loops.
Mastering the viking weave necklace requires patience, precise material selection, and a deep respect for metallurgy. By adhering to strict aspect ratios and utilizing proper draw plate mechanics, you can produce heirloom-quality chains that rival historical artifacts in both beauty and structural integrity.


