How to Restore and Authenticate Lia Sophia Jewelry Bracelets
Learn how to authenticate, clean, and restore vintage Lia Sophia jewelry bracelets with our expert step-by-step guide for collectors.

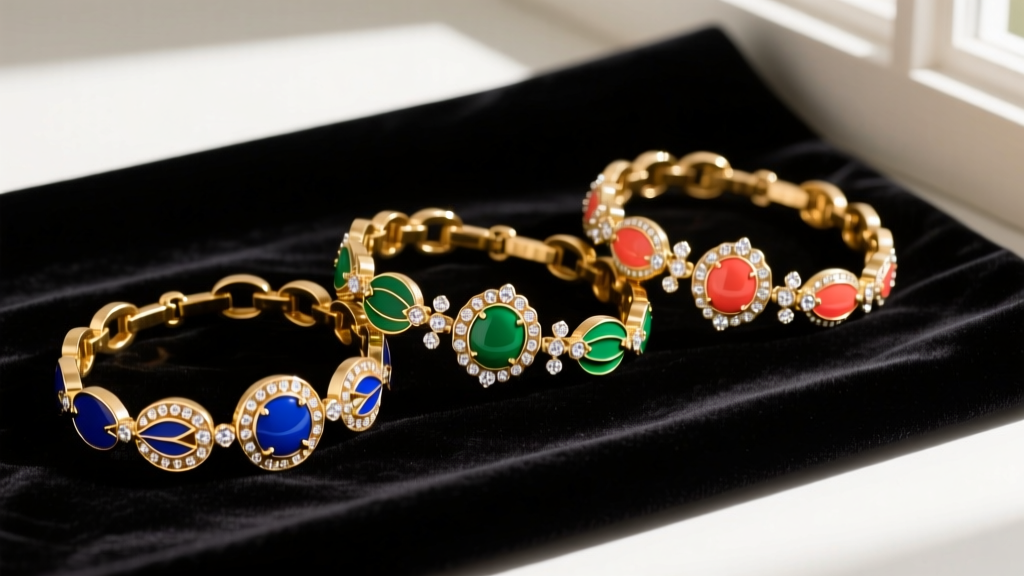
The 2026 Vintage Market for Discontinued Wristwear
Since the brand officially ceased its direct-sales operations in 2015, the secondary market for these iconic pieces has experienced a massive resurgence. In 2026, vintage collectors, curators, and resellers are actively hunting for specific collections, driving up the value of well-preserved wristwear. Because these pieces were sold exclusively through home parties and independent advisors, the market is now flooded with both pristine archival items and heavily worn estate finds. If you have acquired a lot of vintage pieces or are looking to restore a family heirloom, understanding the specific manufacturing techniques used by the company is essential. This comprehensive, step-by-step guide will walk you through authenticating, assessing, cleaning, and repairing your vintage finds, ensuring they remain staple pieces in your jewelry rotation for decades to come.
Step 1: Authenticating Your Pieces
Authentication is the critical first step before you invest time or money into restoring any vintage accessory. The secondary market is occasionally saturated with counterfeit items, particularly for highly sought-after collections like the Gatsby or Botanica lines. To verify that you are holding genuine lia sophia jewelry bracelets, you must examine the hardware, weight, and hallmarking.
Hallmarks and Clasp Variations
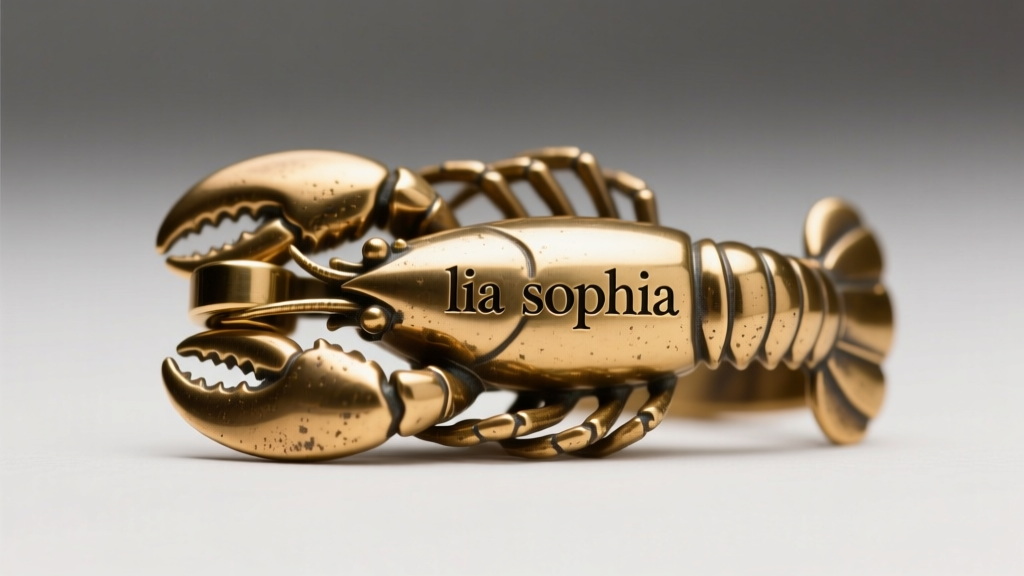
Genuine pieces will almost always feature a distinct hallmark. Early 2000s pieces often feature a stylized 'ls' monogram stamped on the back of a primary charm or the clasp tongue. However, the vast majority of their production run features the lowercase 'lia sophia' stamp. This stamp is typically laser-etched or deeply cast into the metal. Check the back of the lobster clasp, the extender chain tag, or the interior of a bangle cuff. The font should be clean, sans-serif, and perfectly centered. Counterfeit pieces often exhibit blurred stamping, incorrect font weights, or shallow laser etching that wears away easily. Additionally, authentic magnetic clasps—a signature feature in many of their heavier link designs—should snap together with a firm, precise resistance, utilizing rare-earth neodymium magnets rather than weak ceramic alternatives.
Step 2: Assessing Plating and Base Metal Integrity
Once authenticated, you must evaluate the structural and cosmetic condition of the metals. The brand was famous for its hypoallergenic marketing, which was achieved by using a jeweler's brass or high-grade pewter base metal, coated with a nickel-free barrier layer, and finished with a thick electroplated gold-tone or silver-tone surface. Over time, friction and exposure to skin acids can compromise this layering.
| Material / Finish | Common Failure Mode | Restoration Method |
|---|---|---|
| Gold-Tone Electroplate | Wear-through on high-friction edges revealing yellow brass | Professional re-plating or careful polishing to blend edges |
| Silver-Tone / Rhodium | Tarnishing and oxidation in crevices | Gentle chemical dip or specialized silver polishing cloth |
| Enameled Brass | Chipping or micro-fractures in the resin/enamel fill | Jewelry-grade epoxy resin tinted with mica powder |
| Pave Rhinestones | Missing stones or darkened foil backing | Replacement with precision-cut glass chatons and jeweler's cement |
Inspect the interior curves of bangles and the links that sit against the pulse point, as these areas experience the highest concentration of sweat and friction. If the base brass is exposed, it will oxidize and turn the wearer's skin green. While this is harmless, it is undesirable and indicates the need for a protective barrier coating or professional re-plating.
Step 3: Safe Cleaning Protocols for Mixed Media
Cleaning vintage costume jewelry requires a delicate touch. Unlike fine jewelry, which can often withstand harsh chemicals and ultrasonic vibrations, mixed-media wristwear requires a targeted approach. According to experts at The Spruce Crafts, the biggest mistake collectors make is submerging foil-backed stones in liquid, which causes the reflective backing to turn black and ruin the stone's sparkle.
Dry Brushing and Surface Prep
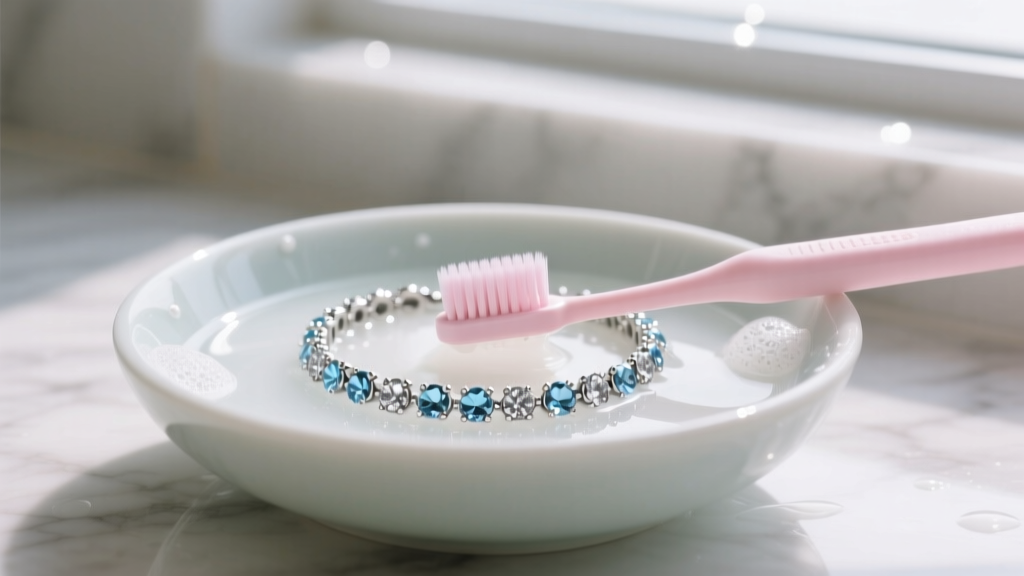
Before introducing any moisture, use a soft-bristled baby toothbrush or a clean, dry makeup brush to dislodge dust, dead skin cells, and lotion buildup from the intricate crevices of charm bracelets and pavé settings. This prevents you from rubbing abrasive grit into the electroplating during the wet wash.
Wet Washing Enamel and Solid Metal Links
For solid metal links and enamel pieces without glued-in stones, prepare a lukewarm bath using distilled water and a few drops of pH-neutral dish soap. The Gemological Institute of America (GIA) recommends avoiding ammonia-based cleaners entirely, as ammonia reacts aggressively with the copper content in brass alloys, leading to stress corrosion cracking. Gently agitate the piece in the solution for no more than three minutes, then rinse thoroughly under a low-pressure stream of distilled water to prevent hard water spot formation.
Expert Warning: Never use ultrasonic cleaners on vintage pieces featuring glued-in rhinestones, resin components, or enamel. The high-frequency vibrations will shatter the adhesive bonds, causing stones to fall out and enamel to micro-fracture.
Drying and Polishing
Immediately pat the jewelry dry with a lint-free microfiber cloth. Use a wooden toothpick wrapped in a microfiber tip to wick moisture out of the jump rings and clasp mechanisms. For silver-tone pieces showing mild oxidation, use a dry, treated silver-polishing cloth, rubbing in a single direction rather than in circles to avoid creating micro-scratches on the rhodium finish.
Step 4: Structural Repairs and Re-stringing
Many of the brand's most popular charm and bead designs were strung on elastic or flexible wire, which degrades over time. If your piece feels brittle, stretched, or shows signs of fraying at the crimp beads, it is time for a complete re-stringing to prevent a catastrophic break.
Choosing the Right Stringing Material
- For Lightweight Charms and Glass Beads: Use a 0.8mm polyurethane elastic cord (such as Stretch Magic). Polyurethane offers superior memory and knot retention compared to silicone or woven elastic.
- For Heavy Metal Links and Stone Beads: Upgrade to a 0.018-inch 49-strand stainless steel beading wire. The 49-strand construction provides the necessary drape and flexibility while supporting the heavy gram weight of solid brass charms.
Replacing Jump Rings and Clasps
If a lobster clasp has failed or a jump ring has pulled apart, you must replace it with matching hardware. The brand typically utilized 18-gauge or 20-gauge brass jump rings. When closing a split jump ring, never pull the ends apart laterally, as this weakens the metal and distorts the circle. Instead, use two pairs of flat-nose pliers to twist the ends in opposite directions (one toward you, one away), thread the new component, and twist them back until the ends meet perfectly flush with a microscopic 'click'.
Final Archiving and Storage Recommendations
Proper storage is the final step in the restoration process. To preserve your restored pieces, store them individually in acid-free, archival-quality polyethylene zip bags. Include a small silica gel desiccant packet and an anti-tarnish strip in each bag to control humidity and absorb airborne sulfur compounds that cause silver-tone finishes to oxidize. Keep the bags in a dark, climate-controlled environment, away from direct sunlight which can yellow resin components and fade dyed enamel. By following these meticulous authentication and restoration protocols, you ensure that these discontinued treasures maintain their structural integrity, aesthetic brilliance, and market value for the next generation of vintage collectors.


