Safe Do It Yourself Jewelry Cleaner Recipes for Every Metal
Discover safe, effective do it yourself jewelry cleaner recipes for gold, silver, and platinum. Learn the chemistry of DIY baths and gemstone care.

The Chemistry of Tarnish and Grime
Commercial jewelry dips are often expensive, harsh, and unnecessarily aggressive for everyday maintenance. When you formulate a do it yourself jewelry cleaner, you are not just saving money; you are taking control of the chemical environment your precious metals and gemstones are exposed to. The secret to effective DIY cleaning lies in understanding the difference between organic grime (sebum, lotions, dead skin cells) and inorganic tarnish (metal sulfides and oxides). Treating organic buildup requires surfactants, while removing tarnish requires electrochemical reduction or mild abrasion. Using the wrong method—such as abrasive pastes on soft alloys or acidic baths on porous gems—can cause irreversible micro-scratches or structural degradation.
In this guide, we break down the exact formulations, ratios, and material science behind safe, at-home jewelry cleaning protocols for 2026 and beyond.
The Universal Baseline: Surfactant-Based Cleaning
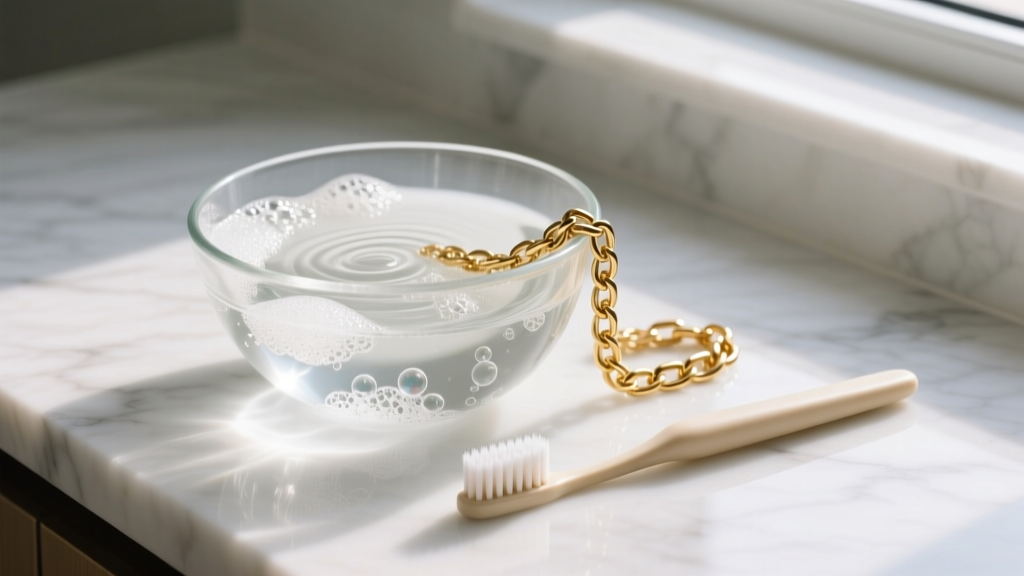
For 90% of your jewelry—specifically diamond, sapphire, ruby, platinum, and 14k/18k gold—a mild surfactant bath is the gold standard. The goal here is to use micelle formation to encapsulate and lift hydrophobic oils without attacking the metal alloys.
The Recipe
- Base: 1 cup of distilled or filtered water, heated to approximately 105°F (40°C). Avoid tap water, as dissolved minerals and chlorine can leave spots or react with copper alloys in lower-karat gold.
- Surfactant: 3 to 4 drops of phosphate-free, lotion-free dish soap (e.g., original Dawn Ultra). Avoid "moisturizing" soaps, which contain lipid additives that will leave a cloudy film on your gemstones.
- Agitation Tool: An ultra-soft baby toothbrush with bristles no thicker than 0.1mm. Standard adult toothbrushes are too stiff and can scratch high-polish finishes on softer metals like 24k gold or high-carat alloys.
The Protocol
Submerge the jewelry for 15 to 20 minutes to allow the warm surfactant solution to penetrate the gallery (the underside of the setting where grime accumulates). Gently brush the back of the gemstones and the crevices of the prongs. Rinse thoroughly under lukewarm running water, ensuring the drain is securely plugged or using a mesh strainer to prevent catastrophic loss.
Electrochemical Silver Restoration (No Scrubbing)
Sterling silver (92.5% silver, 7.5% copper) tarnishes when the copper and silver react with hydrogen sulfide in the air, forming a dark layer of silver sulfide (Ag₂S). Traditional silver polishes use mild abrasives to physically scrape this layer off, meaning you are literally removing microscopic layers of your silver every time you polish it. A superior do it yourself jewelry cleaner for silver utilizes an electrochemical redox reaction to convert the silver sulfide back into pure silver without removing any metal.
The Aluminum Foil Bath
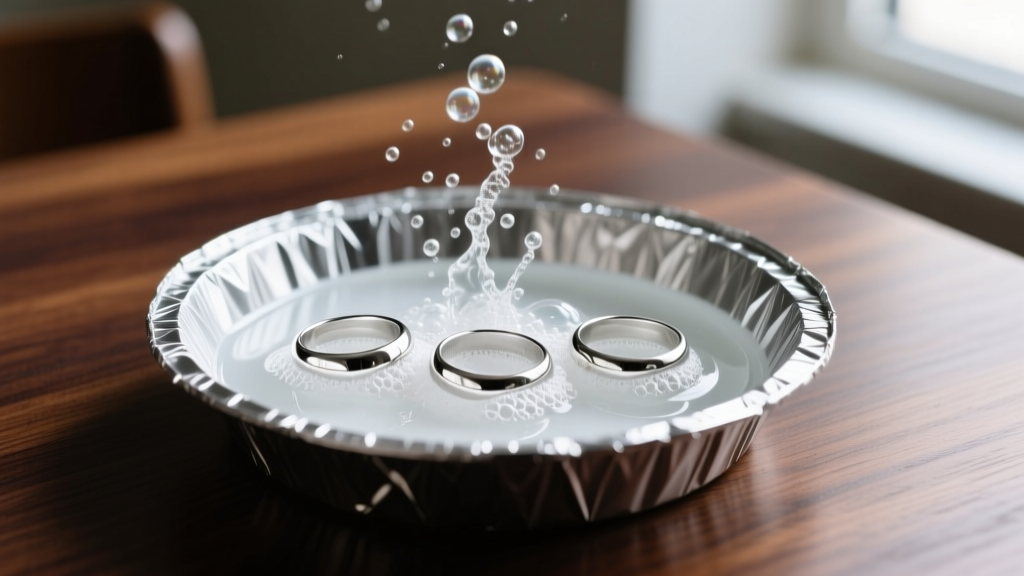
- Line a heat-safe ceramic or glass bowl with aluminum foil, shiny side up.
- Place your tarnished sterling silver pieces directly on the foil, ensuring physical contact between the metal and the aluminum.
- Boil 2 cups of distilled water. Remove from heat and immediately stir in 2 tablespoons of baking soda (sodium bicarbonate) and 1 teaspoon of table salt (sodium chloride) to act as an electrolyte bridge.
- Pour the solution over the silver. You will immediately see bubbling and may smell a faint "rotten egg" odor (hydrogen sulfide gas being released in trace amounts).
The Science: Aluminum is more reactive than silver. In the presence of the electrolyte solution, the aluminum acts as an anode and the silver as a cathode. The sulfur atoms migrate from the silver to the aluminum, leaving behind pristine, unblemished silver. According to the Silver Institute, this method is the safest way to remove heavy oxidation from intricate filigree where polishing cloths cannot reach.
Leave the pieces in the bath for 3 to 5 minutes. Remove with wooden tongs (never metal, which can disrupt the circuit or scratch the silver), rinse in distilled water, and dry immediately.
Gemstone Porosity: The DIY Danger Zone
While metals can generally withstand these DIY baths, gemstones require strict triage based on their Mohs hardness and porosity. According to the Gemological Institute of America (GIA), treating a porous gemstone with a chemical bath can lead to permanent discoloration, structural fracturing, or the dissolution of treatment oils.
| Gemstone | Mohs Hardness | Porosity & Treatments | Safe DIY Cleaning Method |
|---|---|---|---|
| Diamond | 10 | Non-porous, highly durable | Warm soapy water or 1:6 ammonia/water ratio |
| Sapphire / Ruby | 9 | Non-porous (beware of fracture-filled stones) | Warm soapy water only; avoid ammonia |
| Emerald | 7.5 - 8 | Highly fractured, routinely oil-treated | Damp microfiber cloth ONLY. Never submerge. |
| Opal | 5.5 - 6.5 | Contains up to 20% water, highly sensitive | Dry, soft lint-free cloth. Avoid all liquids. |
| Pearl | 2.5 - 4.5 | Organic calcium carbonate, highly porous | Damp cloth with plain water. Wipe after every wear. |
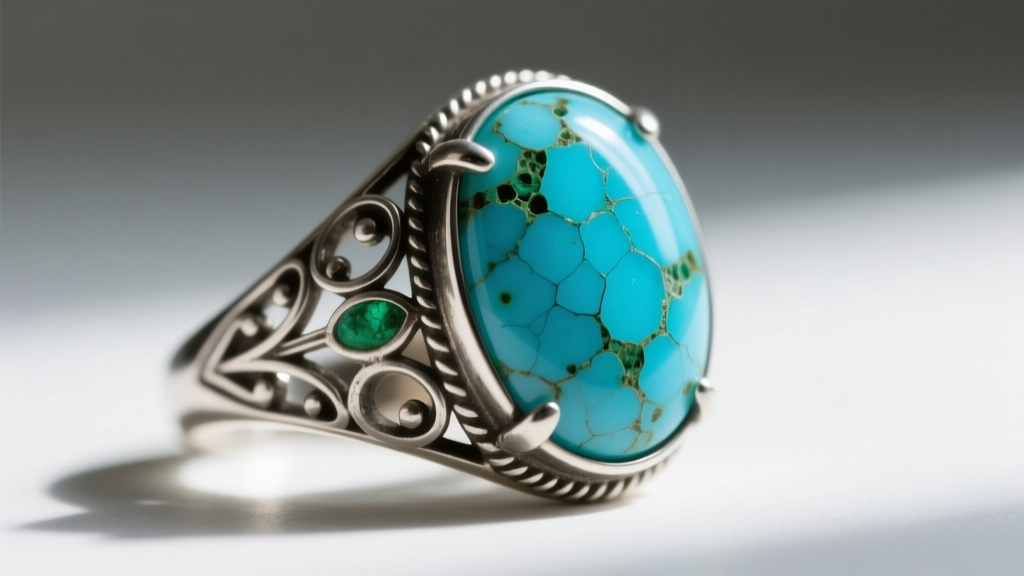
| Turquoise | 5 - 6 | Extremely porous, easily stained by oils | Dry, soft brush. Never use water or chemicals. |
Hazardous DIY Myths to Avoid
The internet is saturated with "life hacks" for jewelry cleaning that are actively destructive. As a domain expert, I strongly advise against the following common household items:
- Toothpaste: Toothpaste contains hydrated silica and calcium carbonate with a Relative Dentin Abrasivity (RDA) value often exceeding 100. Because 18k gold has a Mohs hardness of roughly 2.5 to 3, brushing it with toothpaste will leave a matte finish of microscopic scratches, completely ruining a mirror polish.
- Chlorine Bleach: Never expose karat gold (10k, 14k, 18k) to bleach. The chlorine reacts violently with the copper and zinc alloys in the metal, causing stress corrosion cracking. This weakens the prongs holding your gemstones, leading to catastrophic stone loss.
- Lemon Juice and Vinegar: The acetic and citric acids in these household staples will dissolve the calcium carbonate structure of pearls and coral, and will strip the protective oxidation layers off vintage patinas.
- Baking Soda Pastes on Gold: While baking soda dissolved in water is safe for the silver foil bath, using it as a gritty paste with a cloth on gold or platinum will cause severe micro-abrasions.
Drying and Final Polishing Protocols
The final step in your do it yourself jewelry cleaner routine is arguably the most critical for preventing water spots and lint snags. Never use paper towels, tissues, or cotton balls. The wood pulp fibers in paper products can cause microscopic scratching on soft metals, and the loose cotton fibers from cotton balls will inevitably snag on microscopic burrs or prong tips, potentially bending them outward.
Instead, use a dedicated, clean, lint-free optical microfiber cloth. Gently pat the jewelry dry rather than rubbing aggressively. For intricate settings, such as pave diamonds or milgrain edges where water tends to pool and leave hard water spots, use a can of compressed air (held at least six inches away) or a specialized jewelry drying blower to force the moisture out of the crevices. For an extra layer of brilliance on hard metals like platinum and high-karat gold, follow up with a treated jeweler's rouge cloth, which deposits a microscopic layer of protective wax while buffing away any remaining watermarks. By mastering these specific chemical and mechanical protocols, you can maintain a professional-grade sparkle at home while preserving the structural integrity of your most cherished pieces for decades. For further reading on safe handling, the American Gem Society provides excellent baseline guidelines for everyday wear and tear management.


