Troubleshooting a Failed Homemade Jewelry Cleaner Recipe
Did your DIY soak ruin your silver or dull your gems? Learn how to troubleshoot a failed homemade jewelry cleaner recipe and restore your pieces safely.

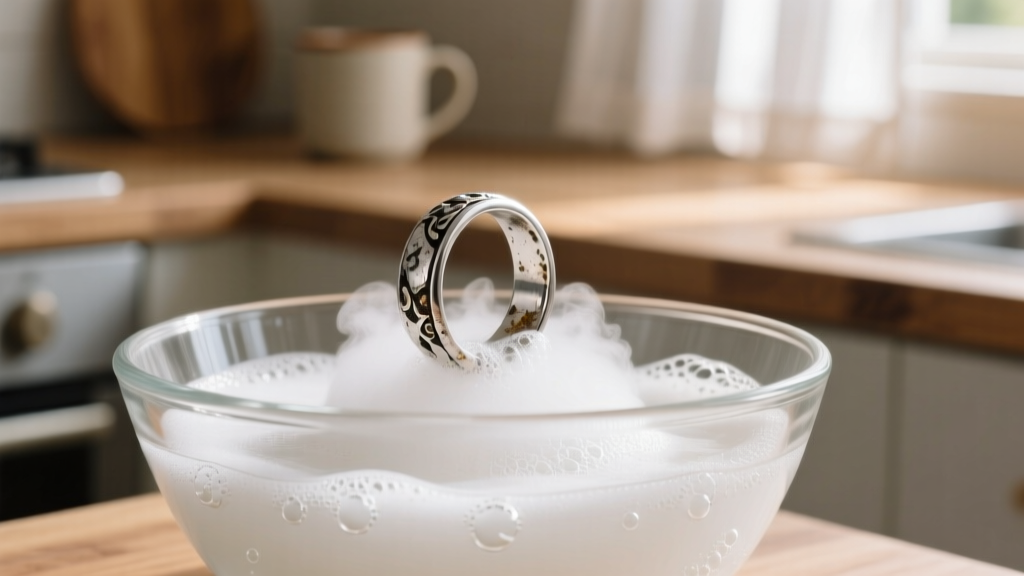
In 2026, social media algorithms continue to push aggressive, viral DIY cleaning hacks that promise to restore fine jewelry in seconds. However, chemistry does not care about viral trends. When a homemade jewelry cleaner recipe goes wrong, the results can range from a dull, matte finish to irreversible structural damage to porous gemstones. Understanding the exact chemical failure points of popular DIY soaks is the first step in salvaging your damaged pieces.
Diagnosing the Damage: What Went Wrong?
Most failed DIY cleaning attempts stem from a fundamental misunderstanding of metal alloys and gemstone porosity. Here are the most common culprits behind ruined jewelry:
The Baking Soda and Aluminum Foil Disaster
This popular hack relies on an electrochemical galvanic reaction. When silver sulfide (tarnish) touches aluminum in a hot, alkaline solution (baking soda), the sulfur transfers to the aluminum. While this removes black tarnish, it frequently leaves behind a stubborn white haze (aluminum hydroxide residue) and strips away the high-polish finish, leaving sterling silver looking cloudy and matte. Furthermore, if used on white gold, this alkaline bath can degrade the rhodium plating, exposing the yellowish alloy beneath.
The Dish Soap and Ammonia Trap
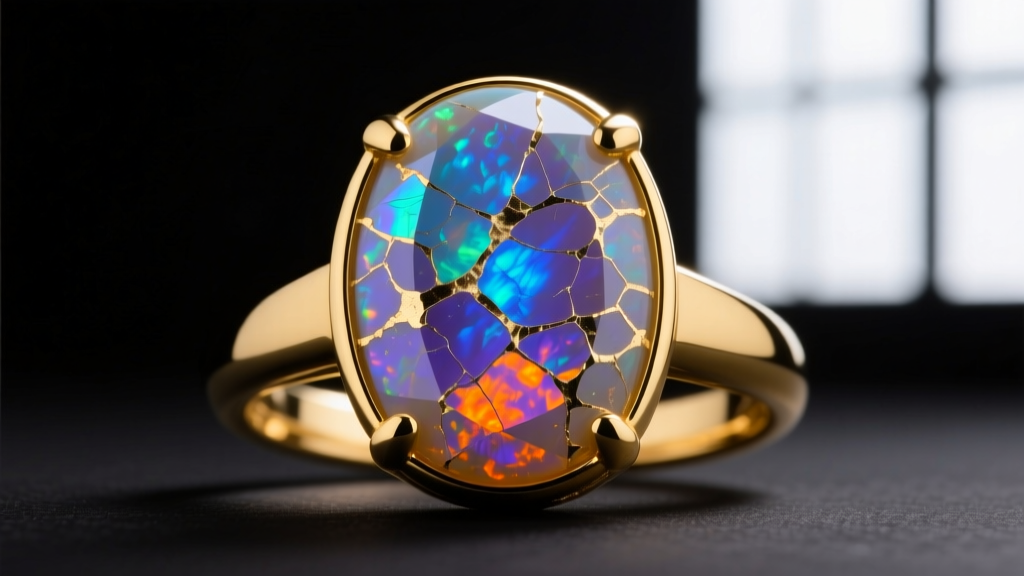
Ammonia is a highly alkaline compound (pH ~11) that excels at cutting through grease on durable diamonds. However, when applied to organic or porous gems, it is catastrophic. According to the Gemological Institute of America (GIA), ammonia will dissolve the calcium carbonate nacre of pearls and cause severe dehydration and 'crazing' (micro-fractures) in opals. Once an opal's internal water content is disrupted by harsh alkaloids, the cracking is permanent.
Troubleshooting Common Recipe Failures
If your jewelry has emerged from a DIY soak looking worse than before, use this diagnostic table to identify the failure mode and begin immediate triage.
| Symptom | Culprit Ingredient | The Chemical Reality | Immediate Triage |
|---|---|---|---|
| White, chalky haze on silver | Baking Soda + Foil | Aluminum hydroxide precipitation due to improper water temperature or ratio. | Rinse in distilled water; gently buff with a dry, untreated jeweler's cloth. |
| Surface pitting on Rose Gold | Vinegar or Lemon Juice | Acetic/citric acid eats away the copper alloy (surface parting/de-alloying). | Neutralize with mild soap; requires professional burnishing to restore. |
| Dull, chalky pearls | Ultrasonic + Any DIY Acid | Acid dissolves the outer nacre layers; ultrasonic vibrations shatter the drill holes. | Wipe with a damp microfiber cloth; apply a microscopic drop of mineral oil. |
| Cloudy, scratched gemstones | Toothpaste + Toothbrush | Hydrated silica in toothpaste (Mohs 3-4) scratches softer gems like turquoise or lapis. | Stop immediately; rinse; professional re-polishing required. |
Material-Specific Triage: Salvaging Your Jewelry
When a homemade jewelry cleaner recipe fails, the recovery method depends entirely on the material's metallurgical or mineralogical properties.
Sterling Silver: Fixing the Matte Finish
If the aluminum foil bath stripped your silver's mirror finish, no amount of re-soaking will fix it. The surface has been microscopically altered. You must switch from chemical cleaning to mechanical polishing. Use a treated silver polishing cloth (impregnated with jeweler's rouge) and rub in a single direction—not in circles—to realign the microscopic scratches and restore the luster.
Gold Alloys: Reversing Acid Etching
Many DIY recipes suggest using white vinegar or ketchup (which contains both acetic and citric acids) to clean gold. While pure 24k gold is impervious to these weak acids, 14k and 18k gold contain copper and silver. Acids cause 'de-alloying,' selectively eating away the copper at the surface and leaving a pitted, spongy texture. If your rose or yellow gold feels rough after an acid soak, neutralize it immediately with a baking soda and water paste, rinse thoroughly, and take it to a jeweler for a light abrasive polish to remove the depleted surface layer.
Organic and Porous Gems: Emergency Hydration
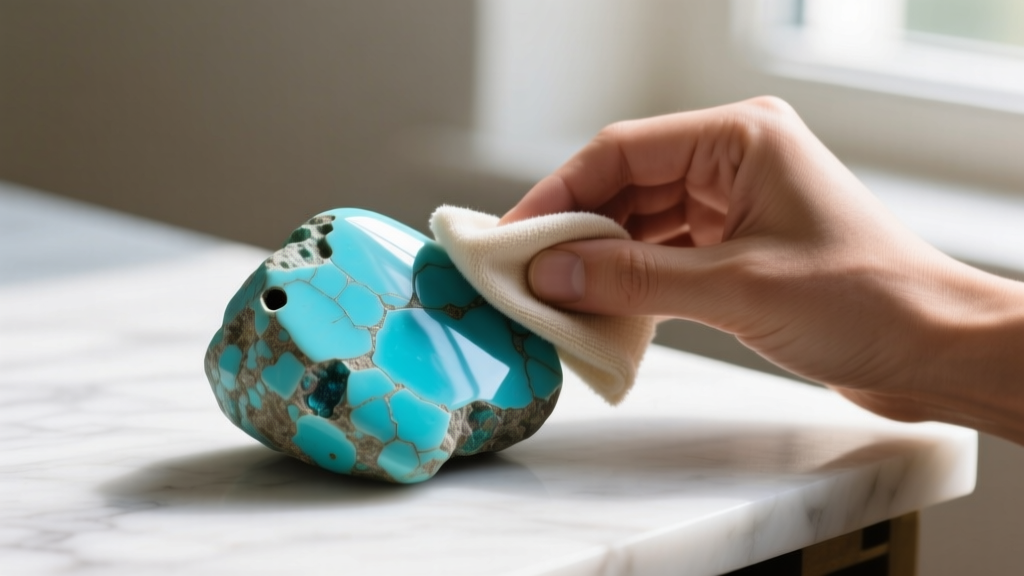
Turquoise, opal, lapis lazuli, and pearls act like microscopic sponges. If a harsh detergent or alcohol-based DIY recipe has stripped their natural oils or internal moisture, they will appear chalky or cracked. For turquoise and lapis, a very light application of pure mineral oil on a cotton swab can temporarily restore color depth. For pearls, the American Gem Society recommends simply wearing them, as the natural oils and slight humidity from your skin are the safest way to rehydrate the nacre over time.
The Science of Safe DIY: A Corrected Recipe Framework
'The goal of jewelry cleaning is to remove sebum, dead skin cells, and cosmetic buildup without altering the oxidation state of the metal or the hydration level of the stone.' — Conservation Best Practices
If you must use a homemade jewelry cleaner recipe, abandon the pantry acids and alkaloids. The only universally safe DIY framework relies on mild, pH-neutral surfactants. Here is the corrected, gemologist-approved recipe:
- The Solvent: 1 cup of warm (not hot) distilled water. Tap water contains chlorine and dissolved minerals that can leave hard water spots on high-karat gold.
- The Surfactant: 1 to 2 drops of a mild, phosphate-free dish soap (such as Dawn Platinum). Avoid soaps with added moisturizers or citrus degreasers.
- The Agitator: A brand-new, ultra-soft baby toothbrush (bristles must be 0.1mm or finer to prevent micro-scratching on softer metals like high-karat gold).
- The Method: Soak for exactly 5 to 10 minutes. Gently agitate the back of the gemstone settings where lotion accumulates. Rinse under lukewarm distilled water and dry immediately with a lint-free microfiber cloth.
When to Abandon DIY and Seek Professional Restoration
Not all damage from a failed DIY soak can be fixed at home. You must recognize the threshold where amateur troubleshooting becomes destructive. Seek professional intervention if you observe the following:
- Exposed Base Metal on White Gold: If your DIY bath stripped the rhodium plating, a jeweler must re-plate the piece. Expect to pay between $60 and $120 for ultrasonic steam cleaning, polishing, and rhodium electroplating.
- Loose Gemstones: If a chemical soak degraded the adhesive in a tension setting or pearl cup, do not attempt to re-glue it with household superglue (cyanoacrylate), which will cloud the stone and complicate professional repairs.
- Severe Opal Crazing: Once an opal exhibits a network of internal fractures due to chemical dehydration, it cannot be chemically reversed. A lapidary may be able to re-polish the surface or, in severe cases, recut the stone to salvage the unfractured core (starting around $50-$100 per hour for lapidary labor).
Ultimately, the most effective troubleshooting step for a failed homemade jewelry cleaner recipe is prevention. By understanding the specific vulnerabilities of your metals and gemstones, you can avoid the destructive allure of viral cleaning hacks and preserve your jewelry's structural integrity for decades.


