How to Clean Thrifted Jewelry: The Ultimate Buyer's Guide
Learn how to clean thrifted jewelry safely. Our buyer's guide covers material identification, essential tools, and restoration tips for vintage finds.

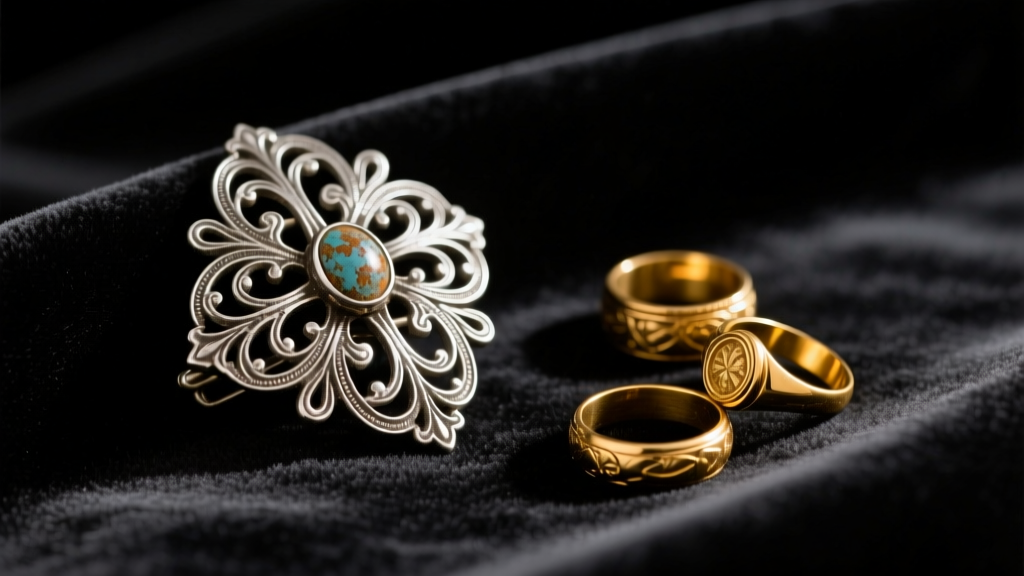
Thrifting for jewelry is a treasure hunt that blends historical appreciation with the thrill of the find. However, bringing a secondhand piece back to life requires more than a quick wipe with a cloth. When you buy vintage or estate jewelry, you are often inheriting decades of oxidized oils, environmental tarnish, and sometimes hidden structural vulnerabilities. Understanding how to clean thrifted jewelry safely begins long before you reach the checkout counter; it starts with a rigorous material assessment and ends with the right restoration toolkit. This comprehensive buyer's guide will equip you with the professional frameworks needed to evaluate, clean, and sanitize secondhand jewelry without destroying its value or integrity.
The Thrift Store Triage: Identifying Materials Before You Buy
The biggest mistake amateur thrifters make is applying a universal cleaning method to an unknown alloy. Before you purchase a piece, you must perform a non-destructive triage to determine its base metal, plating thickness, and gemstone porosity.
The Magnet and Weight Tests
Carry a small neodymium magnet in your pocket. Precious metals like gold, silver, and platinum are non-magnetic. If a supposedly "solid gold" chain clings to your magnet, it is either gold-plated steel or a base-metal alloy. Next, assess the weight. Gold and platinum are exceptionally dense. A thick, oversized vintage chain that feels surprisingly light is likely hollow electroform gold or gold-plated brass.
Inspecting High-Friction Zones
Examine the clasp, the back of the ring band, and the edges of pendants. These high-friction areas reveal the truth about plating. If you see a brassy or grayish undertone bleeding through the yellow or white surface, the piece is plated. According to the Federal Trade Commission Jewelry Guides, gold-filled items must contain at least 5% gold by weight (often stamped 1/20 14k GF), making them safe for gentle polishing. Standard gold plate, however, is often less than 0.5 microns thick; aggressive polishing will strip it entirely.
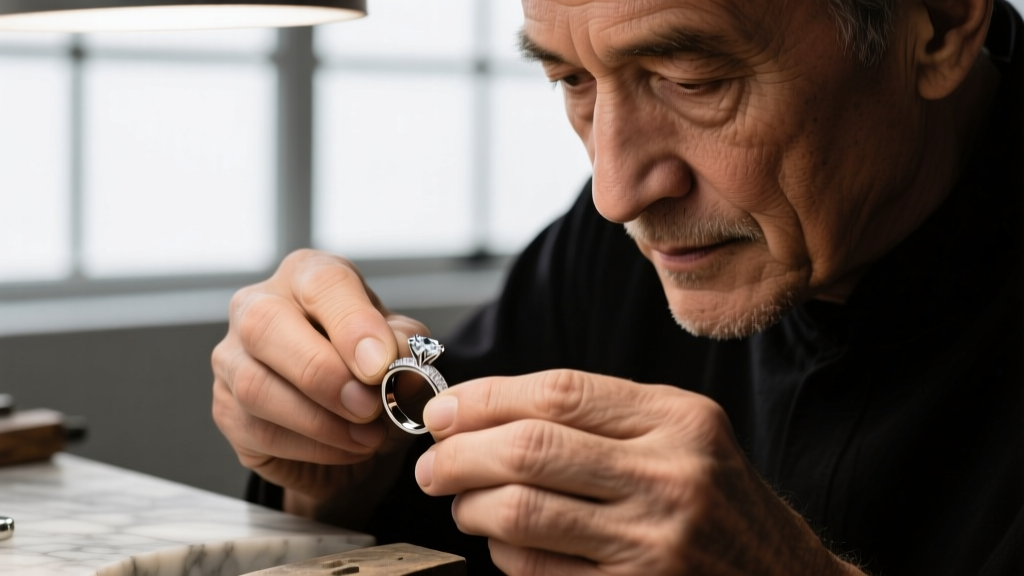
Building Your Restoration Kit: What to Buy
To properly restore thrifted finds, you need a tiered cleaning arsenal. Skip the harsh, unbranded chemical dips found in supermarket aisles and invest in tools used by estate jewelry dealers.
- Ultrasonic Cleaners (40-45 kHz): Ideal for solid gold, platinum, and diamonds. The 40kHz frequency creates cavitation bubbles that dislodge grime from intricate filigree. Avoid ultrasonic cleaners for emeralds, opals, pearls, or turquoise, as the vibrations can shatter inclusions or strip natural oils.
- Micro-Abrasive Polishing Cloths: Brands like Sunshine Cloths are impregnated with jeweler's rouge. They are excellent for removing heavy silver sulfide (tarnish) but should never be used on matte or brushed finishes, as they will polish the texture into a high shine.
- Thiourea-Free Silver Dips: Traditional chemical dips use thiourea, which strips the antique patina from vintage silver and can cause rapid re-tarnishing. Opt for milder, non-toxic enzymatic cleaners or Wright's Silver Cream for controlled hand-polishing.
- Soft-Bristle Endodontic Brushes: Standard toothbrushes are often too stiff for vintage prongs. Endodontic (interdental) brushes allow you to clean beneath gemstone settings without bending fragile antique prongs.
Material-Specific Cleaning Protocols
Once you have identified your thrifted piece and assembled your kit, follow these specific protocols to restore the jewelry safely.
Sterling Silver and Heavy Tarnish
Sterling silver (925) reacts with sulfur in the air to form silver sulfide, which appears as yellow, brown, or black tarnish. For light tarnish, use a micro-abrasive cloth. For heavy, blackened oxidation, use the electrochemical reduction method: line a glass bowl with aluminum foil (shiny side up), add boiling water, a tablespoon of baking soda, and a pinch of salt. Submerge the silver for 3 to 5 minutes. The sulfur transfers from the silver to the aluminum. Note: Never use this method on silver pieces with glued-in stones or intentional oxidized detailing (antiquing), as it will remove the dark contrast.
Costume Jewelry and Foil-Backed Rhinestones
Vintage costume jewelry from the mid-century often features aurora borealis (AB) or clear rhinestones backed with delicate metallic foil to enhance reflectivity. Never submerge foil-backed stones in water or ultrasonic cleaners. Moisture will seep beneath the setting, permanently clouding the foil and turning the stone black. Instead, use a cotton swab lightly dampened with glass cleaner or isopropyl alcohol to carefully wipe the surface of the stone, avoiding the metal collar.
Gold-Filled and Rolled Gold Plate
Gold-filled jewelry is highly durable and can withstand mild dish soap (like Dawn) and warm water. Use a soft brush to agitate the soap into the crevices. Rinse thoroughly and dry immediately with a microfiber cloth to prevent water spots. Do not use brass brushes or harsh polishing compounds, as you risk cutting through the outer gold layer into the brass core.
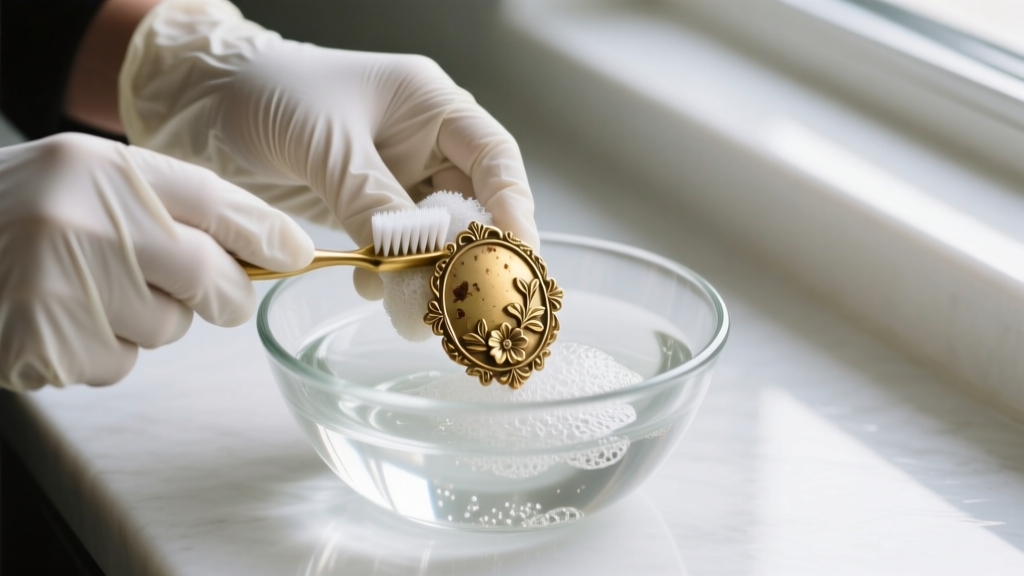
Sanitization: The Final Step for Secondhand Pieces
Cleaning removes dirt and tarnish, but sanitization kills bacteria and fungi accumulated over decades of previous wear. This is especially critical for thrifted earrings and body jewelry.
According to guidelines supported by the Jewelers of America, proper hygiene for secondhand jewelry requires chemical or UV intervention. Wipe down all metal surfaces with 70% Isopropyl Alcohol (IPA). Avoid 90% or higher concentrations, as the higher water content in 70% IPA actually allows it to penetrate bacterial cell walls more effectively before evaporating. For porous gems like pearls or coral that cannot tolerate alcohol, utilize a UV-C sanitizing box for 10 to 15 minutes to neutralize pathogens without chemical exposure.
Red Flags: When to Walk Away or Seek a Professional
Not every thrifted piece is a DIY project. Knowing when to abandon a purchase or hand it over to a master jeweler will save you from irreversible damage.
"Verdigris—the green, crusty buildup on copper and brass alloys—is not just unsightly; it is toxic and highly corrosive. While surface verdigris can be removed with a white vinegar soak, if it has deeply pitted the base metal or compromised the structural integrity of a clasp, the piece is functionally dead."
Additionally, be highly cautious of vintage enamel pieces and leaded crystals. If you are buying heavily enameled vintage brooches, look for micro-cracks in the glaze; water will seep into these cracks and cause the enamel to lift and flake off entirely. Finally, if you are purchasing vintage children's jewelry or unbranded antique pieces, consider testing them with a 3M LeadCheck swab. Lead was commonly used in vintage jewelry solders and rhinestone glass, and it cannot be safely "cleaned" away.
Mastering how to clean thrifted jewelry transforms you from a passive shopper into an active restoration artist. By combining careful material triage with targeted, science-backed cleaning methods, you can rescue stunning historical pieces and wear them with confidence for decades to come.


