How to Clean Vintage Jewelry Safely by Era and Material
Learn how to clean vintage jewelry safely across different eras. Discover era-specific care for Victorian foil-backs, Art Deco diamonds, and porous gems.

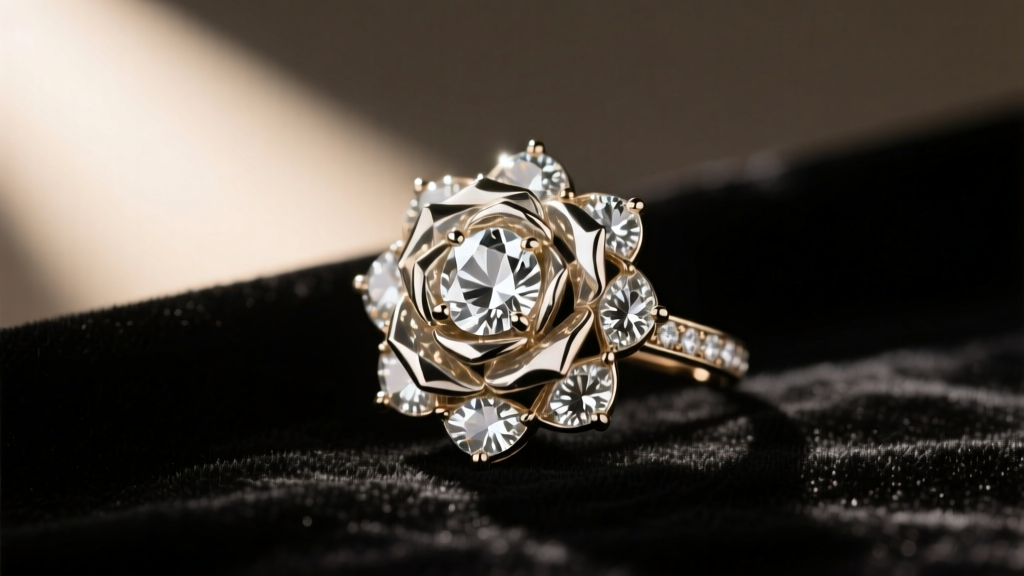
The secondary jewelry market has experienced a massive renaissance, with collectors and enthusiasts increasingly drawn to the craftsmanship and historical allure of antique and vintage pieces. However, learning how to clean vintage jewelry requires a drastic departure from modern maintenance routines. A cleaning method that works perfectly for a contemporary 18-karat gold and diamond solitaire could permanently destroy a 19th-century foil-backed gemstone or craze a mid-century Bakelite bangle.
As a senior bench jeweler and archivist, I cannot stress this enough: vintage jewelry is not just old; it is a historical artifact. The alloys, adhesives, and gemstone treatments used between 1830 and 1970 were fundamentally different from those used today. In this comprehensive guide, we will break down the exact protocols for cleaning vintage jewelry by era, material, and structural vulnerability, ensuring your heirlooms survive for the next generation.
The Golden Rule: Identify Before You Clean
Before a single drop of water touches your vintage piece, you must identify its material composition and structural integrity. The most critical factor in vintage jewelry care is porosity and backing type. According to the Gemological Institute of America (GIA), organic and porous gemstones absorb liquids, which can lead to internal fracturing, discoloration, and structural failure.
Porous vs. Non-Porous Gemstones
| Gemstone Type | Examples | Water Exposure | Chemical Exposure |
|---|---|---|---|
| Highly Porous | Pearl, Coral, Amber, Turquoise, Lapis Lazuli, Opal | Never submerge; wipe only | Strictly avoid all chemicals |
| Low Porosity / Hard | Diamond, Sapphire, Ruby, Spinel | Safe for brief soaking | Mild soap only |
| Treated / Fracture-Filled | Emerald (oil/resin), Jade (dyed) | Never submerge | Avoid heat and solvents |
Furthermore, you must inspect the reverse of the piece. Many Victorian and Edwardian pieces feature closed-back collet settings with metallic foil behind the stone to enhance brilliance. If water breaches the setting, the foil will oxidize, turn black, and ruin the stone's optical properties permanently.
Era-Specific Cleaning Protocols
Each jewelry era introduced distinct manufacturing techniques, metal alloys, and gemstone cuts. Understanding these nuances is the cornerstone of safe vintage jewelry maintenance.
Victorian & Edwardian (1837–1910): Foil-Backs and Natural Pearls
Jewelry from this era frequently utilized silver-topped gold, rose-cut diamonds, and foil-backed garnets or topaz. Never submerge Victorian jewelry in water. The moisture will seep into the unsealed collet settings and destroy the silver foil. Instead, use a dry, untreated microfiber cloth to gently buff the metal. For stubborn dirt in the intricate repoussé or cannetille metalwork, use a soft, dry makeup brush to gently sweep out the crevices. If the piece contains natural pearls or seed pearls, avoid all commercial cleaners, as the ammonia will dissolve the nacre.
Art Deco (1920–1935): Platinum and Calibré-Cut Stones
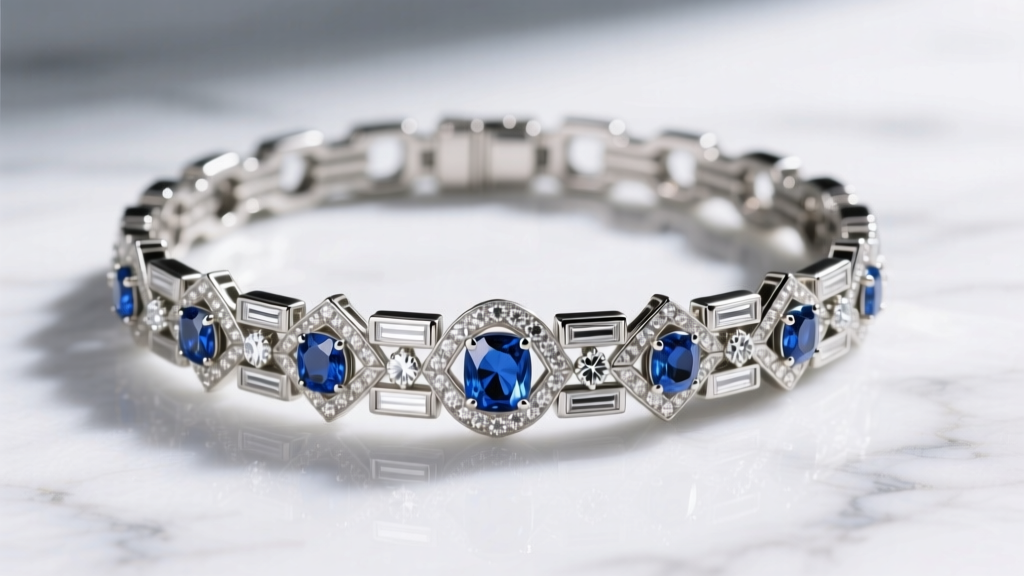
The Art Deco period is defined by geometric precision, milgrain detailing, and the widespread use of platinum. Platinum is highly durable and does not tarnish like silver, making it relatively safe to clean. However, the danger lies in the calibré-cut stones (custom-cut sapphires, rubies, or onyx fitted flush into channel settings). Over a century, the microscopic platinum bezels holding these stones can wear thin. Aggressive brushing or ultrasonic vibrations will pop these stones right out of their mounts. Use a soft baby toothbrush dipped in a mild solution of distilled water and pH-neutral dish soap, brushing gently away from the stone settings.
Retro & Mid-Century (1935–1960): Early Plastics and Rose Gold
The Retro and Mid-Century eras introduced large, bold gold designs and the popularization of early synthetic plastics like Bakelite, Lucite, and Catalin. Never use alcohol, ammonia, or hot water on vintage Bakelite or Catalin. These early thermosetting plastics are prone to 'crazing' (a network of fine cracks) and chemical burning. To clean a Bakelite bangle or brooch, simply wipe it with a damp cloth and dry it immediately. For rose gold pieces from this era, avoid harsh polishes that strip the copper-rich alloy of its warm, historical patina.
Dangerous DIY Methods to Avoid at All Costs
The internet is rife with 'life hacks' for jewelry cleaning that are actively destroying vintage pieces. As experts noted by the Victoria and Albert Museum's conservation department, well-intentioned but misguided home remedies cause irreversible micro-abrasions and chemical damage.
- Baking Soda Pastes: Baking soda has a Mohs hardness of about 2.5. While it won't scratch a diamond, it will leave thousands of micro-scratches on high-karat gold, silver, and softer gems like amber, permanently dulling the factory finish.
- Whitening Toothpaste: Toothpaste contains hydrated silica and titanium dioxide—highly abrasive compounds designed to strip enamel stains. On vintage jewelry, it acts like sandpaper, destroying delicate milgrain edges and engraving.
- Ultrasonic Cleaners: The high-frequency sound waves create microscopic cavitation bubbles that implode with immense force. This will shatter fracture-filled emeralds, crack opals, and shake loose the fragile solder joints commonly found in antique chain links and hollow ear wires.
- Silver Dip Solutions: Liquid tarnish removers use harsh thiourea-based acids that strip the silver down to its base layer, leaving it porous and highly susceptible to rapid re-tarnishing.
Step-by-Step: The Safest Universal Vintage Cleaning Method
When you are certain your piece does not contain porous stones, foil-backing, or early plastics, you can use this universal, bench-jeweler-approved cleaning method.
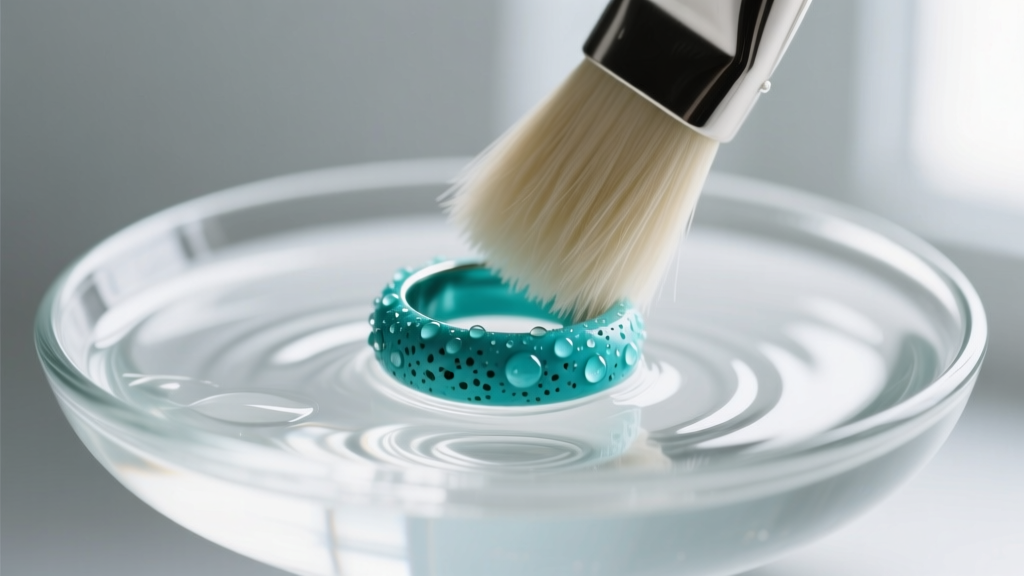
- Prepare the Solution: Fill a shallow glass bowl with distilled water (tap water contains chlorine and minerals that can react with vintage alloys). Add two drops of a mild, pH-neutral dish soap, such as original Dawn.
- Inspect the Prongs: Using a 10x jeweler's loupe, inspect every prong and bezel. If any metal is lifted or worn thin, do not clean the piece. Take it to a professional.
- Soak Briefly: Submerge the jewelry for no more than 3 to 5 minutes. This is just enough time to loosen sebum, lotion, and environmental dust.
- Agitate Gently: Use an extra-soft, natural-bristle baby toothbrush. Brush the back of the settings (the gallery) where dirt accumulates. Use light, circular motions.
- Rinse and Dry: Rinse under a gentle stream of lukewarm distilled water. Immediately pat dry with a lint-free microfiber cloth. Use a hairdryer on the 'cool' setting to blow out any remaining water droplets trapped behind the stones.
Professional Conservation vs. Commercial Cleaning
There is a profound difference between making a piece look 'brand new' and conserving its historical integrity. In the antique trade, a piece's patina—the natural, darkened oxidation that settles into the crevices of engravings and filigree over decades—is highly desirable. It provides contrast and proves the piece's age.
If you take a Victorian mourning ring or an Etruscan-revival bangle to a standard mall jeweler, they may aggressively machine-polish it on a high-speed buffing wheel. This will strip away the patina, round off the crisp edges of the engraving, and effectively erase decades of history, dropping the piece's resale value by 20% to 40%. Always seek out a jeweler who specializes in estate jewelry conservation rather than commercial restoration. They understand how to clean the wearable surfaces while preserving the historical contrast in the recesses.
Ultimately, knowing how to clean vintage jewelry is an exercise in restraint. When in doubt, do less. The goal is not to make a 100-year-old artifact look like it was manufactured yesterday, but to preserve its unique character, structural integrity, and historical soul for the future.


