How to Remove Tarnish from Fake Jewelry: Budget Guide
Learn how to remove tarnish from fake jewelry safely. Our budget guide assesses the true value of cleaning versus replacing plated fashion pieces.

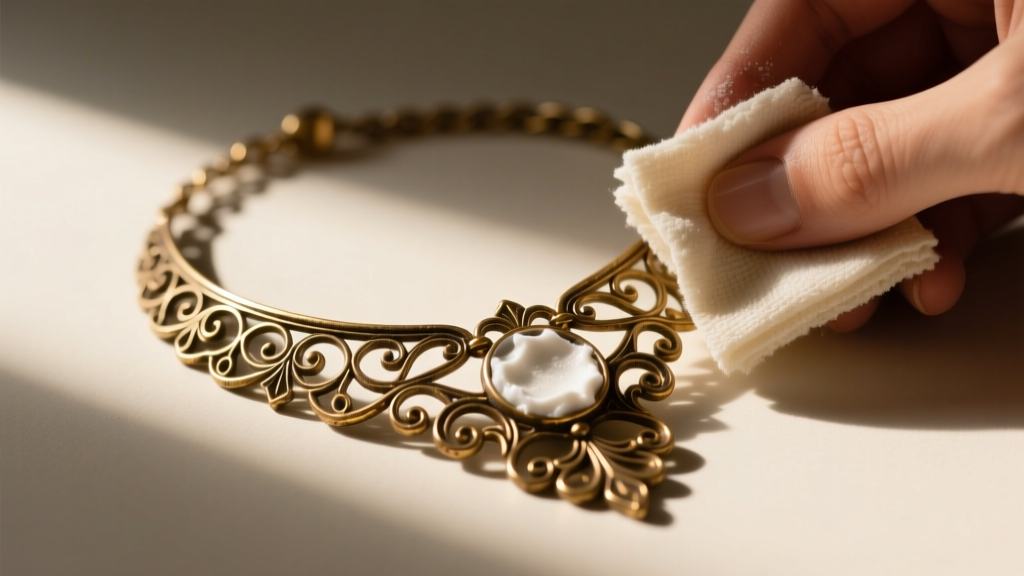
The Economics of Costume Jewelry: Clean or Replace?
When your favorite fashion accessories lose their luster, figuring out how to remove tarnish from fake jewelry becomes a matter of both chemistry and economics. Unlike solid gold or platinum, 'fake' or costume jewelry is typically crafted from base metals—such as brass, copper, pewter, or zinc alloys—and coated with a microscopically thin layer of precious metal. According to the Federal Trade Commission (FTC) Jewelry Guides, flash plating can be as thin as 0.01 to 0.1 microns. Once this plating wears away, the exposed base metal reacts with oxygen, sulfur, and the acids in your skin, resulting in stubborn black, green, or white oxidation.
Before you start scrubbing, you must conduct a budget and value assessment. If you are dealing with a $15 fast-fashion ring, spending $45 to have it professionally replated is a negative return on investment. However, if the piece is a $150 vintage designer item or holds deep sentimental value, professional restoration or careful DIY cleaning is highly justified. This guide breaks down the exact methods to safely restore your pieces without destroying the remaining plating, helping you decide when to clean, when to seal, and when to toss.
Material Breakdown: What Are You Actually Cleaning?
To effectively treat oxidation, you must identify the underlying base metal. Different alloys react differently to DIY cleaning agents. Below is a diagnostic chart to help you identify your jewelry's core material and choose the most cost-effective cleaning strategy.
| Base Metal | Tarnish Color | Common Uses | Best Budget Cleaner | Estimated Lifespan |
|---|---|---|---|---|
| Brass (Copper/Zinc) | Dark brown/black | Chunky chains, vintage brooches | Lemon juice & salt | 1-3 years |
| Copper | Green/Teal | Ring bands, ear wires | White vinegar soak | 6 months-2 years |
| Zinc Alloy (Tibetan Silver) | Chalky white/grey | Charms, pendants, findings | Baking soda paste | 1-4 years |
| Nickel-Silver (No actual silver) | Yellowish-black | Costume watch bands, clasps | Mild dish soap only | 2-5 years |
Note: If your jewelry leaves a green or black mark on your skin, it is likely copper or brass reacting to your sweat's pH levels, indicating the protective plating has completely failed.
Step-by-Step: How to Remove Tarnish from Fake Jewelry Safely
When learning how to remove tarnish from fake jewelry, the golden rule is to start with the gentlest method and only escalate if necessary. Aggressive polishing will strip whatever flash plating remains.
Method 1: The Dish Soap & Soft Brush (For Light Surface Dirt)
This is your first line of defense. It removes oils, lotions, and light environmental grime without risking the plating.
- Cost: Under $0.10 per use.
- Recipe: Mix 2 drops of mild, phosphate-free dish soap (like Dawn) into a bowl of lukewarm water.
- Execution: Soak the piece for 3 minutes. Gently agitate with a baby-soft toothbrush. Rinse in distilled water (tap water minerals can cause spotting) and pat dry with a microfiber cloth.
Method 2: Baking Soda Paste (For Zinc & Brass Oxidation)
Baking soda is a mild abrasive that can physically lift heavy oxidation from porous zinc alloys and brass without the need for harsh chemicals.
- Cost: Under $0.05 per use.
- Recipe: Mix 2 parts baking soda with 1 part water to form a thick paste.
- Execution: Apply the paste with a cotton swab, gently rubbing only the tarnished areas. Avoid glued-in rhinestones, as the moisture can dissolve the adhesive backing. Rinse thoroughly and dry immediately.
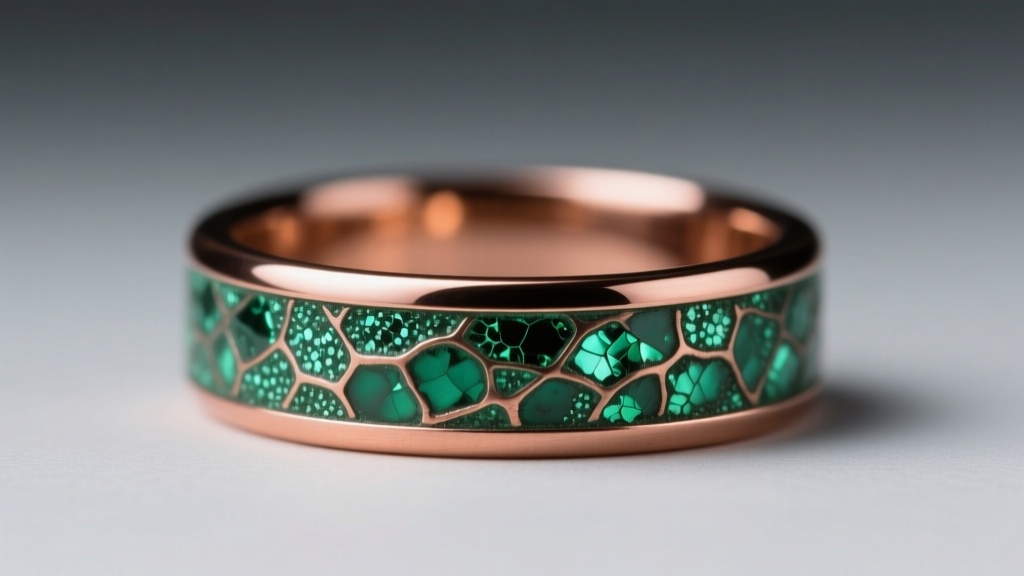
Method 3: The Aluminum Foil Ion-Exchange Bath (For Silver-Plated Copper)
This method uses a galvanic electrochemical reaction to transfer sulfur atoms from the jewelry to the aluminum foil. It is highly effective but must not be used on pieces with glued stones, faux pearls, or enamel.
- Cost: Under $0.20 per use.
- Recipe: Line a glass bowl with aluminum foil (shiny side up). Add 1 tablespoon of baking soda and 1 tablespoon of sea salt.
- Execution: Pour boiling water over the mixture. Submerge the jewelry so it physically touches the foil. Let it sit for 2 to 5 minutes. The tarnish will literally migrate to the foil. Remove with plastic tongs, rinse in distilled water, and buff dry.
The Danger Zone: What NOT to Do on a Budget
Many DIY tutorials recommend harsh techniques that will instantly ruin fashion jewelry, turning a $5 cleaning mistake into a $50 replacement cost. Avoid these common pitfalls:
Never use commercial silver dips on fake jewelry. These highly acidic thiourea-based solutions are designed for solid sterling silver. On flash-plated items, they will strip the microscopic gold or silver layer entirely, leaving you with a raw, quickly oxidizing base metal.
Furthermore, avoid ultrasonic cleaners. While excellent for solid gold and diamonds, the high-frequency cavitation bubbles generated by ultrasonic waves will shake the delicate foil backing off glass rhinestones and cause micro-fractures in thin electroplating. According to educational resources from the Gemological Institute of America (GIA), understanding the structural limits of plated and simulated materials is crucial to preventing irreversible damage during cleaning.
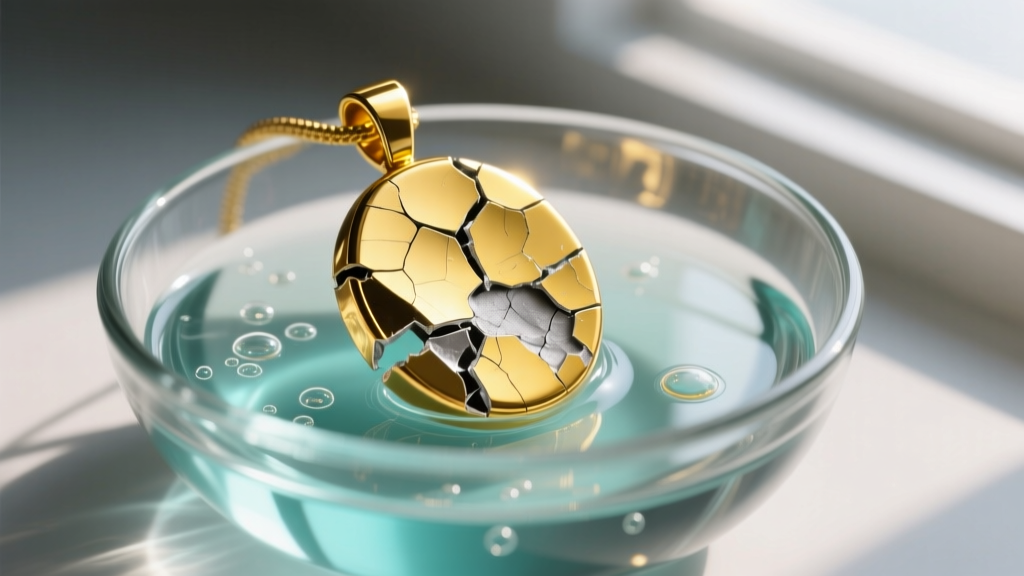
Value Assessment Framework: When to Toss Tarnished Pieces
Not every piece of tarnished jewelry is worth saving. Use this decision matrix to determine if your time and cleaning supplies are better spent elsewhere, or if you should recycle the metal and replace the item.
1. The Skin Reaction Test
If the base metal is exposed and causes contact dermatitis (often due to nickel content in cheap alloys), the piece has lost its functional value. Unless you are willing to coat it in a specialized jewelry sealant, it is time to toss it. Clear nail polish is a common budget hack, but it yellows and chips within weeks. A better investment is a micro-crystalline wax like Renaissance Wax ($25 for a tin that lasts years), which provides a stable, non-yellowing barrier.
2. The Stone Integrity Check
Inspect the settings. If the prongs are made of soft zinc alloy and are bending or snapping, cleaning the metal will not save the structural integrity of the piece. If glued cubic zirconia or acrylic stones are cloudy from chemical exposure, no amount of metal polishing will restore the jewelry's visual appeal.
3. The Replacement Cost Calculation
Compare the cost of your time and materials against the current market replacement value. If a heavily tarnished brass chain costs $12 to replace on a modern fast-fashion marketplace, and you spend 45 minutes attempting complex chemical baths to save it, you are operating at a loss. Reserve your deep-cleaning efforts for discontinued, vintage, or high-sentiment pieces.
Preventative Maintenance: Maximizing Your Jewelry Budget
The most cost-effective way to handle tarnish is to prevent it entirely. Base metals oxidize when exposed to humidity, sulfur in the air, and the lactic acid in your sweat. To extend the lifespan of your fashion jewelry by up to 300%, implement these zero-cost storage habits:
- The Ziploc Method: Store each piece individually in a small, airtight polyethylene zip-top bag. Squeeze out all excess air before sealing.
- Silica Gel Packets: Never throw away the desiccant packets that come in shoe boxes or vitamin bottles. Drop one into your jewelry storage bin to control ambient humidity.
- Anti-Tarnish Strips: For a budget of roughly $10, you can buy a pack of 3M anti-tarnish strips. These absorb airborne sulfur compounds and protect your plated jewelry for up to 12 months.
By understanding the metallurgy of your accessories and applying the right budget-friendly cleaning techniques, you can confidently maintain your collection. Knowing exactly how to remove tarnish from fake jewelry ensures you only invest time and money into pieces that truly deserve a second life.


