How to Use a Sonic Jewelry Cleaner: An Expert Technical Guide
Learn exactly how to use a sonic jewelry cleaner with our expert technical guide. Discover frequency settings, safe solutions, and gemstone limits.

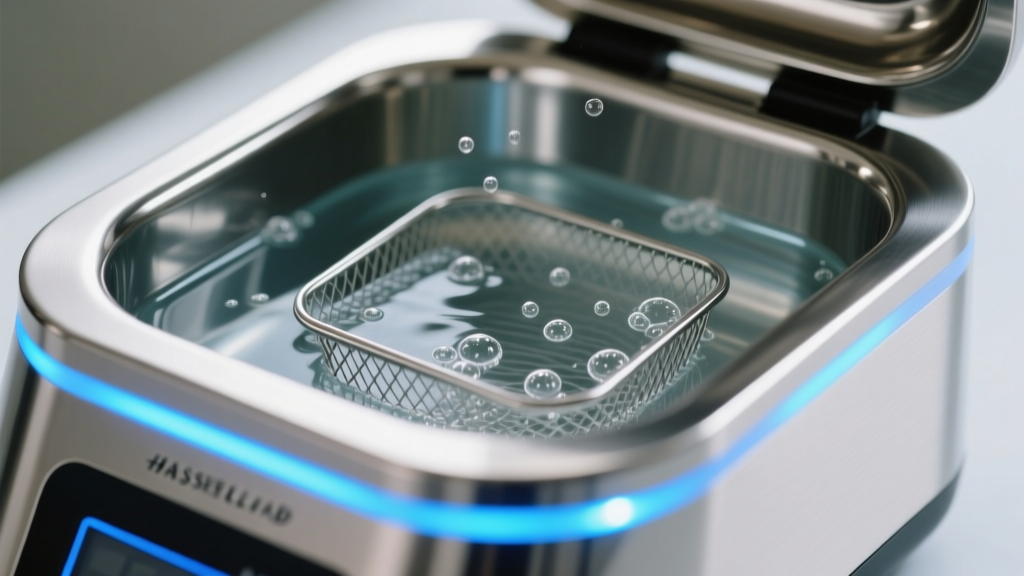
When it comes to professional-grade jewelry maintenance, understanding how to use a sonic jewelry cleaner is a non-negotiable skill for serious collectors, bench jewelers, and horologists. Unlike manual brushing or chemical soaking, sonic (ultrasonic) cleaning relies on high-frequency acoustic waves to dislodge microscopic debris from intricate settings, undercuts, and pavé galleries. However, improper use can lead to catastrophic gemstone fracturing, metal fatigue, or transducer damage. This expert deep dive explores the fluid dynamics, chemical formulations, and operational protocols required to master sonic cleaning technology safely and effectively.
The Physics of Cavitation: Understanding Sonic Frequencies
At the core of every sonic cleaner is a piezoelectric transducer, typically a Langevin-type sandwich transducer, bonded to the base of a stainless steel tank. When an alternating electrical current is applied, the ceramic elements expand and contract, generating high-frequency acoustic waves through the liquid medium. Standard jewelry cleaners operate between 35 kHz and 42 kHz, while specialized delicate cleaners can reach 80 kHz to 120 kHz.
These sound waves create alternating high-pressure and low-pressure cycles in the fluid. During the low-pressure phase, microscopic vacuum bubbles form—a process known as cavitation. When these bubbles collapse during the high-pressure phase, they generate localized micro-jets of liquid traveling at speeds up to 400 km/h, with momentary localized temperatures reaching 5,000°C. It is this sheer hydraulic force, not heat or chemical erosion, that blasts away sebum, polishing compound, and environmental grime from beneath diamond girdles and inside milgrain detailing.
Step-by-Step Protocol: How to Use a Sonic Jewelry Cleaner
Step 1: Solution Formulation and Degassing
Never use tap water in an ultrasonic bath. The dissolved minerals (calcium and magnesium) will precipitate out when heated, leaving a stubborn white scale on both your jewelry and the tank's transducer plate. Always use distilled or deionized water. To this, add a specialized non-ionic surfactant or a mild chelating agent (like EDTA-based jewelry concentrates). Avoid highly alkaline solutions (pH > 9) as they can oxidize white gold alloys and degrade porous gemstones.
Before introducing any jewelry, you must degas the solution. Freshly poured distilled water contains dissolved oxygen and carbon dioxide. These gases absorb acoustic energy and cushion the implosion of cavitation bubbles, drastically reducing cleaning efficacy. Run the machine empty for 5 to 10 minutes, or use the dedicated 'Degas' function if your unit has one, until the fluid appears completely still and bubble-free at the surface.
Step 2: Basket Placement and Thermal Regulation
A critical error many users make is dropping jewelry directly into the bottom of the tank. The tank floor is the primary acoustic emission zone; resting items directly on it causes acoustic reflection that can damage the transducer and severely scratch the jewelry. Always use the provided suspended wire mesh basket. Furthermore, ensure the basket does not touch the sides of the tank, which can dampen the acoustic waves.
Thermal regulation is equally vital. Most modern sonic cleaners feature built-in heaters. Set the temperature to exactly 45°C (113°F). This specific temperature lowers the surface tension of the water and reduces its vapor pressure, optimizing the violence of the cavitation implosions without risking thermal shock to heat-sensitive gemstones or melting delicate jewelry waxes.
Step 3: Frequency Selection and Cycle Timing
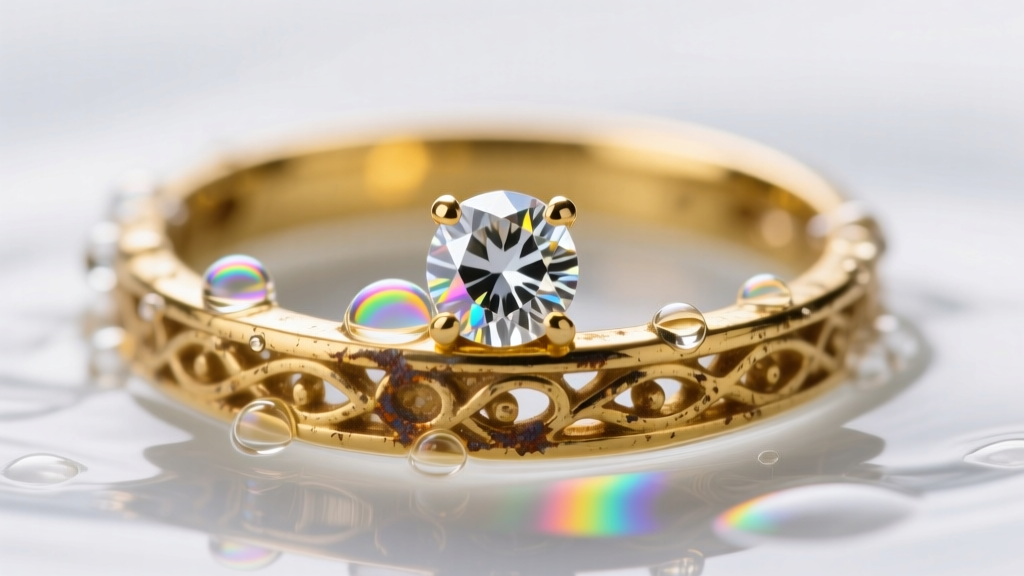
If your machine features sweep technology (which modulates the frequency slightly to prevent acoustic dead zones), ensure it is activated. For standard diamond and platinum cleaning, a 40 kHz frequency is ideal. For fragile items like antique filigree or emerald clusters, switch to an 80 kHz setting if available, as higher frequencies produce smaller, gentler cavitation bubbles that penetrate tighter spaces with less sheer force.
Limit cleaning cycles to 3 to 5 minutes. Prolonged exposure to cavitation can cause 'cavitation erosion' on softer metals like high-karat gold (22k/24k) and can loosen friction-set stones or compromise the integrity of laser-welded joints.
Material Compatibility Matrix
Not all materials can survive the violent physics of cavitation. Use the following matrix to determine operational safety before initiating a cycle.
| Material | Mohs Hardness | Safe Freq (kHz) | Max Temp (°C) | Risk Factor & Notes |
|---|---|---|---|---|
| Diamond (Untreated) | 10 | 35 - 45 | 60 | Low. Safe unless heavily included. |
| Platinum / 18k Gold | 4 - 5 | 35 - 45 | 50 | Low. Excellent acoustic conductors. |
| Sterling Silver | 2.5 - 3 | 40 - 80 | 40 | Medium. Can accelerate tarnish if left wet. |
| Emerald (Oiled/Filled) | 7.5 - 8 | DO NOT USE | N/A | Extreme. Cavitation strips cedar oil/resin. |
| Opal (Solid/Synthetic) | 5.5 - 6.5 | DO NOT USE | N/A | Extreme. Water absorption causes crazing. |
| Pearl (Nacre) | 2.5 - 4.5 | DO NOT USE | N/A | Extreme. Vibrations delaminate nacre layers. |
Advanced Troubleshooting and Maintenance
The Aluminum Foil Test for Transducer Health
How do you know if your sonic cleaner is actually cavitating, or if the transducers have delaminated from the steel tank? Perform the aluminum foil test. Cut a 4x4 inch square of standard kitchen foil and suspend it vertically in the center of the tank filled with distilled water. Run the machine for 60 seconds at 40 kHz. Upon removal, the foil should exhibit a uniform, dimpled pattern of microscopic indentations. If the foil is untouched, or if the dimples are concentrated only in specific nodes (indicating standing wave issues), your transducers are failing or the tank requires professional recalibration.
Solution Saturation and Chemical Breakdown
Sonic cleaning solutions do not last forever. As the fluid becomes saturated with dissolved oils, skin cells, and metallic particulates, the acoustic impedance of the liquid changes. This dampens the transmission of ultrasonic waves. In a high-volume commercial setting, the solution should be changed daily. For home enthusiasts, replace the fluid after every 10 to 15 cleaning cycles, or immediately if the liquid becomes visibly cloudy or develops an odor.
Post-Cleaning Rinse and Drying Protocols
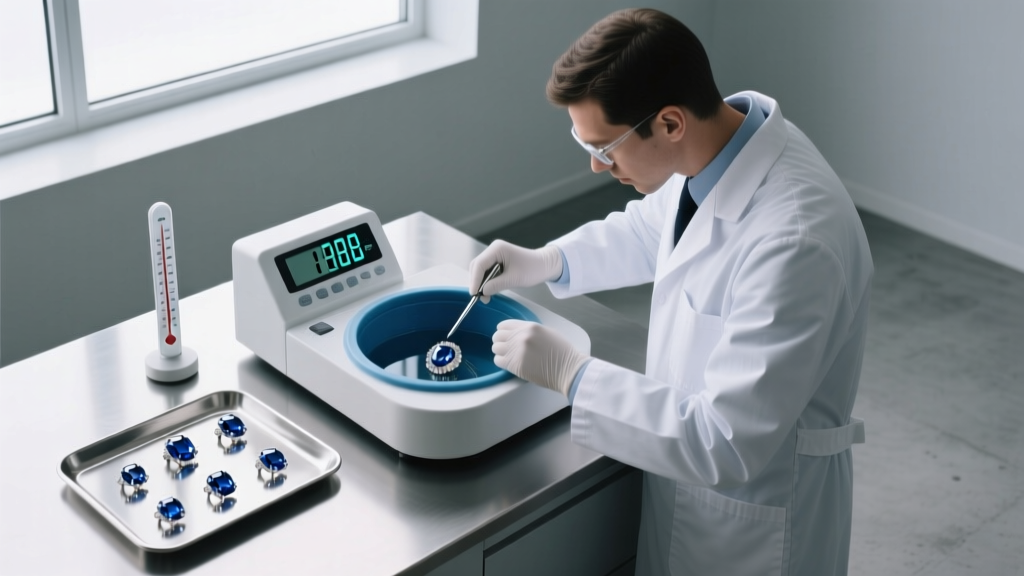
The cleaning process is only half the battle. When you remove jewelry from the sonic bath, it is coated in a microscopic film of surfactant and suspended dirt. If allowed to air dry, this film will leave water spots and dull the optical brilliance of faceted gemstones.
Immediately transfer the jewelry to a secondary rinse tank filled with pure distilled water, or spray it down with a pressurized distilled water bottle. Finally, use a can of compressed air or a dedicated jewelry air blower to force water out from beneath the girdle of the stones and inside the gallery wires. Never use paper towels or cotton swabs, as they will leave microscopic lint fibers caught on the prongs, defeating the entire purpose of the ultrasonic cleaning process. For comprehensive guidelines on specific gemstone vulnerabilities, always consult the Gemological Institute of America (GIA) or refer to GIA's Pearl Care protocols before treating organic materials.


