How to Clean Vintage Costume Jewelry Before Gifting
Learn how to clean vintage costume jewelry safely before gifting. Discover expert restoration tips for rhinestones, Bakelite, and pot metal pieces.

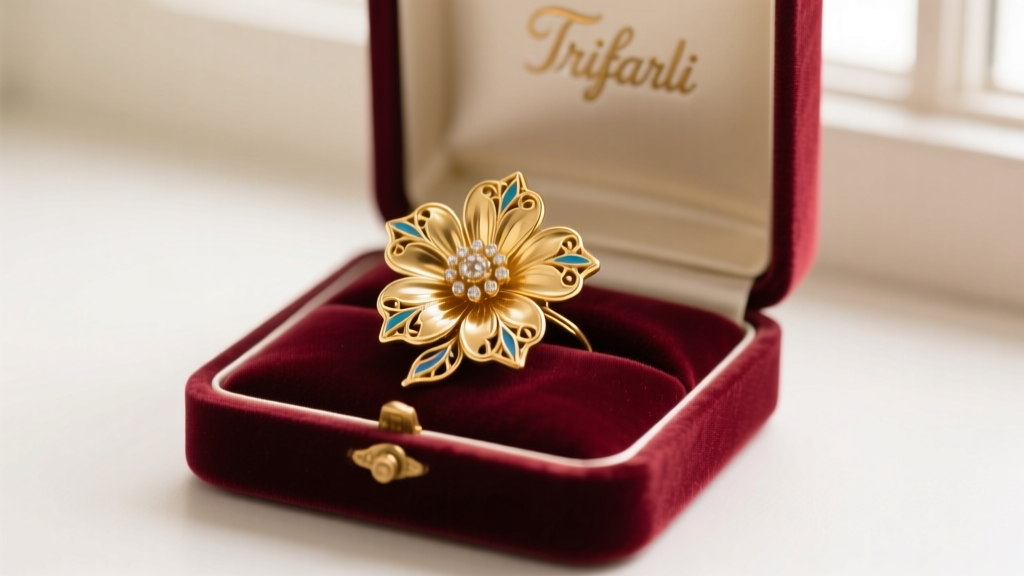
Gifting vintage costume jewelry has become one of the most thoughtful, sustainable, and highly sought-after present strategies in 2026. Whether you are passing down a 1930s Art Deco dress clip, gifting a 1950s Trifari pearl parure for a bridal shower, or presenting a bold 1980s Chanel Gripoix glass brooch for a milestone birthday, these pieces carry immense historical weight and sentimental value. However, handing over a tarnished, dusty, or oxidized piece can diminish the impact of your gift. Knowing how to clean vintage costume jewelry safely is critical, as the materials used in the 20th century are notoriously fragile and react poorly to modern commercial cleaners.
The High Stakes of Vintage Restoration
Unlike fine jewelry, which relies on the inherent value of precious metals and gemstones, vintage costume jewelry derives its value from craftsmanship, designer pedigree (such as Miriam Haskell, Coro, or Eisenberg), and material ingenuity. A fully restored 1950s Trifari Alfred Philippe parure can fetch $400 to $800 at auction, but only if the original finishes and stone foils remain intact. One wrong move with a harsh chemical or an ultrasonic cleaner can strip rhodium plating, melt early plastics, or dissolve water-soluble foil backings, permanently destroying the piece's value and aesthetic.
According to conservation guidelines from the Victoria and Albert Museum, historical costume jewelry requires a conservative, minimalist approach to cleaning. The goal is stabilization and gentle surface cleaning, not aggressive polishing.
Material Identification: The Crucial First Step
Before applying any cleaning agent, you must identify the materials. Vintage costume jewelry is a complex matrix of base metals, early synthetics, and delicate glass treatments. Below is a decision framework for identifying common vintage materials and their specific vulnerabilities.
| Material | Common Eras | Safe Cleaning Agent | Critical Failure Modes to Avoid |
|---|---|---|---|
| Foil-Backed Rhinestones | 1920s–1970s | Dry microfiber, soft makeup brush | Water, ultrasonic cleaners, ammonia (dissolves foil) |
| Pot Metal (Base Alloys) | 1920s–1940s | Wooden skewer, distilled white vinegar (spot only) | Submersion, metal scraping tools, baking soda pastes |
| Bakelite (Phenolic Resin) | 1930s–1940s | Simichrome polish, mild dish soap | Alcohol, acetone, heat, abrasive scrubbing pads |
| Lucite / Acrylic | 1940s–1960s | Damp microfiber, distilled water | Window cleaner, alcohol (causes clouding and crazing) |
| Aurora Borealis (AB) Glass | 1950s–Present | Dry cotton swab, mild soapy water (damp) | Friction, ultrasonic waves (strips the metallic coating) |
Step-by-Step Cleaning Protocols by Material
1. Foil-Backed Rhinestones (The Danger Zone)
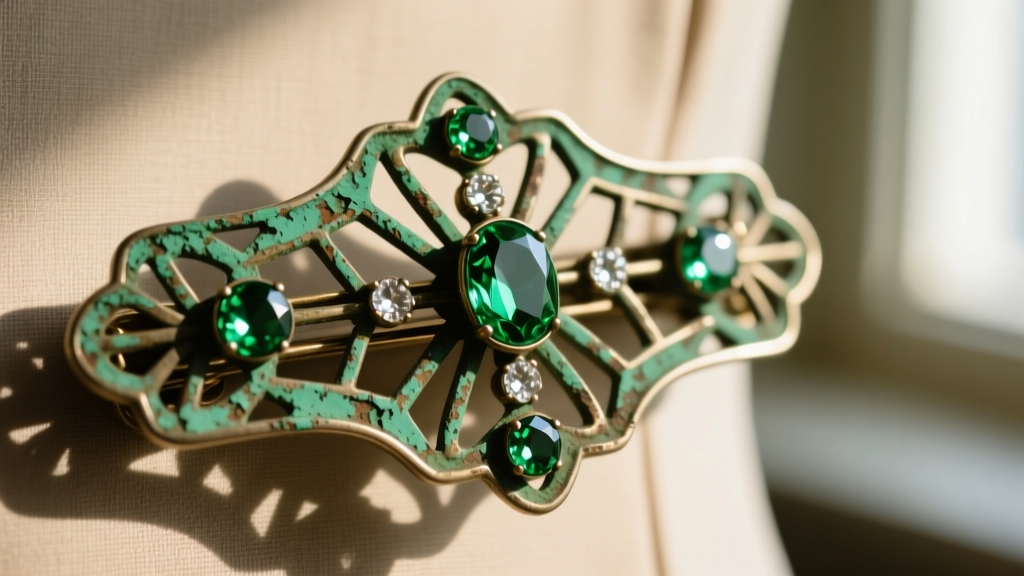
The brilliant sparkle of mid-century rhinestones relies on a delicate, water-soluble silver or gold foil applied to the back of the glass stone. Submerging these stones in water, dish soap, or commercial jewelry dips will cause the foil to oxidize, turn black, and flake away, leaving you with a dull, transparent piece of glass.
- Dust Removal: Use a clean, dry, soft-bristled makeup brush (like a blending brush) to gently sweep away loose dust and skin cells from the prongs and table of the stone.
- Targeted Grime Removal: Dampen a cotton swab with distilled water (tap water contains minerals that leave spots). Wring it out until it is barely damp. Gently roll the swab over the glass surface, strictly avoiding the metal prongs where water could seep under the stone.
- Drying: Immediately follow with a dry cotton swab to absorb any residual moisture.
2. Eradicating Verdigris on Pot Metal
Pot metal—an inexpensive alloy of zinc, copper, lead, and tin—was the backbone of 1930s and 1940s costume jewelry. Over time, the copper content reacts with moisture and skin acids to form verdigris, a crusty green corrosion that can spread and destroy the structural integrity of the piece.
Pro-Tip: Never use metal dental picks or needles to scrape verdigris. Pot metal is incredibly soft, and steel tools will gouge the surface, ruining the original rhodium or gold wash. Always use wooden toothpicks or bamboo skewers.
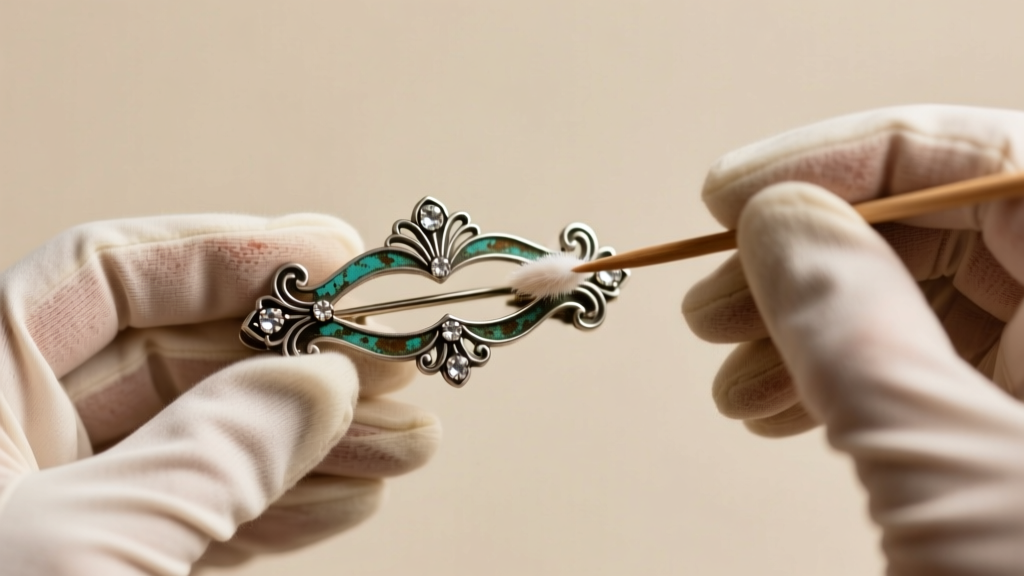
Use a wooden skewer to gently flake away the dry, crusty green layers. For stubborn spots, dip a micro-swab in distilled white vinegar and apply it only to the verdigris. The mild acetic acid will dissolve the copper acetate. Neutralize the area immediately with a dry swab, followed by a swab lightly dampened with distilled water, and dry thoroughly. Once clean and dry, seal the bare metal with a micro-crystalline wax, such as Renaissance Wax, to prevent future oxidation.
3. Polishing Bakelite and Lucite Plastics
Carved Bakelite bangles and brooches are highly prized gifts. To confirm a piece is Bakelite, rub a small amount of Simichrome metal polish on an inconspicuous area with a cotton swab; if the swab turns yellow, it is genuine Bakelite. To clean and restore the deep, glassy shine of Bakelite, apply a tiny amount of Simichrome polish or a dedicated plastic polish like Novus #2. Buff gently with a microfiber cloth. Avoid any cleaners containing alcohol or ammonia, which will cause the phenolic resin to dry out, crack, and craze.
Occasion Matching: Prepping the Piece for the Recipient
When learning how to clean vintage costume jewelry, context matters. The level of restoration should match the occasion and the recipient's lifestyle.
Bridal and Wedding Gifts
For brides, 1950s pearl and rhinestone sets are incredibly popular. Faux pearls from this era are often made of glass beads coated with a pearlescent substance derived from fish scales or synthetic mica. Never use vinegar or acidic cleaners near vintage faux pearls, as the acid will strip the pearl coating. Clean them only with a dry, lint-free cloth. Present them in a blue velvet box to honor the traditional "something blue" motif.
Holiday and Hostess Gifting
For holiday hostess gifts, bold 1980s pieces featuring Gripoix glass (poured glass that mimics cabochon gems) or vibrant enamel work are ideal. Enamel can chip easily, so inspect the piece under a 10x jeweler's loupe before gifting. If you find micro-chips, do not attempt to fill them with modern epoxy, as this will alter the historical integrity. Instead, note the imperfections in a handwritten provenance card, celebrating the piece's authentic age and history.
Archival Packaging for the Big Reveal
The way you package your cleaned vintage jewelry is just as important as the cleaning process itself. Modern gift wrapping materials can actively harm vintage metals and plastics.
- Avoid PVC Plastics: Never seal vintage jewelry in polyvinyl chloride (PVC) plastic bags or wrap. PVC off-gases hydrochloric acid, which will rapidly tarnish silver and corrode base metals.
- Use Acid-Free Tissue: Wrap the piece in unbuffered, acid-free archival tissue paper. Buffered tissue (which contains calcium carbonate) is safe for silver but can damage organic materials like vintage coral, tortoiseshell, or early cellulose nitrate plastics.
- Anti-Tarnish Strips: Slip a 3M anti-tarnish strip into the gift box. These strips absorb airborne sulfur and hydrogen sulfide, keeping the gold wash and rhodium plating pristine for years after the gift is opened.
For deeper insights into the long-term preservation of historical adornments, the Gemological Institute of America (GIA) offers extensive guidelines on storing and handling antique and vintage materials safely.
When to Call a Professional Conservator
While you can safely clean most surface dirt and mild verdigris at home, some scenarios require professional intervention. If a piece features cracked stones, loose prongs, flaking enamel, or a broken 18-gauge brass pin stem, do not attempt DIY repairs with superglue. Cyanoacrylate adhesives emit fumes that can permanently cloud rhinestones and Lucite. Instead, take the piece to a jeweler who specializes in antique and estate jewelry restoration before wrapping it.
By taking the time to properly identify, gently clean, and archivally package your vintage finds, you elevate a simple secondhand purchase into a profound, museum-quality gift that will be cherished for generations.


