Troubleshooting Your Ultrasonic Jewelry Cleaning Solution
Is your ultrasonic cleaner leaving jewelry dull or damaged? Learn to troubleshoot your ultrasonic jewelry cleaning solution with expert chemistry fixes.

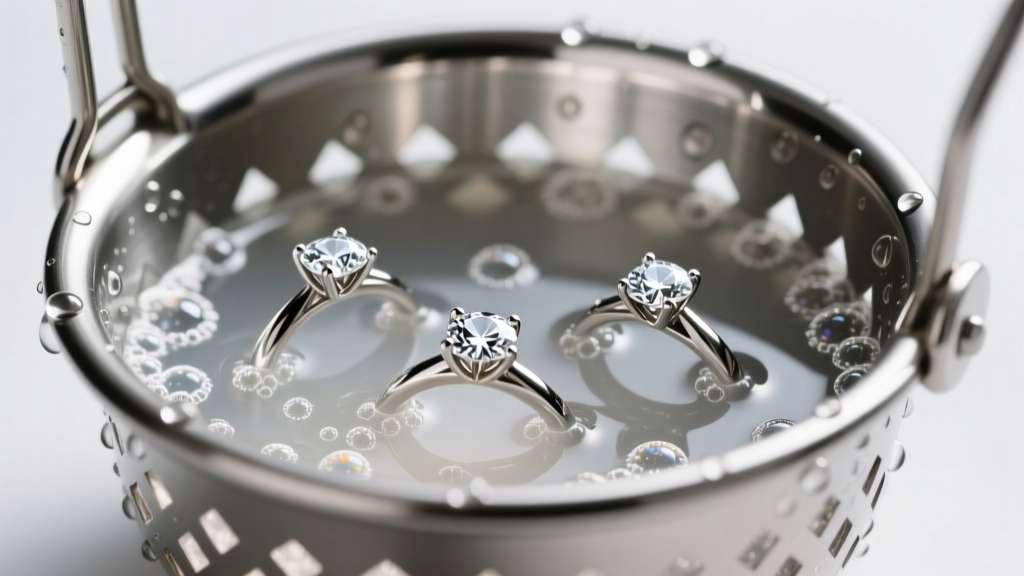
You have invested in a high-quality 40kHz ultrasonic cleaner, submerged your tarnished sterling silver and dull diamond pave rings, and waited for the acoustic magic to happen. Yet, when you pull the basket out, the jewelry is still cloudy, or worse, a delicate gemstone has fractured. In 90% of these cases, the transducer is not at fault. The failure lies entirely in the chemistry and physics of your ultrasonic jewelry cleaning solution.
Ultrasonic cleaning relies on acoustic cavitation—the rapid formation and violent collapse of microscopic vacuum bubbles in a liquid. If your solution's chemical makeup, temperature, or dissolved gas content is incorrect, cavitation fails, leaving grime intact or causing chemical damage to the metals and stones. Below is an expert-level troubleshooting guide to diagnosing and fixing your ultrasonic solution.
The Physics of Failure: Why Your Solution Isn't Cavitation-Ready
The most common mistake jewelers and consumers make is using plain tap water or distilled water without a surfactant. Pure water has a high surface tension (approximately 72 mN/m at room temperature). High surface tension resists the acoustic waves, resulting in larger, less numerous cavitation bubbles that collapse weakly.
To achieve the micro-jetting action required to blast sebum, polishing compound, and lotion out of a microscopic pave setting, you must lower the surface tension of your ultrasonic jewelry cleaning solution to below 30 mN/m. This is achieved by adding a non-ionic surfactant. Non-ionic surfactants do not carry an electrical charge, meaning they will not react with or oxidize sensitive metals like copper-rich rose gold or porous gemstones.
Pro Tip: Never use standard household dish soaps (like Dawn) in an ultrasonic tank. They are highly sudsing anionic surfactants. The thick foam layer acts as an acoustic dampener, absorbing the high-frequency sound waves before they can reach the jewelry.
Troubleshooting Common Ultrasonic Jewelry Cleaning Solution Errors
Error 1: The "Cold Start" Cavitation Kill
Cavitation is highly temperature-dependent. If your solution is below 40°C (104°F), the liquid's viscosity is too high, and the vapor pressure inside the cavitation bubbles is too low, cushioning their implosion. The optimal temperature range for most aqueous ultrasonic jewelry cleaning solutions is between 50°C and 65°C (122°F - 149°F). At this range, the liquid is thin enough to allow rapid bubble formation, but cool enough to prevent the vapor pressure from softening the violent collapse.
Error 2: Skipping the Degassing Phase
Freshly poured tap water is saturated with dissolved atmospheric gases (oxygen and nitrogen). These dissolved gases migrate into the cavitation bubbles during the low-pressure cycle, acting as a shock absorber during the high-pressure collapse. This phenomenon, known as "cushioning," reduces the cleaning force by up to 60%. Always run your ultrasonic tank empty for 5 to 10 minutes to degas the solution before introducing your jewelry.
Error 3: Ammonia Overload on Porous Stones
Many commercial ultrasonic jewelry cleaning solutions rely on ammonium hydroxide to cut through heavy grease and restore brilliance to diamonds. While ammonia is excellent for platinum and high-karat yellow gold, it is highly corrosive to copper alloys. If you use an ammonia-based solution on 14k rose gold, it will strip the copper oxidation layer, leaving the metal pitted and discolored. Furthermore, ammonia will permanently cloud porous organic gems like pearls and coral.
Chemical Compatibility Matrix: What to Mix and What to Avoid
Understanding how different chemical agents interact with specific metallurgical grades and gemological structures is critical. Consult this matrix before formulating or purchasing your next ultrasonic jewelry cleaning solution.
| Solution Ingredient | Safe For | Destroys / Damages |
|---|---|---|
| Ammonia (Ammonium Hydroxide) | Diamonds, Platinum, 18k/24k Yellow Gold | Rose Gold, Pearls, Opals, Turquoise, Emeralds |
| Citric Acid (Mild Acidic) | Sterling Silver (removes heavy sulfide tarnish) | Porous stones, oxidized/patina finishes, copper alloys |
| Non-Ionic Surfactant (Neutral pH) | Almost all metals, sapphires, rubies, diamonds | None (safest baseline for ultrasonic use) |
| Alkaline Detergents (High pH) | Stainless steel, titanium body jewelry | Aluminum, zinc alloys, soft organic gems |
For a comprehensive overview of gemstone durability and chemical sensitivities, always refer to the Gemological Institute of America (GIA) Gem Care guidelines, which outline specific Mohs hardness and stability factors for ultrasonic exposure.
Formulating the Perfect DIY Ultrasonic Jewelry Cleaning Solution
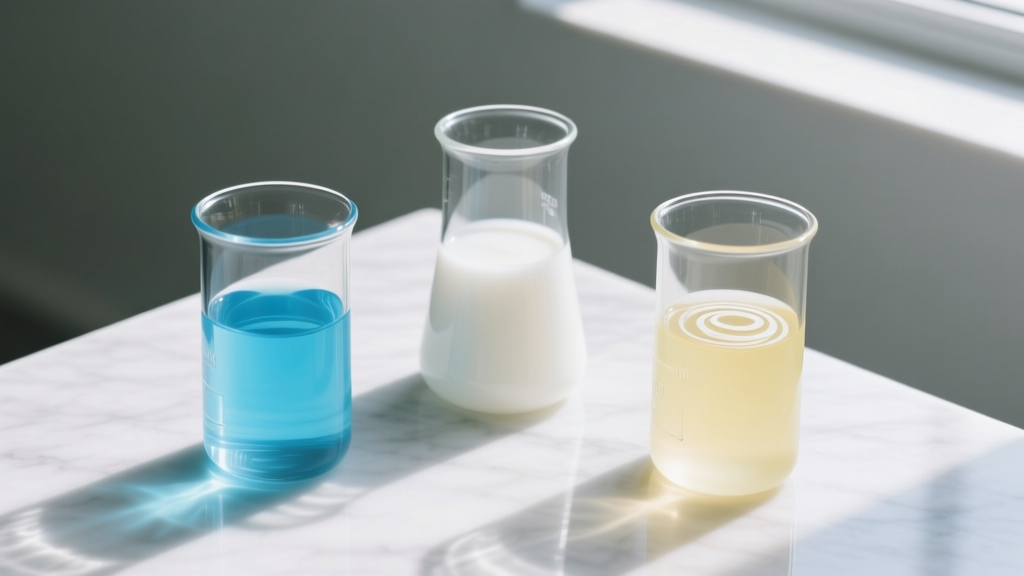
If you are tired of commercial solutions that leave a filmy residue or damage your antique pieces, formulating a custom, low-sudsing ultrasonic jewelry cleaning solution is remarkably simple and highly effective. This specific recipe is optimized for 40kHz to 80kHz transducers and is safe for diamonds, sapphires, rubies, and all gold/platinum alloys.
The Master Recipe (500ml Batch)
- Base: 480ml Distilled Water (Tap water contains calcium and magnesium which cause hard water spotting upon drying).
- Surfactant: 5ml (approx. 1 teaspoon) Non-ionic surfactant (e.g., Triton X-100 or a dedicated jewelry ultrasonic concentrate like Blitz).
- Drying Agent: 15ml Isopropyl Alcohol (99% purity). This lowers the surface tension further and accelerates the flash-drying process when the jewelry is removed, preventing water spots.
Execution Protocol: Mix the solution gently to avoid creating bubbles. Pour it into the tank, engage the "Degas" function for 8 minutes, and allow the tank's built-in heater to bring the solution to exactly 55°C (131°F) before submerging your jewelry. Limit cleaning cycles to 3-minute intervals to prevent prong fatigue.
When to Abandon the Ultrasonic Method Entirely
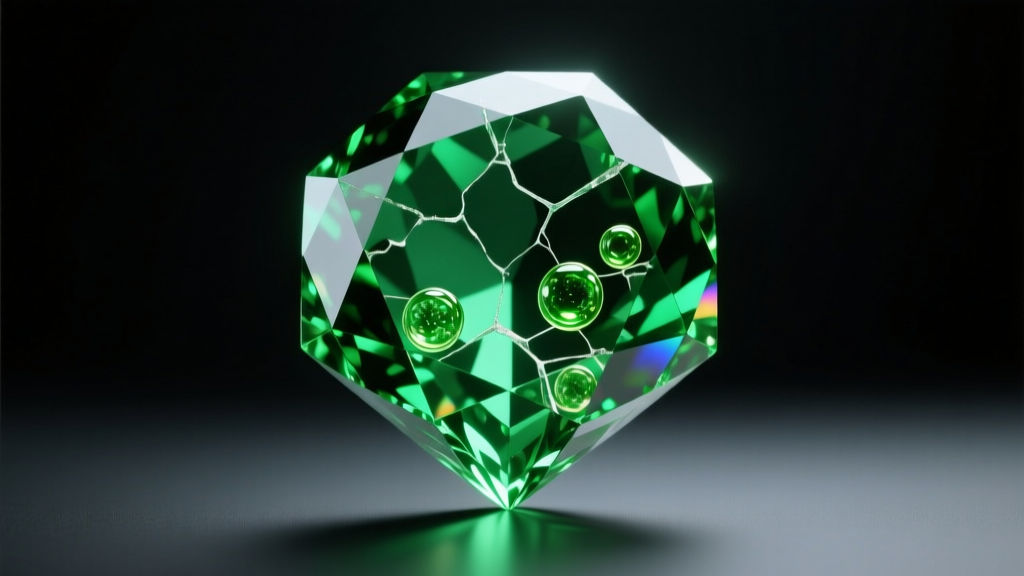
No ultrasonic jewelry cleaning solution, regardless of how perfectly formulated, can overcome structural vulnerabilities inherent to certain gemstones. The violent micro-jetting of cavitation bubbles generates localized temperatures of up to 5,000 Kelvin and shockwaves that can shatter compromised stones. According to the Federal Trade Commission (FTC) Jewelry Guides, proper disclosure and care of treated gems are paramount to preventing catastrophic damage.
Never Submerge the Following in an Ultrasonic Tank:
- Fracture-Filled Diamonds: Diamonds treated via the Yehuda process are injected with a glass-like resin to hide surface-reaching fractures. Ultrasonic waves will shatter this resin, turning a seemingly flawless stone into a cloudy, fractured mess.
- Oiled Emeralds: Over 90% of commercial emeralds are treated with cedar oil or Opticon to mask natural inclusions. The cavitation action will literally boil the oil out of the stone, revealing severe internal fracturing and drastically reducing the gem's value.
- Any Gemstone Below 7 on the Mohs Scale: Opals, pearls, turquoise, lapis lazuli, and tanzanite are far too soft and porous to withstand acoustic shockwaves. They require gentle, manual cleaning with a soft brush and a neutral pH solution.
- Micro-Pave with Worn Prongs: If your jewelry features micro-pave settings (stones under 1.5mm) that are older than five years, the prongs are likely thinned from wear. An 80kHz ultrasonic frequency is safer than 40kHz for delicate settings, but manual inspection under a 10x loupe is mandatory before any ultrasonic exposure.
By treating your ultrasonic jewelry cleaning solution as a precise chemical tool rather than a generic bath, you eliminate the guesswork, protect your most valuable assets, and achieve a factory-level polish every single time.


