Advanced YouTube Jewelry Making: Wire Tension & Gauge Guide
Master advanced youtube jewelry making techniques. This deep dive covers wire tension, AWG vs SWG gauges, and hardness for flawless wrapping.

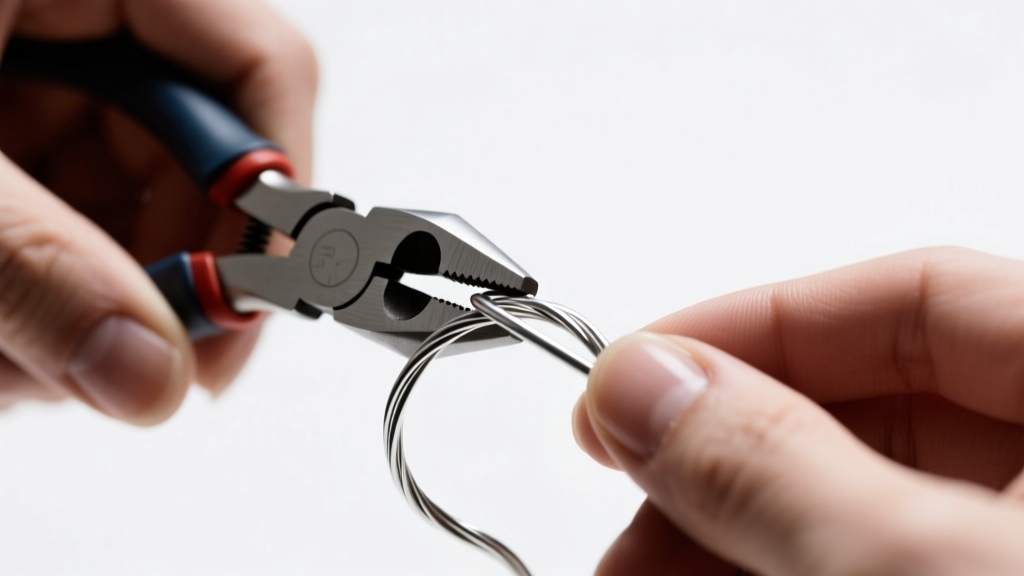
The explosion of youtube jewelry making tutorials has democratized the craft, allowing thousands of beginners to pick up pliers and start wire wrapping from their kitchen tables. However, as you transition from a hobbyist to an advanced maker, you will quickly encounter the "YouTube Gap." This is the critical void between following a video's visual steps and understanding the underlying metallurgy, tension mechanics, and gauge mathematics that professional jewelers rely on. Most creators focus on the aesthetic outcome, glossing over the technical variables that dictate whether a piece will hold its shape for a decade or unravel after a week of wear.
In this expert deep dive, we are looking past the ring lights and top-down camera angles to dissect the technical realities of wire wrapping. We will cover tensile strength, the AWG versus SWG translation trap, and how to reverse-engineer video tutorials using professional-grade material science.
The "YouTube Gap": Why Video Tutorials Fail on Tension
When watching a youtube jewelry making tutorial, the creator's hand tension is the invisible variable. Tension refers to the amount of rotational force applied to the wire as it is wrapped around a core. In a video, a creator might pull a 24-gauge wire taut, but because you cannot feel the resistance, you are left guessing the exact pound-force required.
Understanding Work Hardening and Tensile Limits
Every time you bend, pull, or twist wire, you are altering its crystalline structure—a process known as work hardening. According to metallurgical standards outlined by industry authorities like Ganoksin, copper and silver alloys become brittle as their dislocation density increases. If a YouTuber aggressively pulls a 26-gauge dead-soft copper wire, they are rapidly work-hardening it. If you attempt to mimic their speed without matching their exact tension, your wire may either remain too loose (causing structural failure) or snap entirely from over-tensioning.
- Low Tension (Decorative Weaves): Used for Viking knits or loose basket weaves. Requires dead-soft wire to prevent premature hardening.
- Medium Tension (Standard Wraps): The baseline for most rosary links and simple coils. Requires half-hard wire to maintain shape without snapping.
- High Tension (Tight Coils & Prongs): Used for securing cabochons. Requires precise calibration; over-tensioning will mar the stone or shear the wire.
Decoding Wire Hardness: What Creators Don't Tell You
A common frustration among advanced students of youtube jewelry making is purchasing the exact wire listed in a video's description, only to find it behaves completely differently in their hands. This is almost always a hardness mismatch. Wire is sold in three primary tempers, and failing to account for them will ruin your structural integrity.
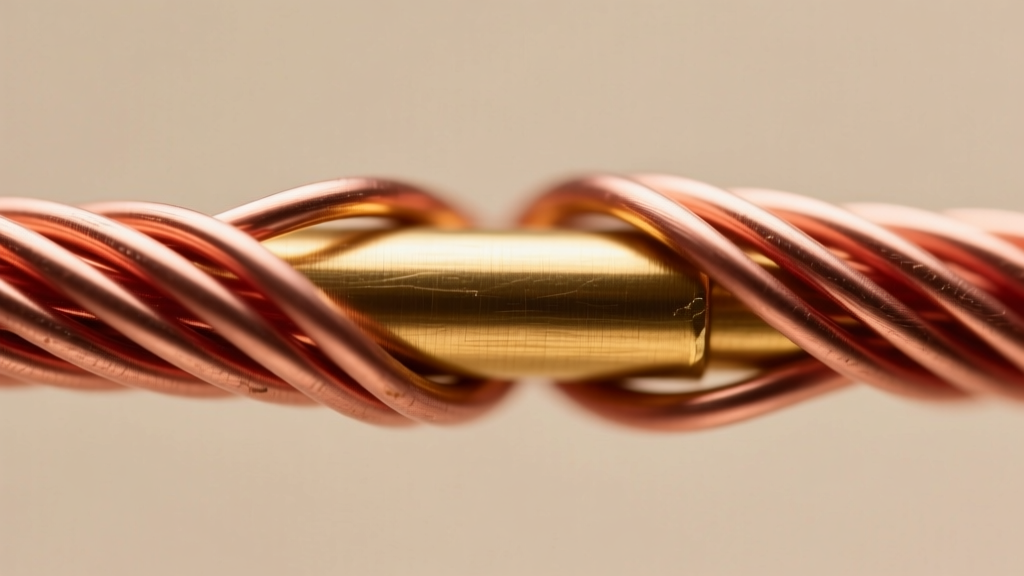
The Hardness Matrix
Suppliers like Rio Grande categorize wire temper by its yield strength. Here is how you must adapt video instructions based on the temper you actually have on your bench:
| Temper | Yield Strength | Best Application | Video Tutorial Adaptation |
|---|---|---|---|
| Dead Soft | Low (Pliable) | Weaving, tight weaving, sculpting | If a video uses this for structural frames, you must anneal or work-harden it manually post-wrap. |
| Half-Hard | Medium (Resilient) | Jump rings, ear wires, structural frames | The industry standard. If a creator uses dead soft for frames, substitute half-hard to avoid bending. |
| Full-Hard | High (Stiff) | Spring mechanisms, heavy-duty clasps | Rarely used in standard wrapping. Requires heavy-duty flush cutters; will break standard tool jaws. |
Expert Tip: Never use full-hard wire for wrapped loops or weaving. The crystalline structure is too rigid, and the wire will snap before completing a 360-degree wrap. If a tutorial demands sharp, rigid angles, use half-hard wire and reinforce the corners with a rawhide mallet rather than switching to full-hard.
Gauge Translation: AWG vs. SWG in Video Tutorials
One of the most insidious technical traps in the global youtube jewelry making community is the gauge system discrepancy. If you are based in North America, you are buying wire measured in AWG (American Wire Gauge). If you are watching a tutorial created by a UK, European, or Australian maker, they are likely using SWG (Standard Wire Gauge) or metric millimeters. The numbers do not align.
The Gauge Discrepancy Chart
Assuming a 20-gauge wire is universal is a beginner mistake that leads to ill-fitting weaves and structural weaknesses. Notice the physical thickness variance between the two systems below:
| Nominal Gauge | AWG (Inches / mm) | SWG (Inches / mm) | Variance Impact on Wrapping |
|---|---|---|---|
| 18 Gauge | 0.040" / 1.02mm | 0.048" / 1.22mm | SWG is 20% thicker. Will not fit through standard 2mm bead holes shown in US videos. |
| 20 Gauge | 0.032" / 0.81mm | 0.036" / 0.91mm | SWG is noticeably stiffer. Using SWG for a delicate AWG weave will cause buckling. |
| 24 Gauge | 0.020" / 0.51mm | 0.022" / 0.56mm | Minor variance, but enough to alter the exact number of wraps in a tight coil weave. |
| 28 Gauge | 0.012" / 0.32mm | 0.014" / 0.37mm | SWG is significantly heavier. Will overpower delicate gemstone briolettes. |
When following international creators, always check the description box for millimeter (mm) conversions. If they only list "20g," and the wire looks unusually thick on camera, assume SWG and adjust your US-based AWG wire down one size (e.g., use 18g AWG to mimic 20g SWG structural presence).
Tool Calibration: Preventing Marring in Close-Up Shots
High-definition cameras are unforgiving. When you watch a professional execute a flawless youtube jewelry making tutorial, their wire is pristine. When you replicate it, your wire is covered in scratches and dents. This is not a skill issue; it is a tool calibration and maintenance issue.
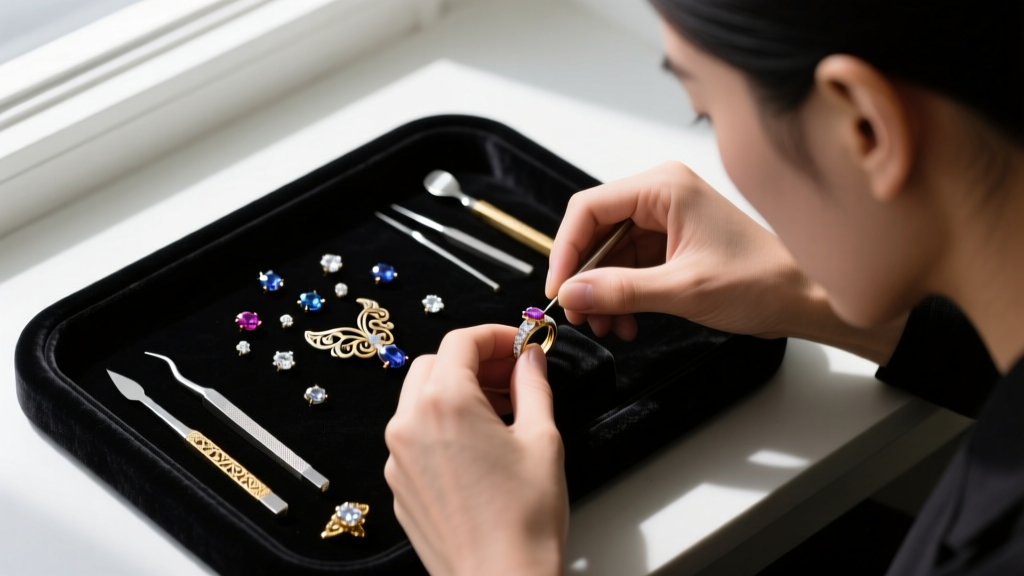
The Anatomy of a Non-Marring Setup
Standard steel-jawed pliers will immediately mar soft metals like copper, brass, fine silver, and high-karat gold. To achieve the pristine finish seen in top-tier tutorials, you must implement the following tool modifications:
- Tool Dip (Plasti Dip): Dip the jaws of your chain-nose and round-nose pliers in a rubberized tool dip. This creates a temporary, shock-absorbing barrier. Reapply every 4-6 hours of active wrapping.
- Nylon Jaw Pliers: For straightening wire and tightening weaves, nylon jaw pliers are non-negotiable. Brands like Swanstrom or Lindstrom offer precision-machined nylon jaws that grip without biting.
- Flush Cutter Alignment: A flush cut is only flush if the cutter is held correctly. The flat side of the cutter blades must face the side of the wire you intend to keep. If you reverse the cutter, you will leave a sharp "pinch" tail that will scratch the wearer and snag on clothing.
Furthermore, maintain your tools with a micro-mesh polishing stick. Even a microscopic burr on the inside of a chain-nose plier jaw will act like a file against your wire, creating longitudinal scratches that are impossible to polish out of intricate weaves.
Advanced Framework: Reverse-Engineering a Video Design
To truly master the craft, you must stop treating youtube jewelry making videos as simple paint-by-numbers guides and start treating them as engineering blueprints. Before you cut a single inch of wire, run the video through this technical reverse-engineering framework:
Step 1: Identify the Load-Bearing Core
Watch the first two minutes of the video. Which wire is cut first? This is your base wire. Determine its gauge and hardness. If the creator is wrapping a heavy 30mm cabochon, the base wire must be at least 16-gauge or 14-gauge half-hard to support the stone's weight without warping.
Step 2: Calculate the Weave Ratio
Pause the video during the weaving sequence. Count the number of wraps the creator makes around the core wires before moving to the next axis. A standard "4-in-1" weave requires exact mathematical spacing. If the creator uses 24-gauge weaving wire over two 18-gauge core wires, the ratio is fixed. If you substitute 20-gauge core wires, you must step up your weaving wire to 22-gauge to maintain the structural lock.
Step 3: Anticipate the Work-Hardening Endpoint
Observe how the creator finishes the piece. Do they use a rawhide mallet? Do they tumble the piece in steel shot? Tumbling in a rotary tumbler with stainless steel shot and burnishing compound will artificially work-harden the outer layer of the wire, increasing its durability. If the video omits tumbling, and you are making a piece intended for daily wear (like a ring or bracelet), you must add this step to your personal workflow to ensure longevity.
By applying these metallurgical and mechanical principles, you elevate your practice from mere imitation to true technical mastery. The next time you queue up a tutorial, you won't just see hands bending metal; you'll see the physics, mathematics, and material science that make fine jewelry endure.
For further reading on metallurgical properties and professional tool maintenance, consult the technical resources available at Interweave Jewelry and your primary metal suppliers.


